
User manual
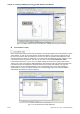
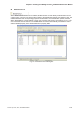
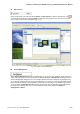
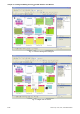
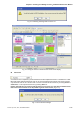
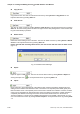
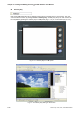

Table Of Contents
- Cover
- Preface
- Table of Contents
- Chapter 1 Introduction
- Chapter 2 Creating and Editing Screens
- 2.1 ScrEdit (Screen Editor) Setup
- 2.2 How to Start ScrEdit
- 2.3 Menu Bar and Toolbar (File)
- 2.4 Menu Bar and Toolbar (Edit)
- 2.5 Menu Bar and Toolbar (View)
- 2.6 Menu Bar and Toolbar (Element)
- 2.7 Menu Bar and Toolbar (Screen)
- 2.8 Menu Bar and Toolbar (Tools)
- 2.9 Menu Bar and Toolbar (Options)
- 2.10 Menu Bar and Toolbar (Window)
- 2.11 Menu Bar and Toolbar (Help)
- Chapter 3 Element Function
- Chapter 4 Macro Function
- Chapter 5 Control Block and Status Block
- Chapter 6 Internal Memory
- Chapter 7 Example Explanation
- Appendix A Specifications and Installation
- Appendix B USB Flash Drive Function
- Appendix C Main Menu Operation of HMI System
Chapter 2 Creating and Editing Screens|ScrEdit Software User Manual
Revision Apr. 30th, 2007, 2007PDD23000002 2-55
Fig. 2.7.6 Warning message after screen is cut
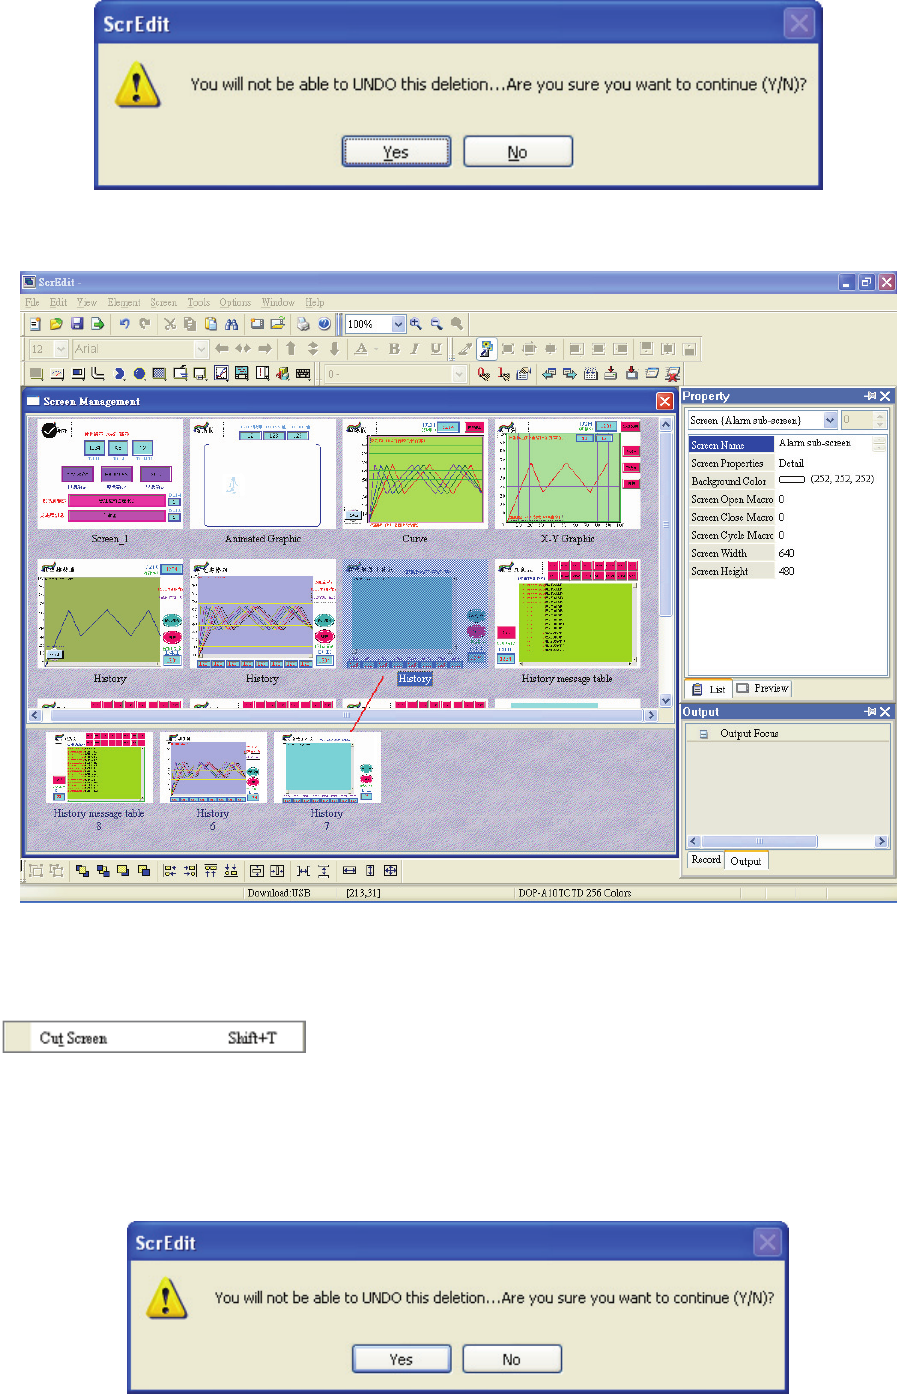
Fig. 2.7.7 Drag the mouse to determine the screen saver display
Cut Screen
Cut whole screen to clipboard, just like the Microsoft Office Clipboard function. The difference is that
Microsoft Office Clipboard allows the user to cut text and graphic items and the Cut Screen function
only allows the user to cut a whole screen. The user can execute this function by choosing Screen >
Cut Screen, or use keyboard shortcuts by pressing Shift + T.
Please note that the user cannot undo the action of cut screen. It is the same as delete screen
that screen will be lost but it can be pasted to get the same screen (Fig.2.7.8).
Fig. 2.7.8 Cut Screen message