
Multi Functional Printer User's Guide


Table Of Contents
- Features of your new laser printer
- Safety information
- Contents
- Introduction
- Getting started
- Loading originals and print media
- Copying
- Scanning
- Basic printing
- Faxing
- Sending a fax
- Receiving a fax
- Selecting the paper tray
- Changing receiving modes
- Receiving automatically in Fax mode
- Receiving manually in Tel mode
- Receiving manually using an extension telephone
- Receiving automatically in Ans/Fax mode
- Receiving faxes using DRPD mode
- Receiving in secure receiving mode
- Activating secure receiving mode
- Receiving faxes in memory
- Other ways to fax
- Fax setup
- Using USB flash memory
- Maintenance
- Troubleshooting
- Ordering supplies and accessories
- Installing accessories
- Specifications
- Appendix
- Glossary
- Index
- Software section
- Software section Contents
- Installing Printer Software in Windows
- Basic Printing
- Advanced Printing
- Using Windows PostScript Driver
- Sharing the Printer Locally
- Scanning
- Using other software
- Using Your Printer in Linux
- Using Your Printer with a Macintosh
- Software section Index
64 | Troubleshooting
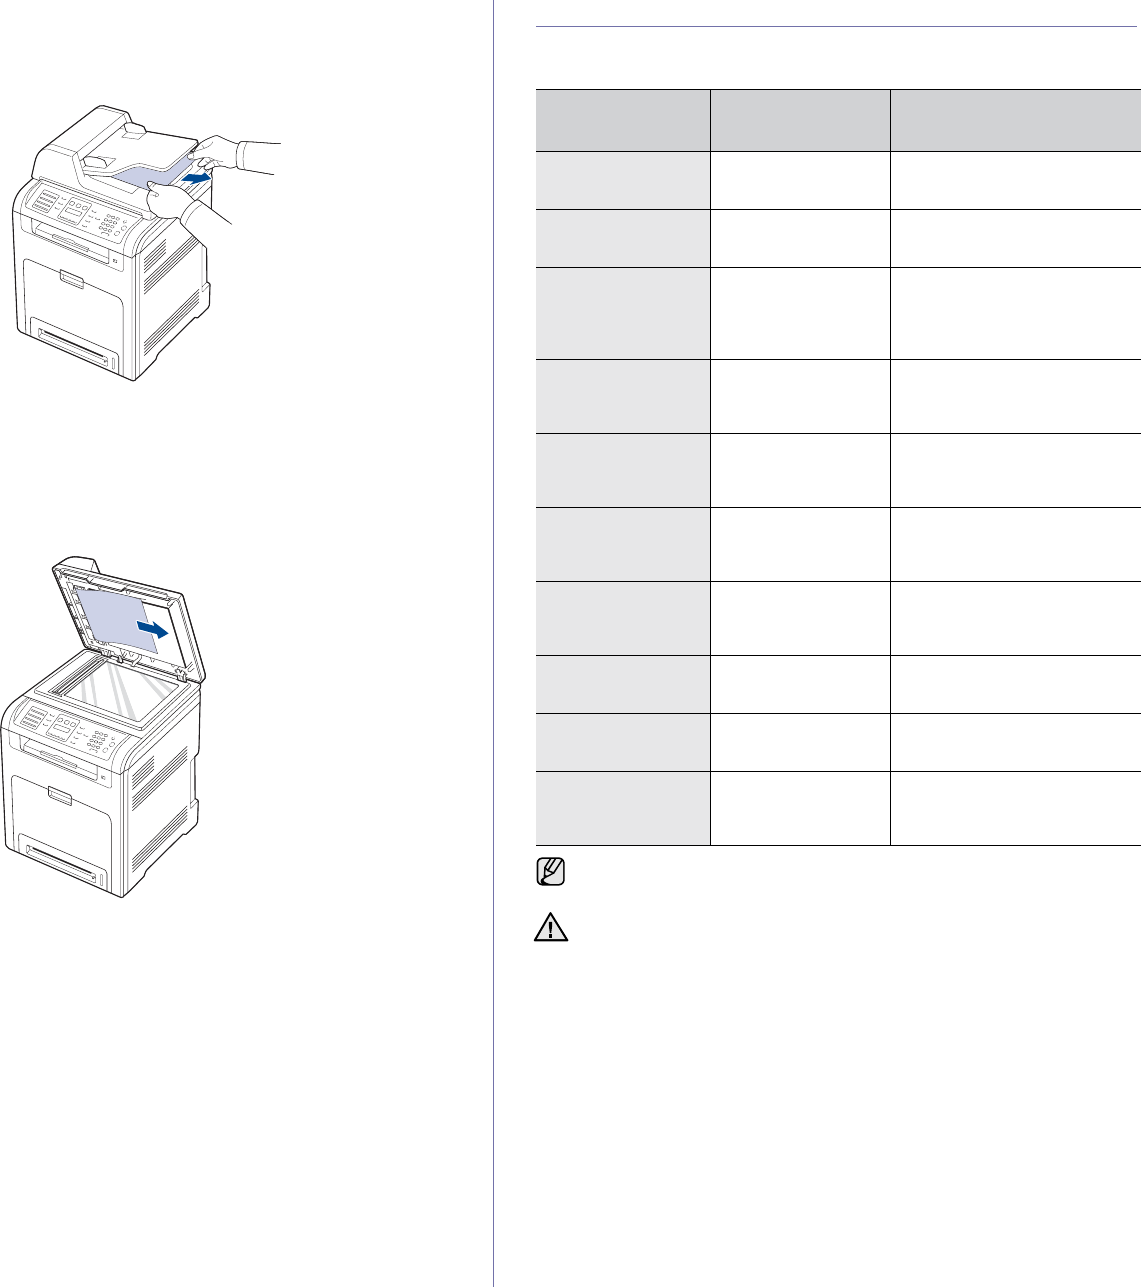
Exit misfeed
1. Remove any remaining pages from the DADF.
2. Seize the misfeed paper, and remove the paper from the document
output tray by carefully pulling it to the right using both hands.
3. Load the removed pages back into the DADF.
Roller misfeed
1. Open the scanner lid.
2. Seize the misfeed paper, and remove the paper from the feed area by
carefully pulling it to the right using both hands.
3. Close the scanner lid. Then load the removed pages back into the
DADF.
CLEARING PAPER JAMS
When a paper jam occurs, the warning message appears on the display
screen. Refer to the table below to locate and clear the paper jam.
MESSAGE
LOCATION OF
JAM
GO TO
MP Tray
Paper Jam 0
In the multi purpose
tray
See "In the multi-purpose
tray" on page 66.
Tray 2
Paper jam 0
In the optional tray See "In the optional tray" on
page 69.
Paper Jam 0
Open/Close Door
In the paper feed
area or inside the
printer
See "In the paper feed
area" on page 65, see "In
the fuser unit area" on
page 67.
Paper Jam 1
Open/Close Door
Inside the printer See "In the paper feed
area" on page 65, see "In the
fuser unit area" on page 67.
Paper Jam 2
Check Inside
Inside the printer or
in the fuser area
See "In the paper feed
area" on page 65, see "In the
fuser unit area" on page 67.
Reverse Jam 0
Check Inside
In the fuser area or
in the cover of
reverse unit area
See "In the paper feed
area" on page 65, see "In the
fuser unit area" on page 67.
Reverse Jam 1
Check Inside
In the rear cover or
in the cover of
reverse unit area
See "In the paper feed
area" on page 65, see "In the
fuser unit area" on page 67.
Remove Paper
in Rear Cover
Inside rear cover See "In the fuser unit
area" on page 67.
Duplex Jam 0
Check Inside
Inside the printer See "In the paper feed
area" on page 65.
Duplex Jam 1
Open/Close Door
In the paper feed
area or inside the
printer
See "In the paper feed
area" on page 65, see "In the
fuser unit area" on page 67.
Some messages may not appear in the display depending on options
or models.
To avoid tearing the paper, pull the jammed paper out gently and
slowly. Follow the instructions in the following sections to clear the
jam.