
Multi Functional Printer User's Guide


Table Of Contents
- Features of your new laser printer
- Safety information
- Contents
- Introduction
- Getting started
- Loading originals and print media
- Copying
- Scanning
- Basic printing
- Faxing
- Sending a fax
- Receiving a fax
- Selecting the paper tray
- Changing receiving modes
- Receiving automatically in Fax mode
- Receiving manually in Tel mode
- Receiving manually using an extension telephone
- Receiving automatically in Ans/Fax mode
- Receiving faxes using DRPD mode
- Receiving in secure receiving mode
- Activating secure receiving mode
- Receiving faxes in memory
- Other ways to fax
- Fax setup
- Using USB flash memory
- Maintenance
- Troubleshooting
- Ordering supplies and accessories
- Installing accessories
- Specifications
- Appendix
- Glossary
- Index
- Software section
- Software section Contents
- Installing Printer Software in Windows
- Basic Printing
- Advanced Printing
- Using Windows PostScript Driver
- Sharing the Printer Locally
- Scanning
- Using other software
- Using Your Printer in Linux
- Using Your Printer with a Macintosh
- Software section Index
Using Your Printer in Linux
29
10
When you are finished, click
Save
on the toolbar.
11
Select the file directory where you want to save the image
and enter the file name.
12
Click
Save
.
Adding Job Type Settings
You can save your scan option settings to retrieve for a later
scanning.
To save a new Job Type setting:
1
Change the options from the Scanner Properties window.
2
Click
Save As
.
3
Enter the name for your setting.
4
Click
OK
.
Your setting is added to the Saved Settings drop-down
list.
To save a Job Type setting for the next scan job:
1
Select the setting you want to use from the Job Type drop-
down list.
2
The next time you open the Scanner Properties window,
the saved setting is automatically selected for the scan
job.
To delete a Job Type setting:
1
Select the setting you want to delete from the Job Type
drop-down list.
2
Click
Delete
.
The setting is deleted from the list
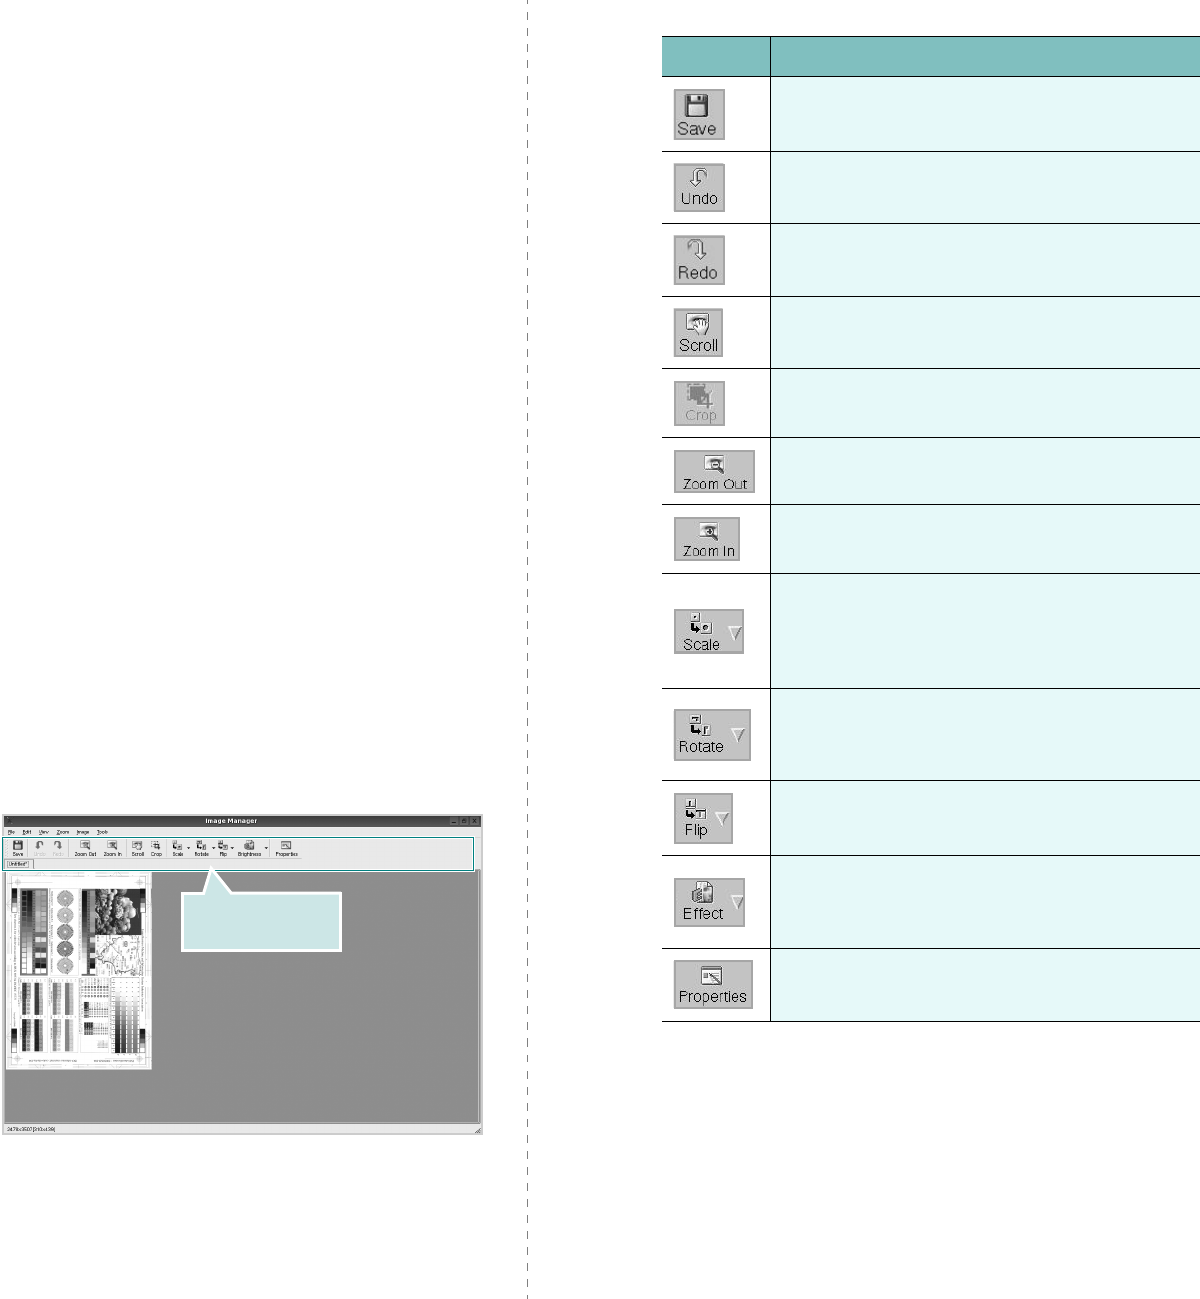
Using the Image Manager
The Image Manager application provides you with menu
commands and tools to edit your scanned image.
Use these tools to
edit the image.
You can use the following tools to edit the image:
For further details about the Image Manager application, refer
to the onscreen help.
Tools Function
Saves the image.
Cancels your last action.
Restores the action you canceled.
Allows you to scroll through the image.
Crops the selected image area.
Zooms the image out.
Zooms the image in.
Allows you to scale the image size; you can
enter the size manually, or set the rate to
scale proportionally, vertically, or
horizontally.
Allows you to rotate the image; you can
select the number of degrees from the drop-
down list.
Allows you to flip the image vertically or
horizontally.
Allows you to adjust the brightness or
contrast of the image, or to invert the
image.
Shows the properties of the image.