
Multi Functional Printer User's Guide


Table Of Contents
- Features of your new laser printer
- Safety information
- Contents
- Introduction
- Getting started
- Loading originals and print media
- Copying
- Scanning
- Basic printing
- Faxing
- Sending a fax
- Receiving a fax
- Selecting the paper tray
- Changing receiving modes
- Receiving automatically in Fax mode
- Receiving manually in Tel mode
- Receiving manually using an extension telephone
- Receiving automatically in Ans/Fax mode
- Receiving faxes using DRPD mode
- Receiving in secure receiving mode
- Activating secure receiving mode
- Receiving faxes in memory
- Other ways to fax
- Fax setup
- Using USB flash memory
- Maintenance
- Troubleshooting
- Ordering supplies and accessories
- Installing accessories
- Specifications
- Appendix
- Glossary
- Index
- Software section
- Software section Contents
- Installing Printer Software in Windows
- Basic Printing
- Advanced Printing
- Using Windows PostScript Driver
- Sharing the Printer Locally
- Scanning
- Using other software
- Using Your Printer in Linux
- Using Your Printer with a Macintosh
- Software section Index
Using Your Printer in Linux
23
5
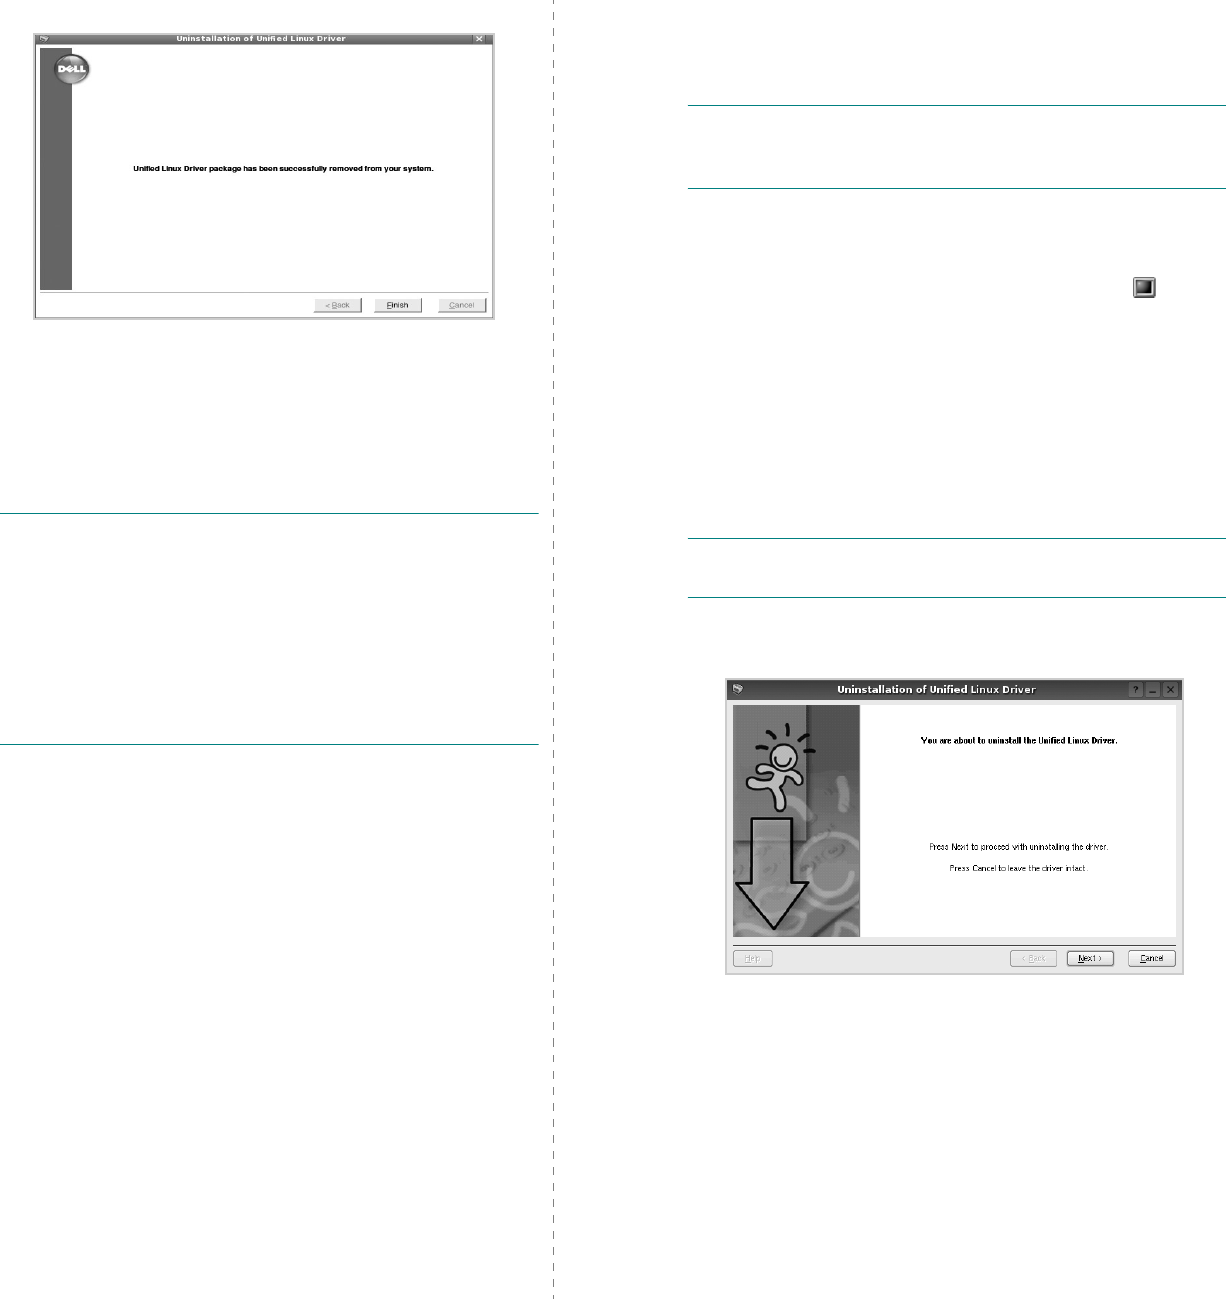
When the installation is complete, click
Finish
.
The installation program has added the Unified Driver
Configurator desktop icon and Dell Unified Driver group
to the system menu for your convenience. If you have
any difficulties, consult the onscreen help that is available
through your system menu or can otherwise be called
from the driver package windows applications, such as
Unified Driver Configurator
or
Image Manager
.
N
OTE
: Installing the driver in the text mode
:
• If you do not use the graphical interface or have failed the
driver installation, you have to use the driver in the text
mode.
• Follow the step 1 to 3, then type [root@localhost Linux]# ./
install.sh, then follow the instruction on the terminal screen.
Then the installation completes.
• When you wan to uninstall the driver, follow the installation
instruction above, but type [root@localhost Linux]# ./
uninstall.sh on the terminal screen.
Uninstalling the Unified Linux Driver
1
When the Administrator Login window appears, type in
root
in the Login field and enter the system password.
N
OTE
: You must log in as a super user (root) to uninstall the
printer software. If you are not a super user, ask your system
administrator.
2
Insert the printer Drivers and Utilities CD. The CD will
automatically run.
If the CD does not automatically run, click the icon at
the bottom of the desktop. When the Terminal screen
appears, type in:
If the CD-ROM is secondary master and the location to
mount is /mnt/cdrom,
[root@localhost root]#mount -t iso9660 /dev/hdc /mnt/
cdrom
[root@localhost root]#cd /mnt/cdrom/Linux
[root@localhost root]#./uninstall.sh
N
OTE
: The installation program runs automatically if you
have an autorun software package installed and configured.
3
Click
Uninstall
.
4
Click
Next
.
5
Click
Finish
.