Multi Functional Printer User's Guide
Table Of Contents
- Features of your new laser printer
- Safety information
- Contents
- Introduction
- Getting started
- Loading originals and print media
- Copying
- Scanning
- Basic printing
- Faxing
- Sending a fax
- Receiving a fax
- Selecting the paper tray
- Changing receiving modes
- Receiving automatically in Fax mode
- Receiving manually in Tel mode
- Receiving manually using an extension telephone
- Receiving automatically in Ans/Fax mode
- Receiving faxes using DRPD mode
- Receiving in secure receiving mode
- Activating secure receiving mode
- Receiving faxes in memory
- Other ways to fax
- Fax setup
- Using USB flash memory
- Maintenance
- Troubleshooting
- Ordering supplies and accessories
- Installing accessories
- Specifications
- Appendix
- Glossary
- Index
- Software section
- Software section Contents
- Installing Printer Software in Windows
- Basic Printing
- Advanced Printing
- Using Windows PostScript Driver
- Sharing the Printer Locally
- Scanning
- Using other software
- Using Your Printer in Linux
- Using Your Printer with a Macintosh
- Software section Index

Advanced Printing
12
Printing on Both Sides of Paper
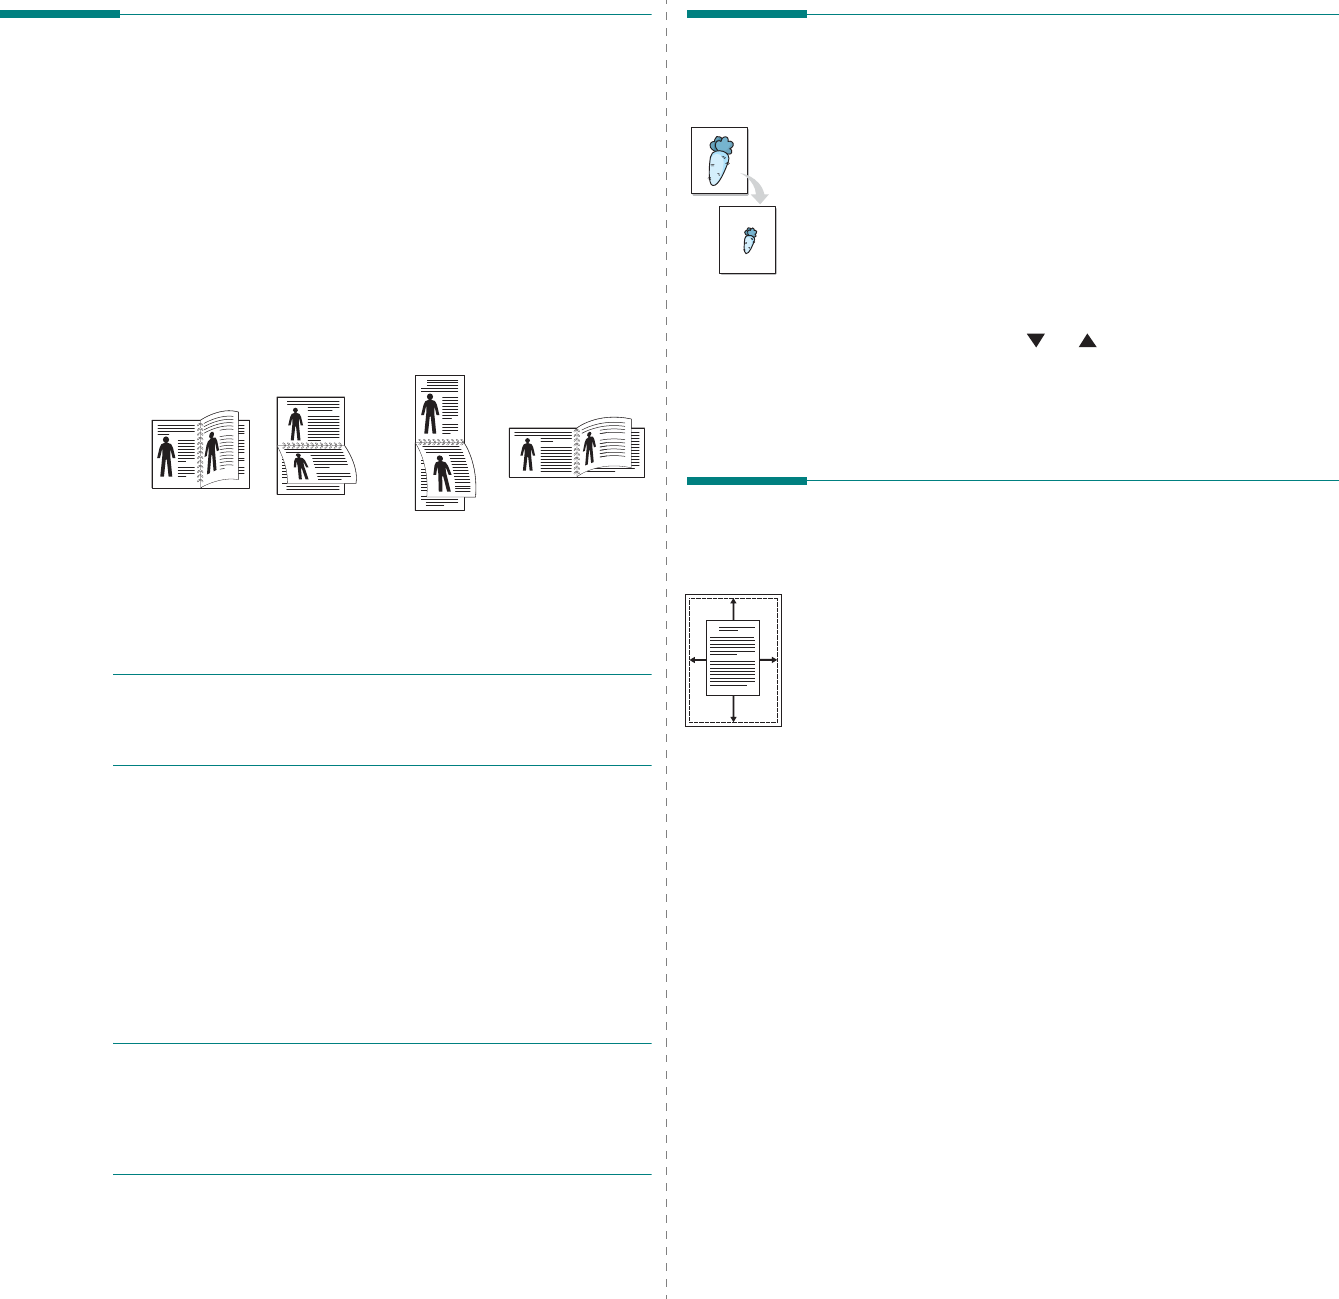
You can print on both sides of a sheet of paper. Before printing,
decide how you want your document oriented.
The options are:
•
Printer Setting
, if you select this option, this feature is
determined by the setting you’ve made on the control
panel of the printer.
If this option does not appear,
your printer does not have this feature.
•
None
•
Long Edge
, which is the conventional layout used in
book binding.
•
Short Edge
, which is the type often used with calendars.
•
Reverse Duplex Printing
, allows you to select general
print order compare to duplex print order.
If this option
does not appear, your printer does not have this
feature.
N
OTE
: Do not print on both sides of labels, transparencies,
envelopes, or thick paper. Paper jamming and damage to the
printer may result.
1
To change the print settings from your software
application, access printer properties. “Printing a
Document” on page 4.
2
From the
Layout
tab, select the paper orientation.
3
From the
Double-sided Printing
section, select the
binding option you want.
4
Click the
Paper
tab and select the paper source, size, and
type.
5
Click
OK
and print the document.
N
OTE
: If your printer does not have a duplex unit, you should
complete the printing job manually. The printer prints every
other page of the document first. After printing the first side of
your job, the Printing Tip window appears. Follow the on-
screen instructions to complete the printing job.
Long Edge
▲
Short Edge
▲
25
3
2
5
3
2
5
3
2
5
3
Printing a Reduced or Enlarged
Document
You can change the size of a page’s content to appear larger or
smaller on the printed page.
1
To change the print settings from your software
application, access printer properties. See “Printing a
Document” on page 4.
2
From the
Paper
tab, select
Reduce/Enlarge
in the
Output size
drop-down list.
3
Enter the scaling rate in the
Percentage
input box.
You can also click the or button.
4
Select the paper source, size, and type in
Paper Options
.
5
Click
OK
and print the document.
Fitting Your Document to a
Selected Paper Size
This printer feature allows you to scale your print job to any
selected paper size regardless of the digital document size. This
can be useful when you want to check fine details on a small
document.
1
To change the print settings from your software
application, access printer properties. See “Printing a
Document” on page 4.
2
From the
Paper
tab, select
Fit to Page
in the
Output
size
drop-down list.
3
Select the correct size from the
Output size
drop-down
list.
4
Select the paper source, size, and type in
Paper Options
.
5
Click
OK
and print the document.
A


