
Solution Guide
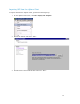
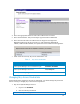

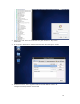
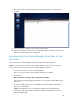
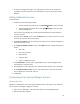
Table Of Contents
- Introduction to the Active System 1000 Solution
- Audience
- Support
- Technical Documentation
- Overview
- Active System 1000-Supported Configurations
- Active System Manager Deployment
- Deployment Options
- Deployment Prerequisites
- Deploying OVF
- Changing Key Access Credentials
- Assigning IP Address to the Active System Manager
- Accessing the Active System Manager Web Client for the First Time
- Adding Additional Licenses
- Configuring Active System Manager Services
- Installing the Active System Manager Client
- Active System Manager Setup
- User and Group Management
- Discovering Active System 1000 Components
- Software Repositories in Active System Manager Appliance
- Updating Repository Elements for ISO Bootable Images
- Updating Repository Elements for IOA Switch configuration and Images
- Updating Repository Elements for Brocade Firmware Repository
- Updating Repository Elements for Brocade Switch Configuration
- Updating Repository Elements for ToR Switch Configurations and Images
- Updating Repository Elements for VMware Baseline Images
- Configuring Networks
- Physical Templates and Orchestration
- Workload Provisioning Using Logical Templates
- Operation Center View—Administrative Operations
- Dashboard Reports
- Resource Allocation by Sessions Report
- Resource Allocation by Hosts Report
- Resource Allocation by Groups Report
- Top Ten Resource Allocation Report
- Top Ten Resource Utilization Report
- VM Utilization by Session Report
- Host Utilization (Consolidated) Report
- Cluster Utilization (Consolidated) Report
- Storage Utilization (Consolidated) Report
- CPU and Memory Utilization Showback Report
- Appendix A—Deployment Activities
- Appendix B—Build of Materials
- Appendix C—Firmware and Software Base Lineup
- Appendix E—Adding New ESXi ISO Images
- Appendix G— Planning Worksheet
- Appendix I—FAQs
18
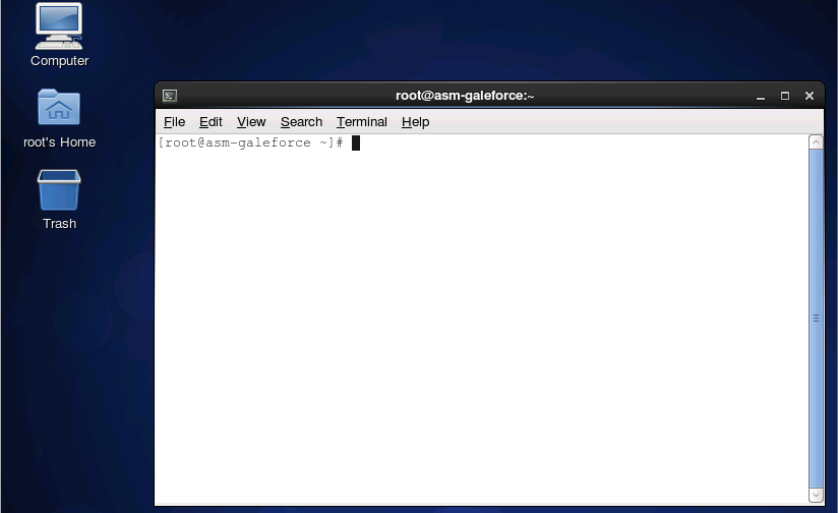
8. Once this is done, open the terminal by clicking on Applications -> System Tools ->
Terminal
9. Then execute the command “/etc/init.d/network restart”.
10. Login to the appliance with the newly configured IP Address. This will ensure that IP
address is configured correctly on appliance.
Accessing the Active System Manager Web Client for the
First Time
To access the Active System Manager web client, perform the following steps:
NOTE: If you are trying to access the Active System Manager for the first time, you must
have a valid license to log on to the Active System Manager web portal.
1. In your internet browser, enter the following URL:
http://<your server name>:<Active System Manager port number>
For example:
http://192.168.0.1:40500 or http://asm-galeforce:40500
The copyright information displays and after a few seconds, the Please Sign In page
displays.
2. In the Please Sign In page, enter the delladmin Username (admin) and Password
(admin), and click Sign In.
NOTE: The administrator can use the admin /admin factory-supplied default
credentials. Using these default credentials, the super administrator can create
multiple administrators.