
Solution Guide
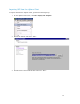
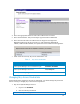

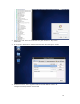
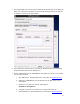
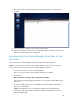
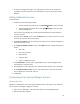
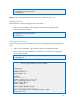
Table Of Contents
- Introduction to the Active System 1000 Solution
- Audience
- Support
- Technical Documentation
- Overview
- Active System 1000-Supported Configurations
- Active System Manager Deployment
- Deployment Options
- Deployment Prerequisites
- Deploying OVF
- Changing Key Access Credentials
- Assigning IP Address to the Active System Manager
- Accessing the Active System Manager Web Client for the First Time
- Adding Additional Licenses
- Configuring Active System Manager Services
- Installing the Active System Manager Client
- Active System Manager Setup
- User and Group Management
- Discovering Active System 1000 Components
- Software Repositories in Active System Manager Appliance
- Updating Repository Elements for ISO Bootable Images
- Updating Repository Elements for IOA Switch configuration and Images
- Updating Repository Elements for Brocade Firmware Repository
- Updating Repository Elements for Brocade Switch Configuration
- Updating Repository Elements for ToR Switch Configurations and Images
- Updating Repository Elements for VMware Baseline Images
- Configuring Networks
- Physical Templates and Orchestration
- Workload Provisioning Using Logical Templates
- Operation Center View—Administrative Operations
- Dashboard Reports
- Resource Allocation by Sessions Report
- Resource Allocation by Hosts Report
- Resource Allocation by Groups Report
- Top Ten Resource Allocation Report
- Top Ten Resource Utilization Report
- VM Utilization by Session Report
- Host Utilization (Consolidated) Report
- Cluster Utilization (Consolidated) Report
- Storage Utilization (Consolidated) Report
- CPU and Memory Utilization Showback Report
- Appendix A—Deployment Activities
- Appendix B—Build of Materials
- Appendix C—Firmware and Software Base Lineup
- Appendix E—Adding New ESXi ISO Images
- Appendix G— Planning Worksheet
- Appendix I—FAQs
17
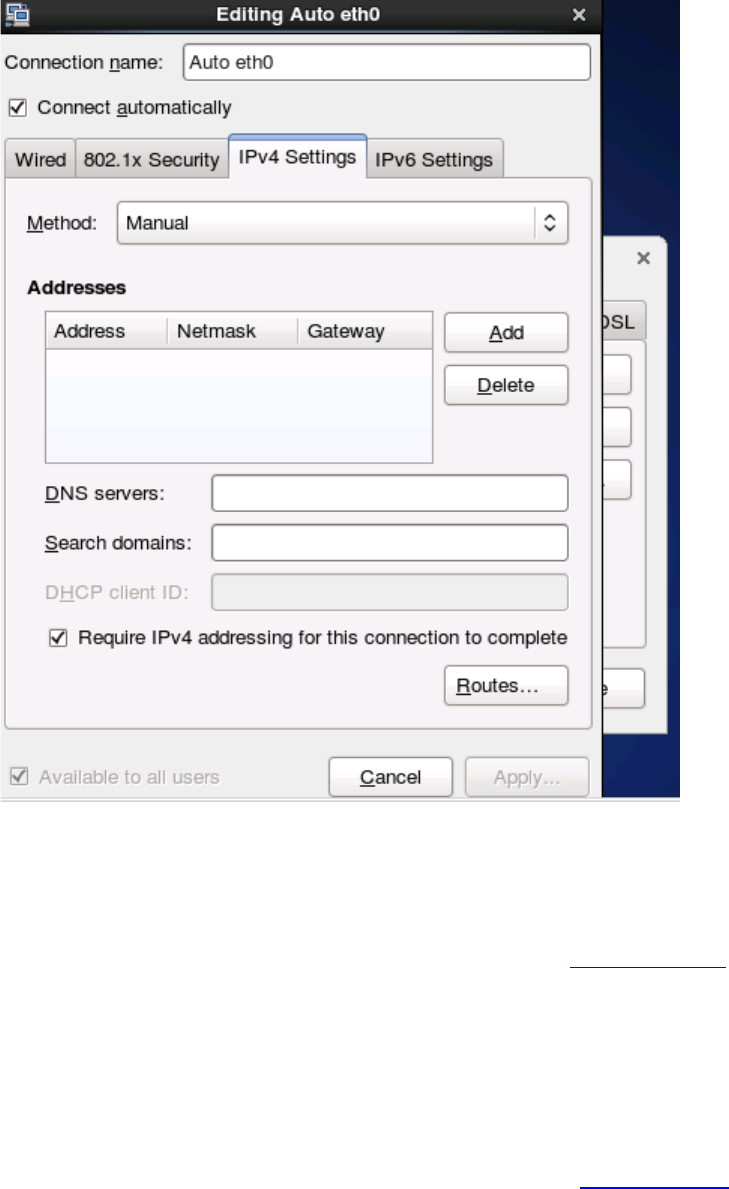
5. Selecting the Edit button on Network connections Wizard will open up the following
dialog. For updating the IP address, select the IPv4 settings and select the method
as “Manual” as shown in the below dialog.
6. Select Add button in dialog above to provide the IP address and other networking
details like DNS as shown in the dialog below.
7. Add the ASM IP address to the /etc/hosts file and update the system to use an NTP
server for date and time
a. Stop ASM services. Stopping ASM service is described in Stopping Services
b. Update the /etc/hosts file with the DNS name of the NTP server in your
environment.
c. Update the /etc/hosts file with the following line:
<IP Address> asm-galeforce
d. Configure the system to use NTP server to update date and time.
e. Restart ASM service. Starting ASM service is described in Starting Services