
Users Guide


Table Of Contents
- Active System Manager Release 8.3.1 User’s Guide
- Overview
- Getting started with ASM 8.3.1
- Initial Setup
- Dashboard
- Services
- Deploying service
- Add existing service
- Viewing service details
- Editing service information
- Deleting service
- Exporting service details
- Retrying service
- Viewing all settings
- Migrating servers (service mobility)
- Migrating servers
- Upgrading components
- Adding components to an existing service deployment
- Deleting resources from service
- Templates
- Managing templates
- Viewing template details
- Creating template
- Editing template information
- Building template overview
- Building and publishing template
- Importing template
- Exporting template
- Uploading external template
- Editing template
- Viewing template details
- Deleting template
- Cloning template
- Deploying service
- Deploying multiple instances of service
- Adding Attachments
- Decommissioning services provisioned by ASM
- Component types
- Component combinations in templates
- Additional template information
- Managing templates
- Resources
- Resource health status
- Resource operational state
- Port View
- Resource firmware compliance status
- Updating firmware
- Removing resources
- Viewing firmware and software compliance report
- Discovery overview
- Configuring resources or chassis
- Removing discovered resources
- Configuring default firmware repository
- Running firmware compliance
- Configuring global chassis settings
- Configuring unique chassis settings
- Configuring unique server settings
- Configuring unique I/O module settings
- I/O module configuration
- Completing the chassis configuration
- Adding or editing Chassis Management Controller (CMC) user
- Adding or editing Integrated Dell Remote Access Controller (iDRAC) user
- Updating resource inventory
- Viewing resource details
- Understanding server pools
- Settings
- Troubleshooting
NOTE: You can select any one of the following options from the View drop-down menu to lter the search results:
• All — displays both users and groups
• Users— displays only users
• Groups — displays only groups
5. Select the users or group you want to import and click the forward arrow (>>) button.
The selected users or groups are added to the Users/Groups to the imported section.
6. To assign a role to all the users or groups, select the users or groups and select any one of the following roles from the User
Role drop-down menu:
• Read Only
• Standard
• Administrator
NOTE: To apply specic roles, select the role from the Role drop-down menu beside the user or group name.
NOTE: You can view the imported group by selecting the All Groups from the Filter by Group drop-down menu.
NOTE: In a single import operation, if you import a user individually and as part of group, the role assigned to the
user individually precedes the role assigned to the group.
NOTE: While importing Active Directory users, ASM roles are not automatically mapped to Active Directory user
roles. Therefore, it is important to assign an appropriate role to each imported user.
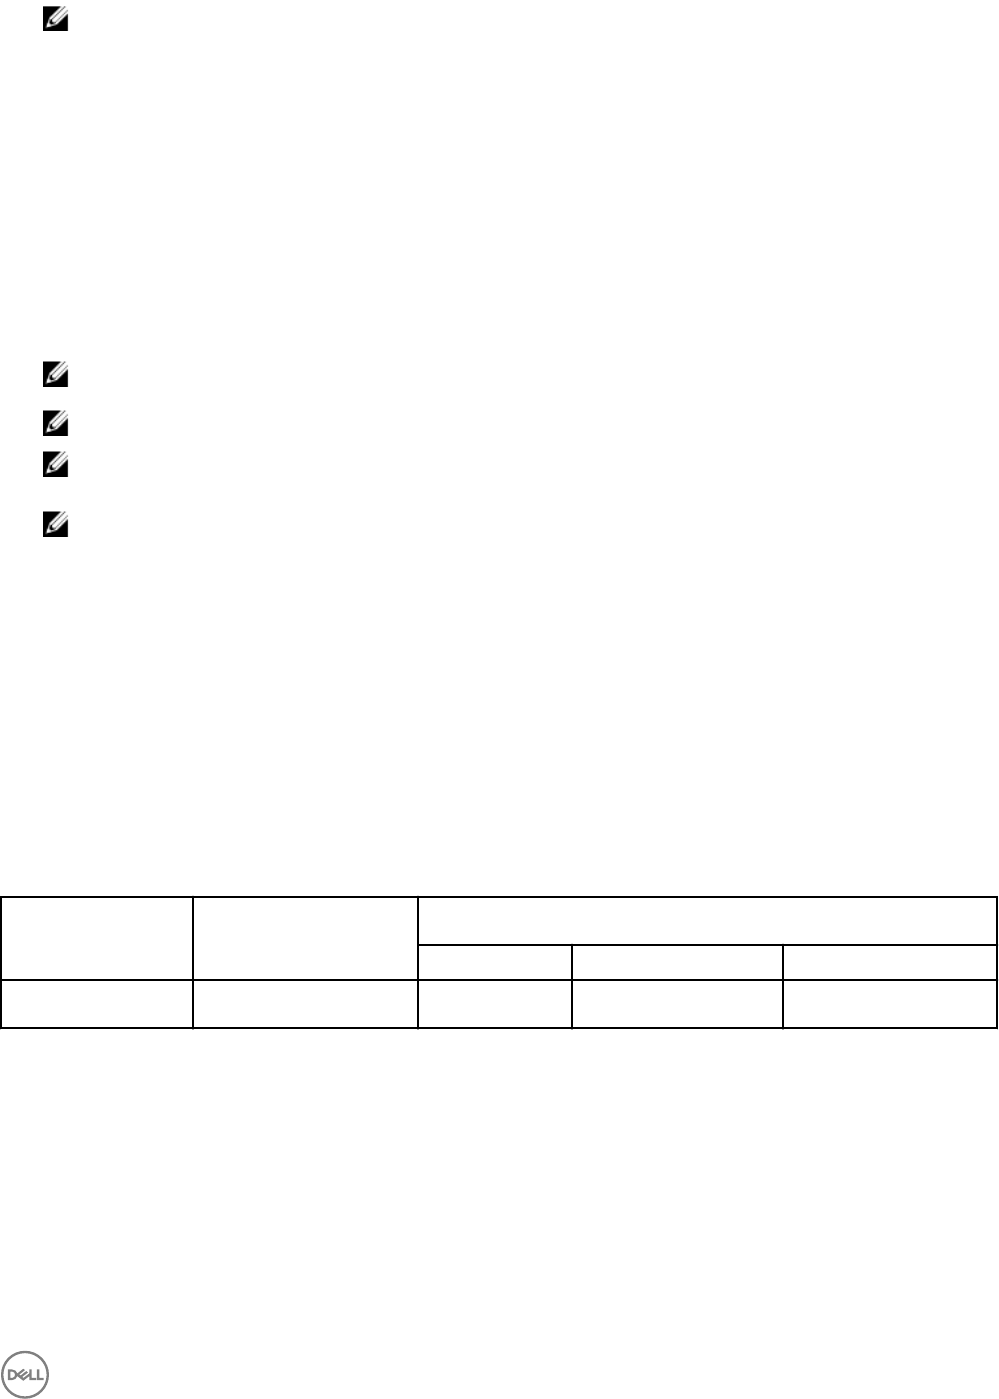
About roles
Every ASM user account can be assigned to any one of the following roles:
• Administrator — Users with Administrator role have the privilege to view all the pages and to perform all operations in ASM and
grant permission to Standard users to perform certain operations.
• Standard — Users with Standard role can view certain pages and perform certain operations based on the permission granted
by Administrator. Also, Standard users can grant permission to other users to view and perform certain operations they own.
• Read Only — Users with Read Only role can view all ASM operations but are not allowed to perform any operations. When a user
logs in as a Read Only user, ASM does not allow the user to perform any operations by deactivating the functionality on the UI.
The following table describes the privileges or permissions associated with the roles:
Table 17. About roles
Feature Permission Roles
Administrator Standard Read-only
Dashboard View Yes
Owner/ Participant Yes
109