
Installation Guide

DEEP POUR INSTRUCTIONS
1-866-427-2547 | info@wisebond.com | www.WiseBond.com
WiseBond
™
is a Division of DeckWise
®
, The Ipe Clip
®
Fastener Company, LLC • 2111 58th Ave. East, Bradenton, FL 34203
All rights reserved. ©Copyright 2019
Rev:8/20/2019
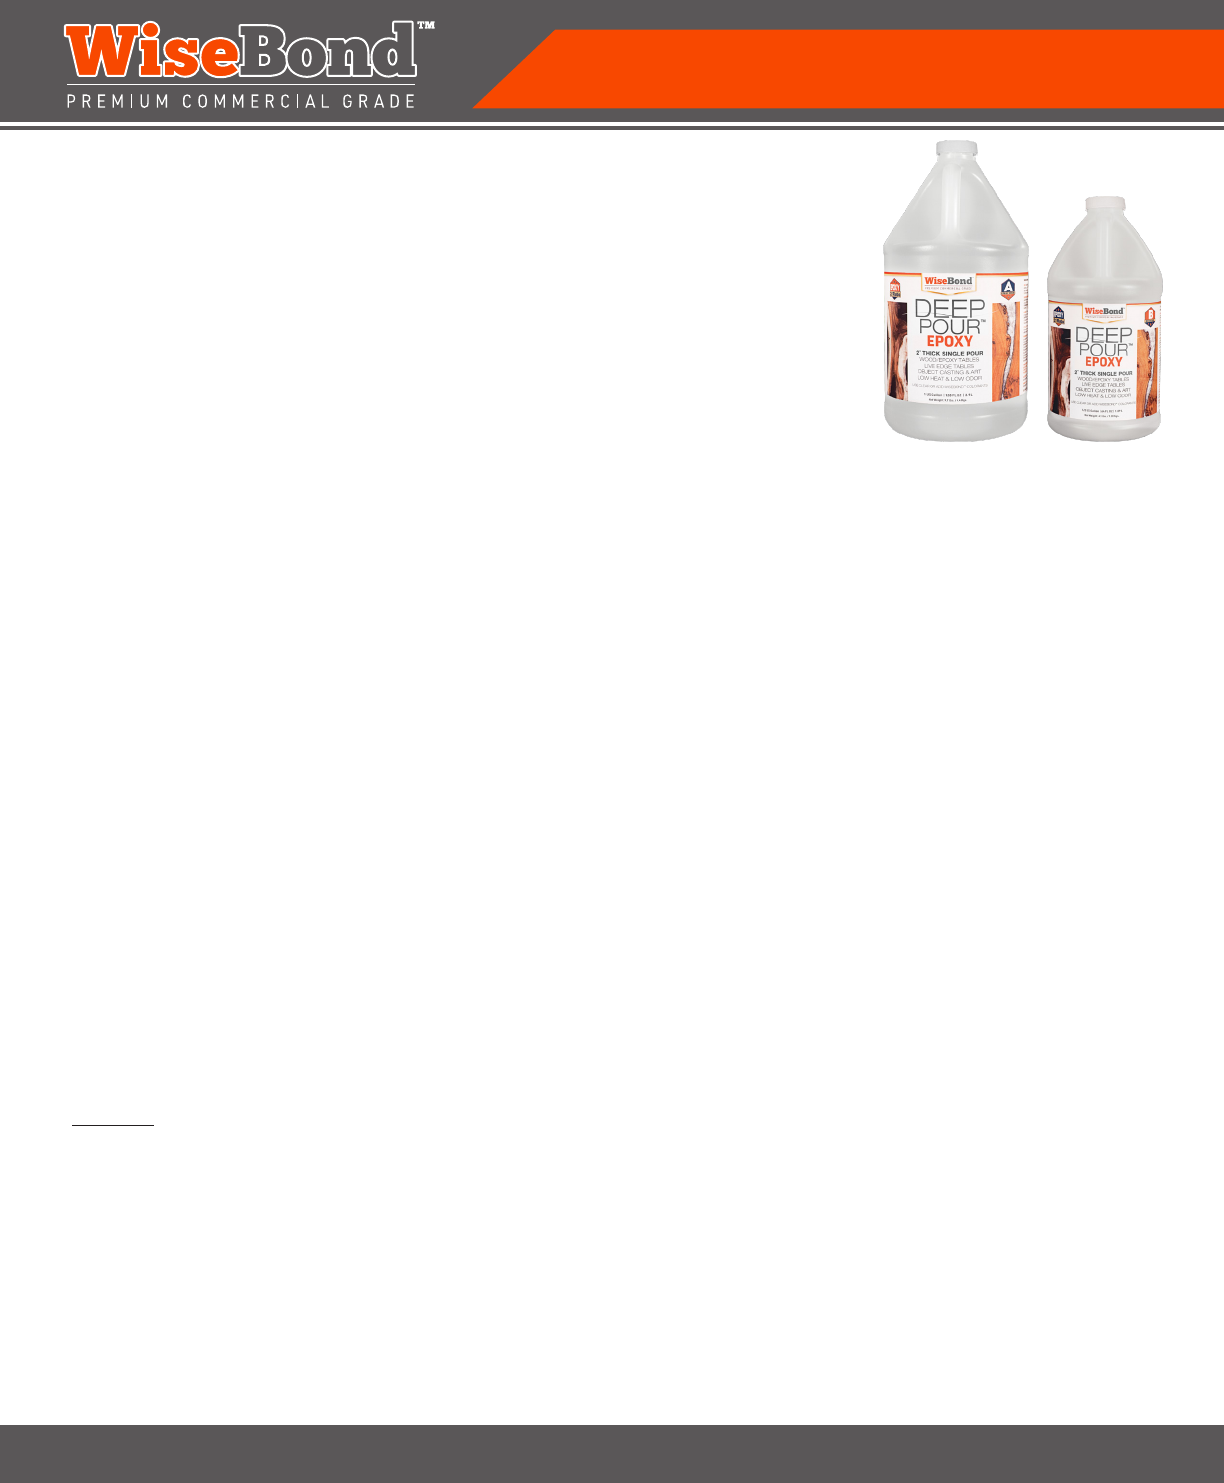
WiseBond™ Deep Pour™ Epoxy 2:1 Ratio
This product will work well with wood, glass, ceramic, stone aggregate, cement,
electronic parts and most metals. Do not use over an oil-based stain.
DIRECTIONS
Step 1: When pouring Resin (A) and Hardener (B), ambient air temperature should
be between 70°F and 85°F before mixing. The ideal working temperature is around
77°F. Avoid working in high humidity. Work space should be dirt and dust free. We
recommend using this product on a leveled and at work surface.
NOTE: For clear epoxy pouring (no colorant), placing both epoxy containers in hot water around 110°F to 120°F for
approximately 10-15 minutes prior to mixing. This will help eliminate small micro bubbles when poured.
Step 2: Always wear personal protective equipment (PPE)! See bottom of page.
As both epoxy liquids are clear, thorough mixing is very important! Thoroughly mix 2 parts Resin (A) to 1 part Hardener (B) for 6-8
minutes. Add colorant(s) at this time as well. NOTE: Pour Hardener (B) in your mixing container rst, and then add the Resin (A).
Hardener (B) has a lower viscosity and will not stick to the mixing container sides and bottom as much as the Resin (A) will during
mixing.
StirStir with a paint stick or paddle mixer attached to a drill. Avoid whipping and the introduction of air. Scrape the mixing
bucket sides and bottom to ensure complete mixing. For best results, mix in one container then pour mixture into second
clean container and thoroughly mix again.
Pot-Life: The mixed product inside the mixing container may begin to heat up after 45-60 minutes, shortening the
available working time. Follow all safety instructions listed.
Step 3: Slowly pour WiseBond™ Deep Pour™ directly into a mold, casting vessel, river or void that you wish to ll. Take
time in between pours to pop bubbles with a heat gun or butane blow torch. Continue to pour until you have achieved the
desired thickness or up to 2¨ max depth. Continue removing bubbles as needed up to 2 hours after nal pour.
CAUTION: Pouring more than 2¨ thick may increase the risks of drying defects. Do not use if desired thickness is less
than 1/2¨. If more than 2¨ of depth is needed, allow the product to dry for 24 hours before pouring consecutive layers of
desired thickness.