
Install Instructions
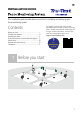
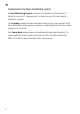
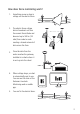
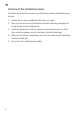
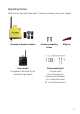
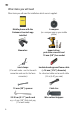
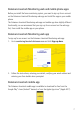
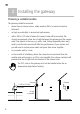
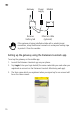
Table Of Contents
- Before you start
- Components of a fence monitoring system
- How does fence monitoring work?
- Overview of the installation process
- Unpacking the box
- Other items you will need
- Datamars Livestock Monitoring web and mobile phone apps
- Datamars Livestock Monitoring web app
- Datamars Livestock mobile app
- Installing the gateway
- Choosing a suitable location
- Mounting and preparing the gateway
- Setting up the gateway using the Datamars Livestock app
- Installing the nodes
- Parts of the node
- Pairing the nodes using the Datamars Livestock app
- Installing the nodes using the Datamars Livestock app and mounting them on the fence
- Using the Datamars Livestock Monitoring apps
- Getting help
- Help articles and videos
- Troubleshooting
- Maintenance and servicing
- Solar panel maintenance
- Servicing
- Europe - Instructions for disposal of product
- Warranty
- Compliance
- FCC ID information
- FCC notice
- FCC warning
- Responsible party in the USA
- ISED Canada ID information
- ISED Canada notice
- ISED Canada warning
- UK declaration of conformity
- EU declaration of conformity

4
Overview of the installation process
To install a fence monitoring system, you will need to perform the following steps
in order:
1. Unpack the box and assemble the other items you need.
2. Sign up for an account on the Datamars Livestock Monitoring web app and
install the app on your mobile phone.
3. Install the gateway in a location where you have internet access e.g. shed,
then set up the gateway using the Datamars Livestock mobile app.
4. While you are still near the gateway, pair all of the nodes using the Datamars
Livestock mobile app.
5. Out on the farm, install the fence nodes.