
Installation guide
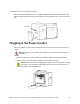
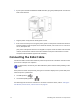
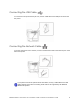


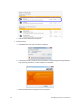
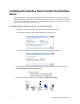
Table Of Contents
- Chapter 1: Planning the Installation
- Chapter 2: Installing the Hardware Components
- Chapter 3: Installing the Smart Card Driver
- Chapter 4: Installing the USB Printer Driver
- Chapter 5: Installing the Status Monitor
- Chapter 6: Network Installation
- Chapter 7: Removing Printer Driver and Status Monitor
- Untitled
14 Installing the Hardware Components
3. IfyoursystemincludesanLM200orLM300laminator,plugtheprovidedpowercordintothe
backofthelaminator.
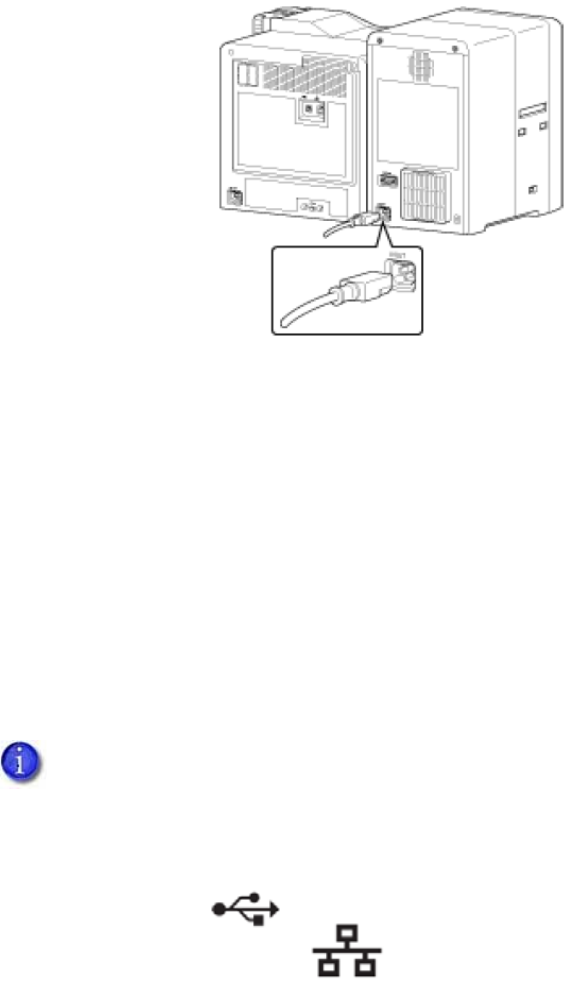
4. Plugthepowercord(s)intothefacilitypowersource.
5. Ifthisisthefirsttimeyouareusingtheprinter,powerontheprinterandlaminatorwithout
installingsupplies.Keepthepoweronforabout 30seconds,untilaninkerrororafilmerror
occurs,thenpoweroff.
(Theprinter
andoptionallaminatorareshippedintransportmode.Inkribbonandretransfer
material,andlaminatormaterialcannotbeinstalledintransportmode.Poweroncancels
transportmodeandallowssuppliestobeinstalled.)
Connecting the Data Cable
ConnecttheUSBornetworkdatacableonlywhentheprinterdriverinstallationinstructionstell
youtodosoinChapter4orChapter6.
Iftheprinterhasbeenusedpreviously,thetypeofconnectiondisplaysontheprinterLCDpanel
whentheprinterispoweredon:
TheUSBsymbolis:
Thenetwork(LAN)symbolis:
ThedefaulttypeofconnectionisNetwork.Tosetotherconnectionvalues,referto“Settingthe
UnitNumber,PrinterName,andConnection”onpage 59.
For best results, connect only one data cable to the printer and PC before powering on the
printer.