
Installation guide
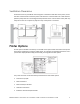
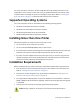
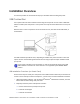
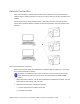
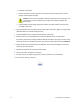
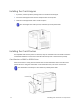
Table Of Contents
- Chapter 1: Planning the Installation
- Chapter 2: Installing the Hardware Components
- Chapter 3: Installing the Smart Card Driver
- Chapter 4: Installing the USB Printer Driver
- Chapter 5: Installing the Status Monitor
- Chapter 6: Network Installation
- Chapter 7: Removing Printer Driver and Status Monitor
- Untitled
12 Installing the Hardware Components
Installing the Card Hopper
1. Ifpresent,removestyrofoampackingfoamfrominsidethecardhopper.
2. Insertthecardhopperhooksintothereceptacleslotsontheprinter.
3. Slidethecardhopperdownuntilitclicksintoplace.
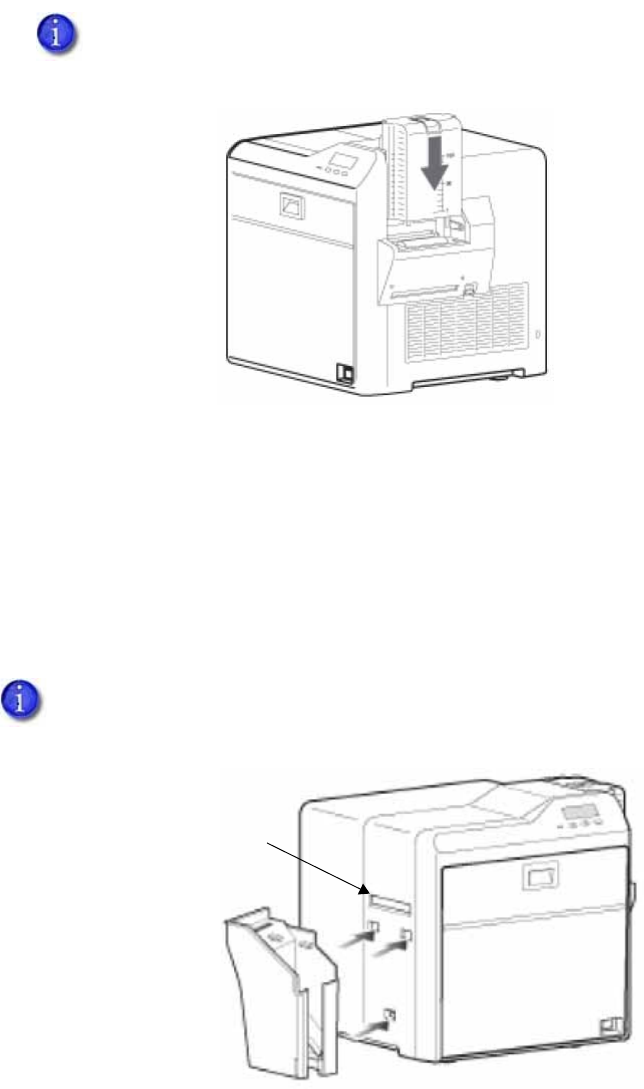
Installing the Card Stacker
Ascompletedcardsexittheprinterorlaminator,theyarecollectedinthecardstacker.Installthe
cardstackerbelowthecardoutslotontheleftsideoftheprinterorthelaminator(ifused).
Card Stacker on SR200 or SR300 Printer
Whennolaminatorisused,placethestack ertabsintotheattachmentslotsonthesideofthe
printer.Besuretohangthecardstackerontheattachmentslots,notonthecardoutslot.
The card hopper can hold up to 100, 0.030 inch (0.75 mm) thick cards.
The card stacker can hold up to 100 0.030 inch (0.75mm) thick cards.
CardOutSlot