
Installation guide
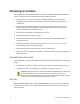
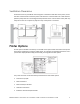
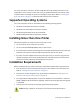
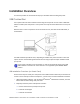
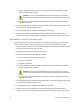
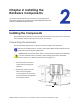
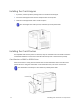
Table Of Contents
- Chapter 1: Planning the Installation
- Chapter 2: Installing the Hardware Components
- Chapter 3: Installing the Smart Card Driver
- Chapter 4: Installing the USB Printer Driver
- Chapter 5: Installing the Status Monitor
- Chapter 6: Network Installation
- Chapter 7: Removing Printer Driver and Status Monitor
- Untitled
SR200 & SR300 Card Printers and LM200 & LM200 Laminators Installation Guide 7
Installation Overview
Thissectionprovidesanov erviewofthestepsyouwillfollowwheninstallingtheprinter.
USB Connection
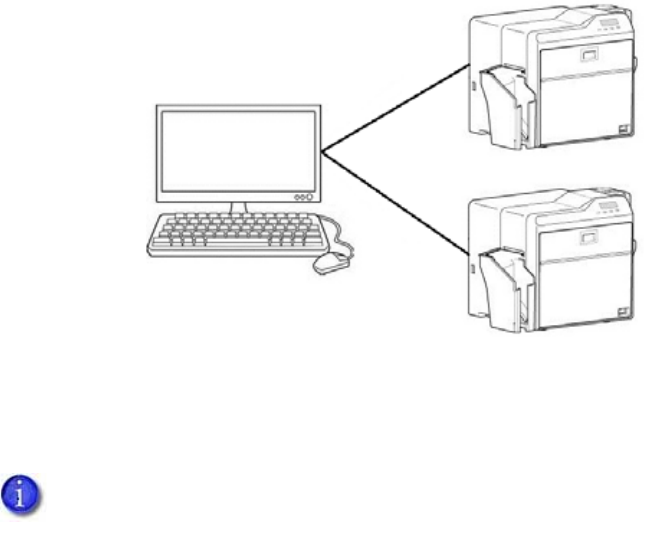
ThesimplestandmostdirectmethodofconnectingthecardprintertoaPCiswithaUSBcable.
Withthismethod,thecardprinterisalocalprinterandonlytheconnectedPCcanuseittoprint
cards.
Notethattwoormorecardprinterscanbeconnecte dto
aPC,eachwithitsownUSBcable,as
shownbelow:
TheUSBinstallationprocedurevaries,dependingonwhethertheprinterincludesasmartcard
option.UseoneofthefollowingOverviewsectionstohelpyouplanthestepsneededtoinstall
yourprinter.
USB Installation Overview (no Smart Card)
PerformthesestepstoinstallyourcardprinterwithaUSBconnectionwhentheprinterdoesnot
containasmartcardoption.RefertoChapters2,4,and5ofthismanualfordetailedinstructions.
1. (Optional)InstallIDsoftware,suchasDatacard
®
IDWorks
®
identificationsoftware,ont othe
PCthatwillbeusedtodesignandprintcards.
2. Physicallyinstalltheprinterandoptionallaminator:
a. Connectthelaminator(ifused)totheprinter.
b. Installthecardhopper.
c. Installthecardstacker.
Ifyourprinterincludesasmartcardoption,itmustbeconnectedtothePCwithaUSB
cable.NetworkconnectionforsmartcarduseisnotsupportedbytheSR200&SR300
printers.