
User`s guide


Table Of Contents
- Title page
- Contents
- Chapter 1: Overview
- Chapter 2: Getting started
- General requirements
- Selecting the site
- Electrical requirements
- Physical requirements
- Environmental requirements
- Unpacking the printer
- Who to call for assistance
- Connecting the printer
- Loading cards
- Loading the print ribbon
- Powering on the system
- Installing the printer driver
- Setup tips
- Making and evaluating test cards
- Printer test card
- Chapter 3: Using the printer
- Chapter 4: Maintaining the printer
- Chapter 5: Advanced Information
- Chapter 6: Troubleshooting
- App. A: Safety and compliance
- App. B: Supplies and cards
- App. C: PC settings
- App. D: Magnetic stripe encoding
- Index
C-2
User’s Guide for Express™ and Select™ Class Printers
Setting up two ECP parallel ports
1 Follow the instructions provided with the port to install it and set the jumpers.
Record the jumper settings.
The jumper settings must match the settings you choose in the Resources tab.
2 Right-click on the My Computer icon on the desktop and then select Properties
from the popup menu. The System Properties dialog box appears.
3 Select the Device Manager tab to view a list of devices.
4Select “View devices by type” if needed.
5 Click the + next to Ports (COM and LPT) to display the port entries. Usually the
second installed port is LPT2.
6 Click Printer Port (LPT2), or other entry for the installed port, and then select the
Properties button. The Printer Port (LPT2) Properties dialog box appears.
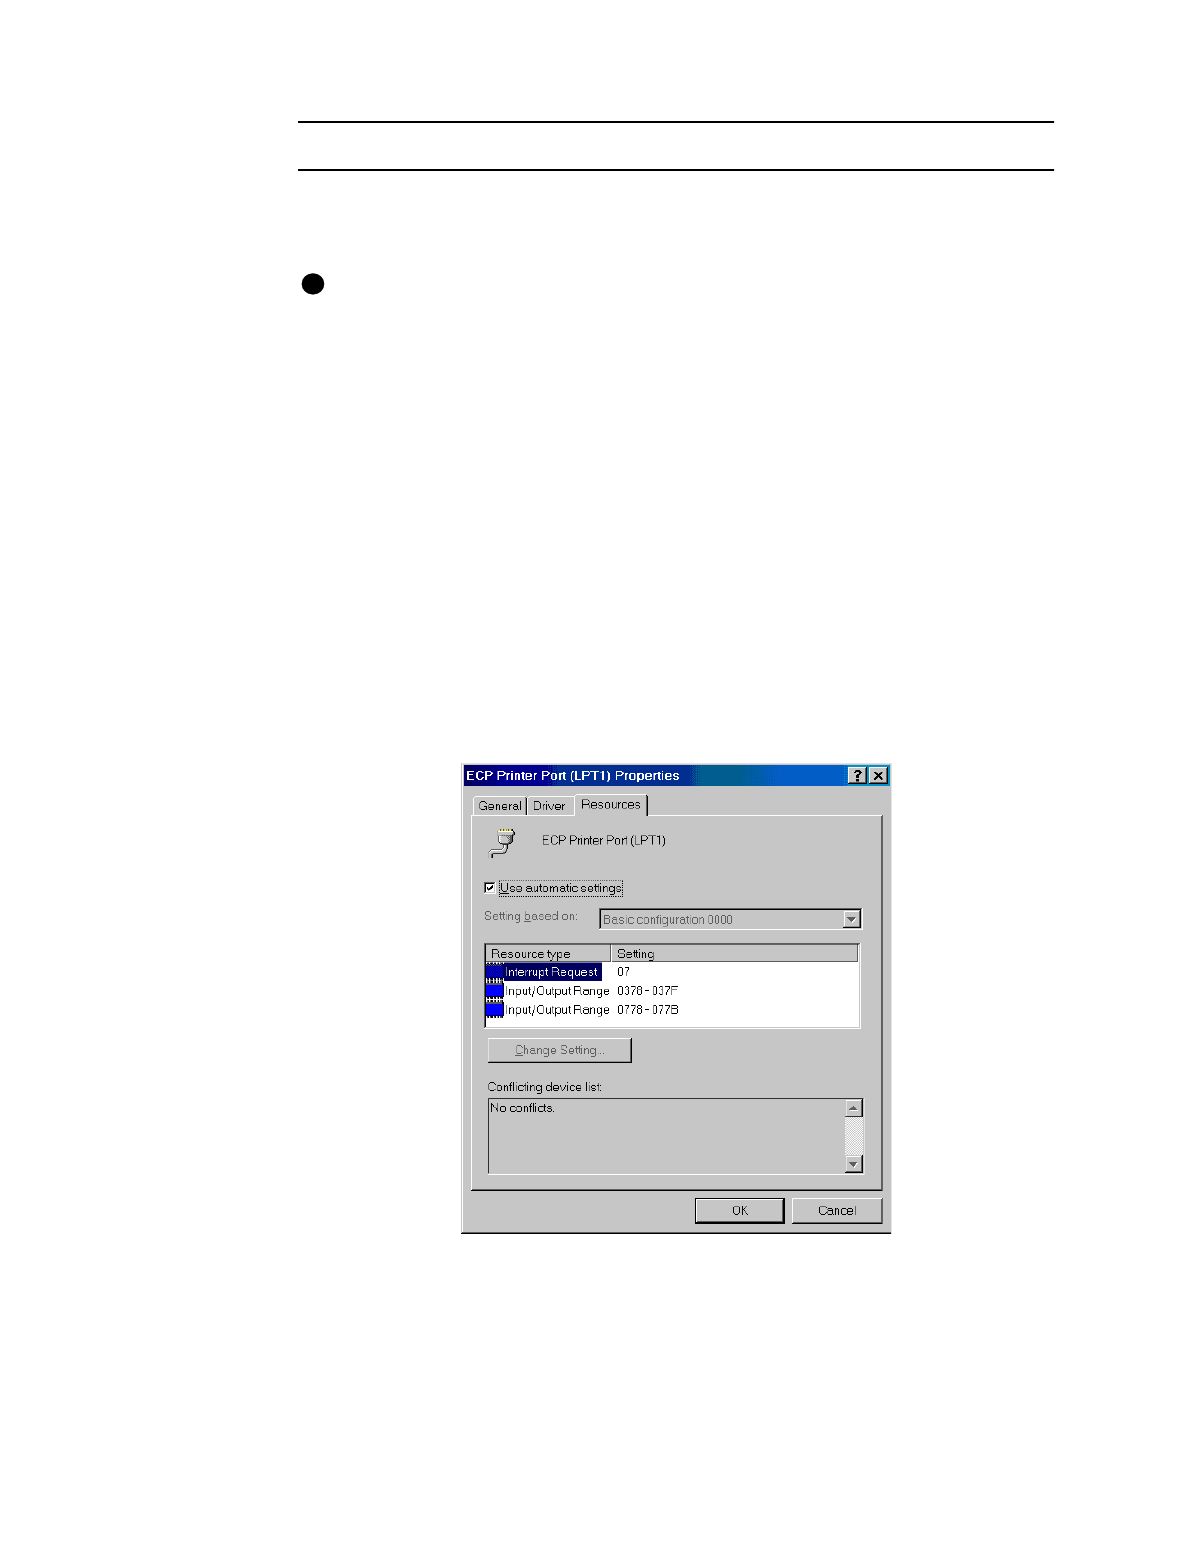
7 Click the Resources tab.
•
Make sure that “Use automatic settings” is not selected.
•
The “Conflicting device list” should show No conflicts.
•
If you are using a DMA channel for the second printer, the Resources settings list
should show Direct Memory Access and its channel setting.
Figure C-1: Printer Port (LPT) Properties dialog box
If the Resources tab shows conflicts, select another configuration or change the
settings for the port, following port instructions.
i