
User`s guide


Table Of Contents
- Title page
- Contents
- Chapter 1: Overview
- Chapter 2: Getting started
- General requirements
- Selecting the site
- Electrical requirements
- Physical requirements
- Environmental requirements
- Unpacking the printer
- Who to call for assistance
- Connecting the printer
- Loading cards
- Loading the print ribbon
- Powering on the system
- Installing the printer driver
- Setup tips
- Making and evaluating test cards
- Printer test card
- Chapter 3: Using the printer
- Chapter 4: Maintaining the printer
- Chapter 5: Advanced Information
- Chapter 6: Troubleshooting
- App. A: Safety and compliance
- App. B: Supplies and cards
- App. C: PC settings
- App. D: Magnetic stripe encoding
- Index
Getting started
2-9
User’s Guide for Express™ and Select™ Class Printers
Load the print ribbon
1 If used print ribbon is in the printer, remove the used ribbon and used ribbon spool
from the ribbon cartridge shafts.
The print ribbon has a negative image of the information printed on the card.
Dispose of print ribbon according to your policy for protecting the data that might
be visible on it.
2 Unwrap the new print ribbon.
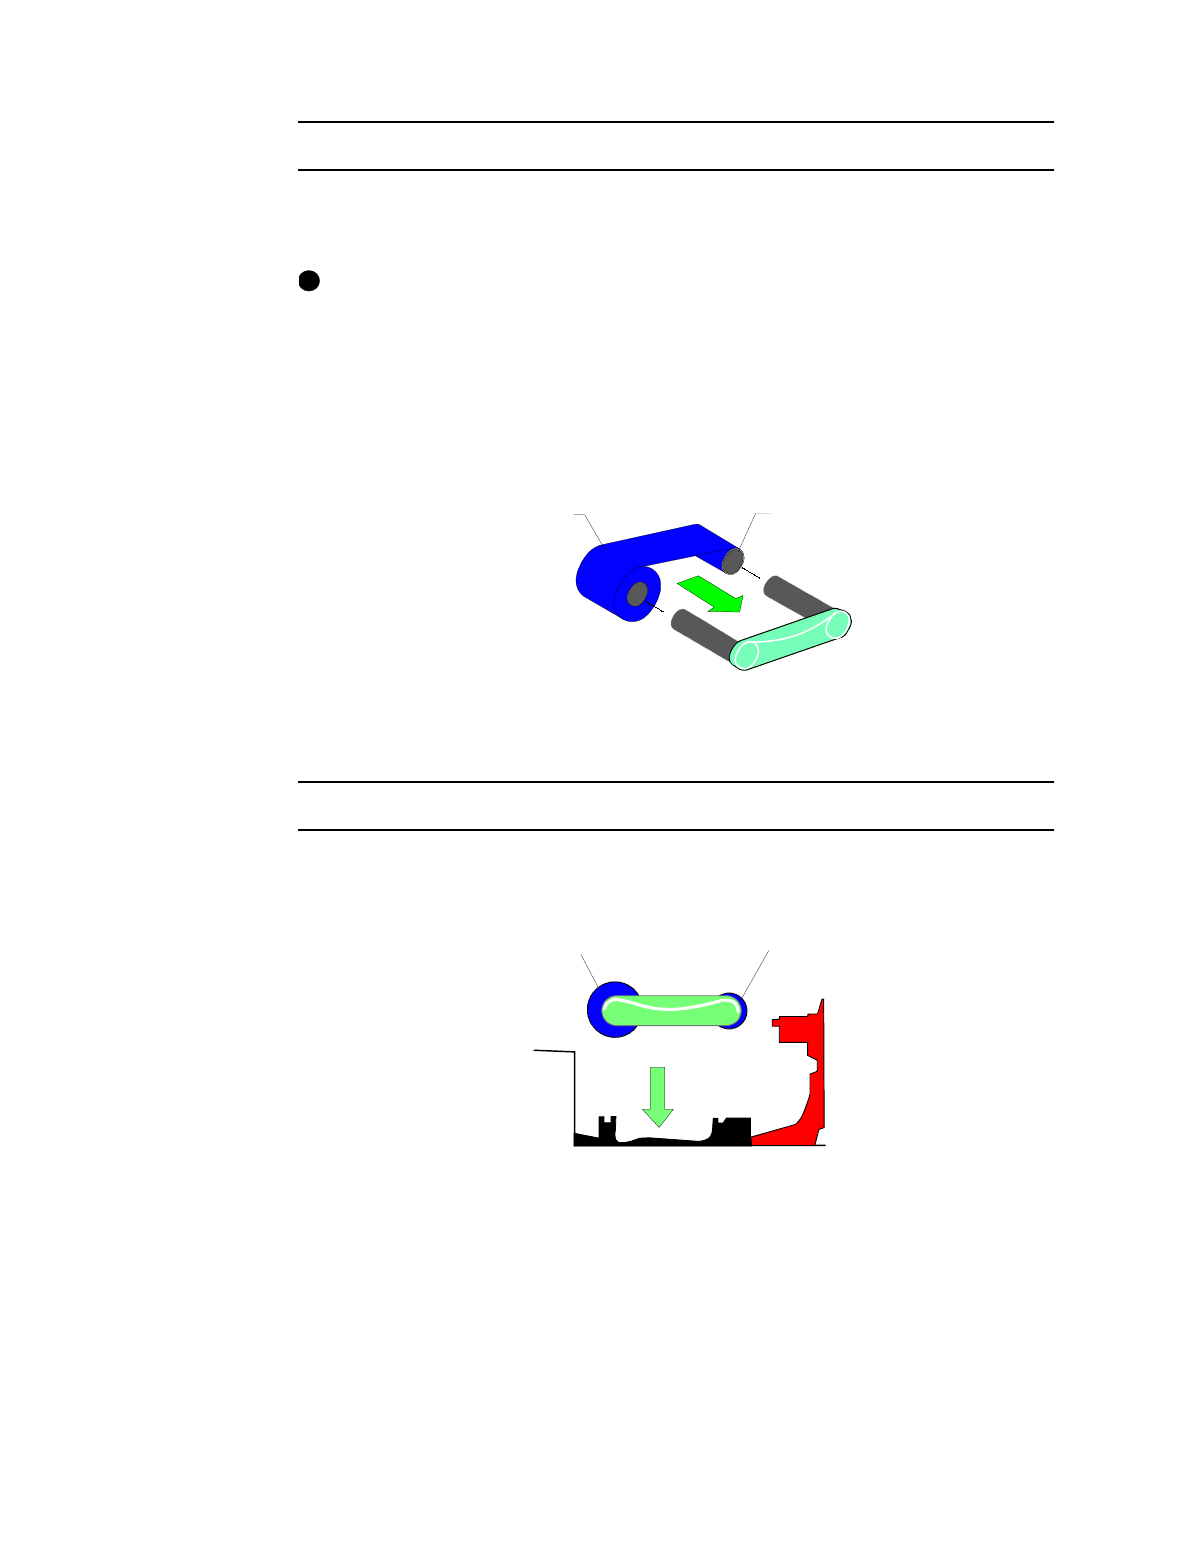
3 Slide the full supply roll onto the left ribbon cartridge shaft (see Figure 2-9).
4 Slide the empty take-up ribbon spool onto the right ribbon cartridge shaft. Leave
very little slack in the ribbon between the ribbon cartridge shafts (see Figure 2-9).
Figure 2-9: Load new print ribbon on the ribbon cartridge
♦
Replace the print ribbon cartridge
1 Place the ribbon cartridge onto the ribbon cartridge supports, and press down until
it clicks into place (see Figure 2-10).
Figure 2-10: Replace the print ribbon cartridge
2 Close the swing arm, pressing it down until the push latch clicks into place.
3 Close the cover.
i
Ribbon take-up
Ribbon supply
Ribbon take-up
Print ribbon supply