
User's Manual


Table Of Contents
- Cybersecurity Recommendations
- Regulatory Information
- Foreword
- 1 Product Introduction
- 2 Basic Settings
- 3 Daily Operation
- 3.1 Live
- 3.2 PTZ
- 3.2.1 Bullet Camera
- 3.2.2 Dome Camera
- 3.2.2.1 Configuring Protocol
- 3.2.2.2 Configuring PTZ Functions
- 3.2.2.2.1 Configuring Preset
- 3.2.2.2.2 Configuring Tour
- 3.2.2.2.3 Configuring Scan
- 3.2.2.2.4 Configuring Pattern
- 3.2.2.2.5 Configuring Pan
- 3.2.2.2.6 Configuring PTZ Speed
- 3.2.2.2.7 Configuring Idle Motion
- 3.2.2.2.8 Configuring Power Up
- 3.2.2.2.9 Configuring Time Task
- 3.2.2.2.10 Restarting PTZ Manually
- 3.2.2.2.11 Restoring PTZ to the Default Settings
- 3.2.2.3 Operating PTZ
- 3.2.2.4 Configuring Preset Backup
- 3.3 Playback
- 3.4 Reports
- 3.5 Alarm
- 4 Setting
- 4.1 Configuring Camera
- 4.1.1 Configuring Lens
- 4.1.2 Configuring Video Parameters
- 4.1.3 Configuring Audio Parameters
- 4.2 Configuring Network
- 4.3 Peripheral
- 4.4 Smart Thermal
- 4.5 Event
- 4.6 Temperature Measuring Settings
- 4.7 Storage Management
- 4.8 System Management
- 4.1 Configuring Camera
- 5 System Maintenance
- 6 Additional Accessing Methods
Setting 82
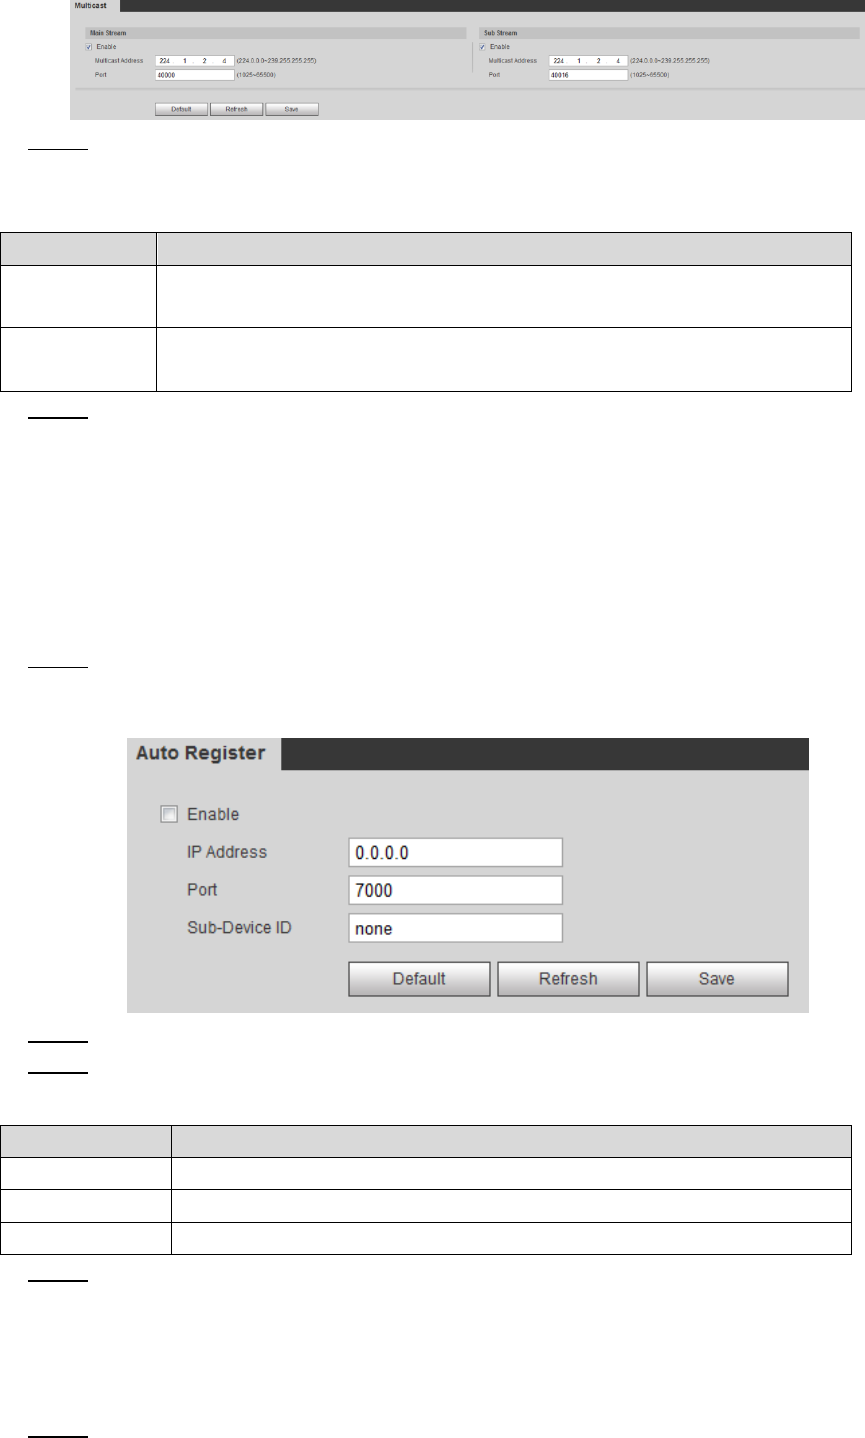
Multicast Figure 4-34
Select Enable and then enter IP address and port number. For detailed description, Step 2
see Table 4-18.
Table 4-18 Multicast
Parameter
Meaning
Description
The Multicast IP address of Main Stream/Sub Stream is 224.1.2.4 by
default, and the range is 224.0.0.0–239.255.255.255.
Port
See the multicast port of corresponding stream: Main Stream: 40000;
Sub Stream1: 40016; Sub Stream2: 40032, all the range is 1025–65500.
Click Save, and the login interface is displayed. The configuration finishes. Step 3
In the Live interface, set Protocol to Multicast, and then you can view the video image
with Multicast protocol.
4.2.10 Configuring Auto Registration
In the Auto Register interface, you can set up an IP address to which the camera will report its
location.
Select Setting > Network > Auto Register. Step 1
The Auto Register interface is displayed. See Figure 4-35.
Auto registration Figure 4-35
Select the Enable check box. Step 2
Set up auto registration parameters. See Table 4-19. Step 3
Table 4-19 Auto registration parameter description
Parameter
Description
IP Address
IP address or domain name to which the camera transmits its location.
Port
The port for auto registration.
Sub-device ID
Your device ID given by the server.
Click Save to finish configuration. Step 4
4.2.11 Configuring 802.1X
802.1X can control the Device’s access to LAN.
Select Setting > Network > 802.1x. Step 1