
User's Manual


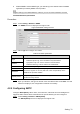
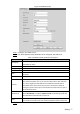


Table Of Contents
- Cybersecurity Recommendations
- Regulatory Information
- Foreword
- 1 Product Introduction
- 2 Basic Settings
- 3 Daily Operation
- 3.1 Live
- 3.2 PTZ
- 3.2.1 Bullet Camera
- 3.2.2 Dome Camera
- 3.2.2.1 Configuring Protocol
- 3.2.2.2 Configuring PTZ Functions
- 3.2.2.2.1 Configuring Preset
- 3.2.2.2.2 Configuring Tour
- 3.2.2.2.3 Configuring Scan
- 3.2.2.2.4 Configuring Pattern
- 3.2.2.2.5 Configuring Pan
- 3.2.2.2.6 Configuring PTZ Speed
- 3.2.2.2.7 Configuring Idle Motion
- 3.2.2.2.8 Configuring Power Up
- 3.2.2.2.9 Configuring Time Task
- 3.2.2.2.10 Restarting PTZ Manually
- 3.2.2.2.11 Restoring PTZ to the Default Settings
- 3.2.2.3 Operating PTZ
- 3.2.2.4 Configuring Preset Backup
- 3.3 Playback
- 3.4 Reports
- 3.5 Alarm
- 4 Setting
- 4.1 Configuring Camera
- 4.1.1 Configuring Lens
- 4.1.2 Configuring Video Parameters
- 4.1.3 Configuring Audio Parameters
- 4.2 Configuring Network
- 4.3 Peripheral
- 4.4 Smart Thermal
- 4.5 Event
- 4.6 Temperature Measuring Settings
- 4.7 Storage Management
- 4.8 System Management
- 4.1 Configuring Camera
- 5 System Maintenance
- 6 Additional Accessing Methods
Setting 72
Parameter
Description
Enable ARP/Ping
to set IP address
service.
Select the check box, get the device MAC address, and then you can
modify and configure the device IP address with ARP/ping command.
This is enabled by default. During reboot, you will have no more than
two minutes to configure the device IP address with a ping packet
which has certain length. The server will be turned off in 2 minutes, or
it will be turned off immediately after IP address configuration. If this is
not enabled, the IP address cannot be configured with ping packet.
A demonstration of configuring IP address with ARP/Ping.
1. To obtain a free IP address, you need to ensure that the Device
and your PC are in the same LAN.
2. Get MAC address from the device label.
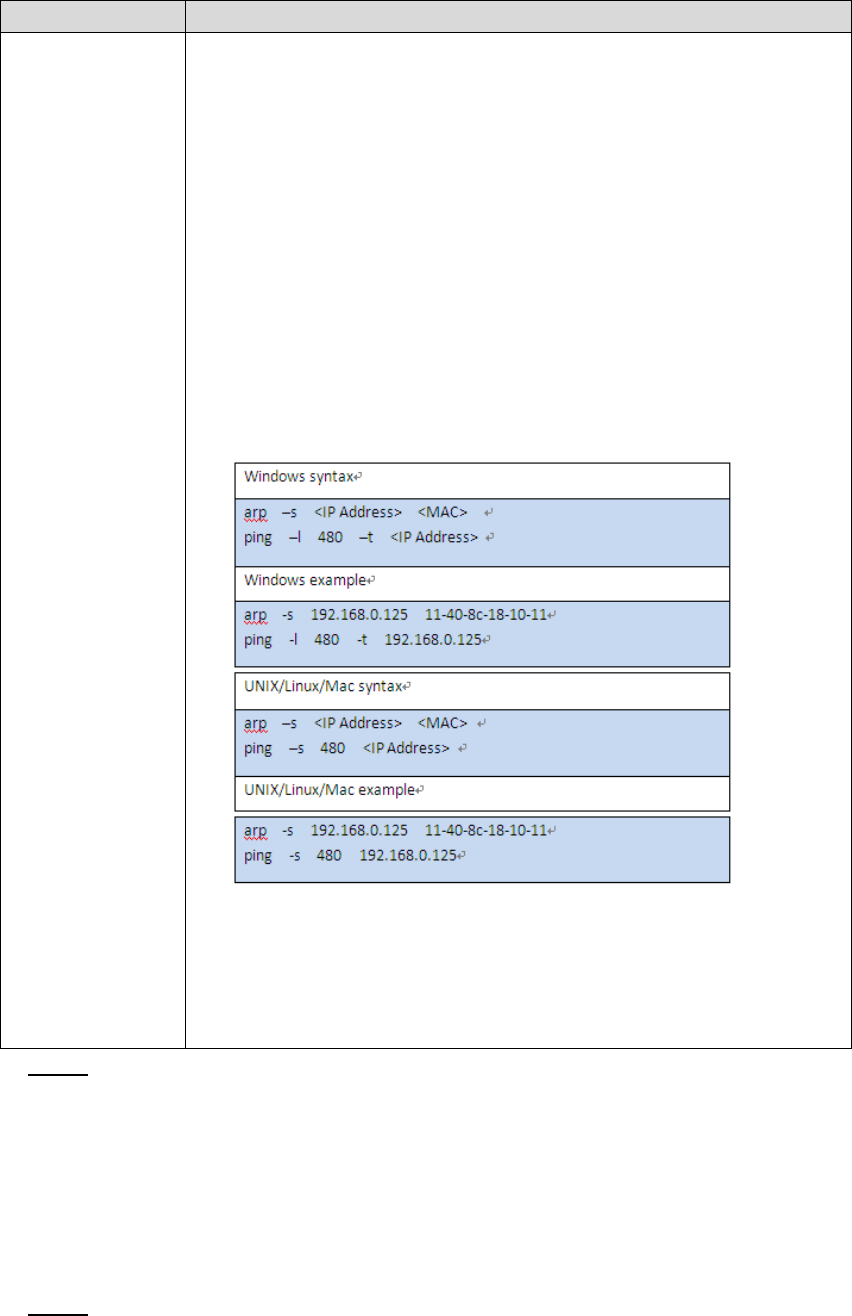
3. Open command editor on your PC and enter the following
command.
4. Reboot through power or network.
5. Check your PC command line. If there is information such as
"Reply from 192.168.0.125…", you have done configuration
successfully. Turn it off then.
6. Enter http://(IP address) in the browser address bar to log in.
Click Save to finish configuration. Step 3
4.2.2 Configuring Port
4.2.2.1 Configuring Port Parameters
You can configure the maximum port number and each port value.
Select Setting > Network > Port > Port. Step 1
The Port interface is displayed. See Figure 4-25.