
User's Manual
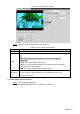


Table Of Contents
- Cybersecurity Recommendations
- Regulatory Information
- Foreword
- 1 Product Introduction
- 2 Basic Settings
- 3 Daily Operation
- 3.1 Live
- 3.2 PTZ
- 3.2.1 Bullet Camera
- 3.2.2 Dome Camera
- 3.2.2.1 Configuring Protocol
- 3.2.2.2 Configuring PTZ Functions
- 3.2.2.2.1 Configuring Preset
- 3.2.2.2.2 Configuring Tour
- 3.2.2.2.3 Configuring Scan
- 3.2.2.2.4 Configuring Pattern
- 3.2.2.2.5 Configuring Pan
- 3.2.2.2.6 Configuring PTZ Speed
- 3.2.2.2.7 Configuring Idle Motion
- 3.2.2.2.8 Configuring Power Up
- 3.2.2.2.9 Configuring Time Task
- 3.2.2.2.10 Restarting PTZ Manually
- 3.2.2.2.11 Restoring PTZ to the Default Settings
- 3.2.2.3 Operating PTZ
- 3.2.2.4 Configuring Preset Backup
- 3.3 Playback
- 3.4 Reports
- 3.5 Alarm
- 4 Setting
- 4.1 Configuring Camera
- 4.1.1 Configuring Lens
- 4.1.2 Configuring Video Parameters
- 4.1.3 Configuring Audio Parameters
- 4.2 Configuring Network
- 4.3 Peripheral
- 4.4 Smart Thermal
- 4.5 Event
- 4.6 Temperature Measuring Settings
- 4.7 Storage Management
- 4.8 System Management
- 4.1 Configuring Camera
- 5 System Maintenance
- 6 Additional Accessing Methods
Setting 56
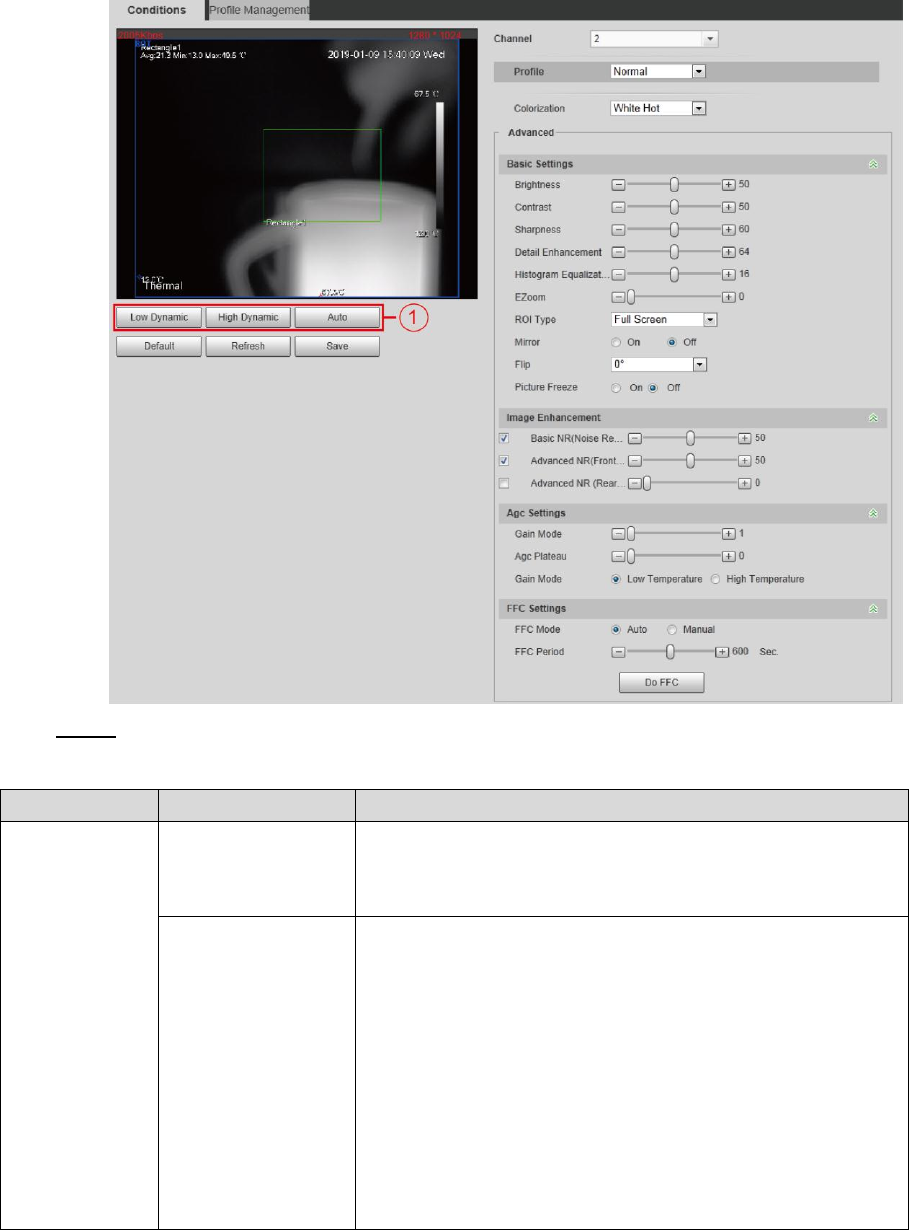
The thermal image interface Figure 4-9
Configure lens parameters. For detailed description, see Table 4-8. Step 3
Table 4-8 Parameter description of lens
Classification
Parameter
Description
Profile
Profile
Common model, day and night can be selected.
You can set the relevant parameter of thermal image
after you configure files.
Scene (marked by
① in Figure 4-9)
Select the duplicate frame and set the frequently used
video parameter as the user-defined scene. Or, you can
select the default scene and set the display of the thermal
image.
Low Dynamic: Thermal images will be displayed
based on the configuration of low dynamic scene.
High Dynamic: Thermal images will be displayed
based on the configuration of high dynamic scene.
Auto: Thermal images will be displayed based on
the configuration of auto scene.