
User's Manual

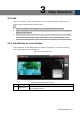


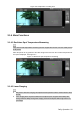


Table Of Contents
- Cybersecurity Recommendations
- Regulatory Information
- Foreword
- 1 Product Introduction
- 2 Basic Settings
- 3 Daily Operation
- 3.1 Live
- 3.2 PTZ
- 3.2.1 Bullet Camera
- 3.2.2 Dome Camera
- 3.2.2.1 Configuring Protocol
- 3.2.2.2 Configuring PTZ Functions
- 3.2.2.2.1 Configuring Preset
- 3.2.2.2.2 Configuring Tour
- 3.2.2.2.3 Configuring Scan
- 3.2.2.2.4 Configuring Pattern
- 3.2.2.2.5 Configuring Pan
- 3.2.2.2.6 Configuring PTZ Speed
- 3.2.2.2.7 Configuring Idle Motion
- 3.2.2.2.8 Configuring Power Up
- 3.2.2.2.9 Configuring Time Task
- 3.2.2.2.10 Restarting PTZ Manually
- 3.2.2.2.11 Restoring PTZ to the Default Settings
- 3.2.2.3 Operating PTZ
- 3.2.2.4 Configuring Preset Backup
- 3.3 Playback
- 3.4 Reports
- 3.5 Alarm
- 4 Setting
- 4.1 Configuring Camera
- 4.1.1 Configuring Lens
- 4.1.2 Configuring Video Parameters
- 4.1.3 Configuring Audio Parameters
- 4.2 Configuring Network
- 4.3 Peripheral
- 4.4 Smart Thermal
- 4.5 Event
- 4.6 Temperature Measuring Settings
- 4.7 Storage Management
- 4.8 System Management
- 4.1 Configuring Camera
- 5 System Maintenance
- 6 Additional Accessing Methods
Daily Operation 14
No.
Name
Description
2
Encode bar
Select bit stream type and streaming protocol when previewing a
video.
Main Stream: It has large bit stream value and image with high
resolution, but also requires large bandwidth. This option is
normally used for storage and surveillance.
Sub Stream: It has small bit stream value and smooth image,
and requires little bandwidth. This option is normally used to
replace main stream when bandwidth is not enough.
Streaming protocol: A network transmission protocol, supports
TCP, UDP and Multicast.
3
Live view
function bar
For functions and operations of live view bar, see "3.1.2 Function
Bar."
4
PTZ control
For details of PTZ control, see "3.2 PTZ."
5
Adjustment
bar of video
window
Supports adjusting clarity of video images, displaying intelligent rules,
zooming with focusing at the same time, checking real-time reports.
See "3.1.3 Window Adjustment" for details.
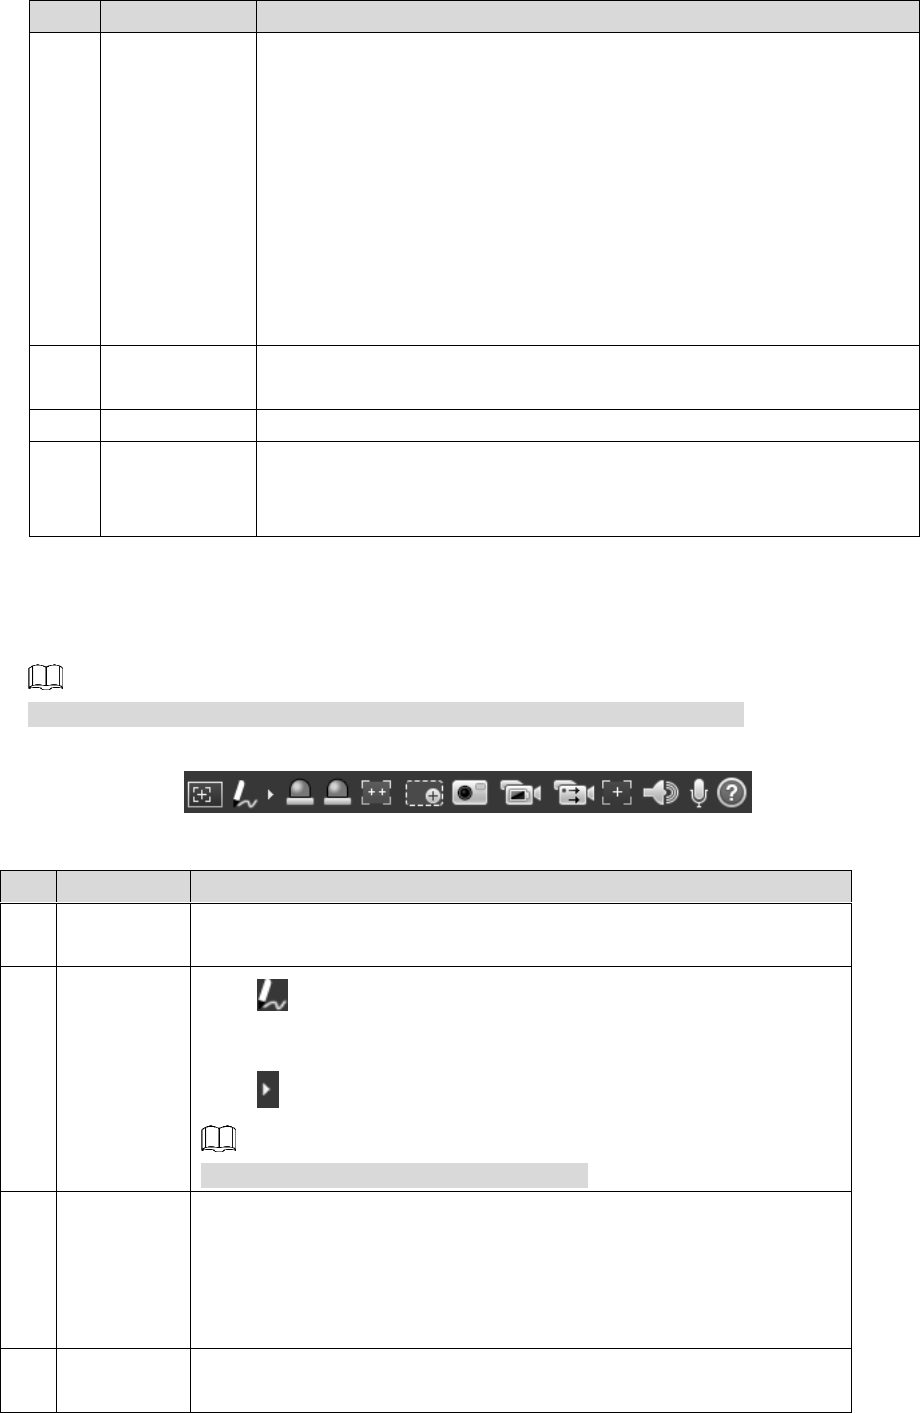
3.1.2 Function Bar
See Figure 3-2 and Table 3-2 for more details.
Functions of different devices might vary, and the actual product shall prevail.
Live view function Figure 3-2
Table 3-2 Live view function description
No.
Name
Description
1
Regional
focus
Click this icon, and click or draw a box on the video image. Then the
camera will implement auto focus.
2
Mark pen
Click to mark a target on the video image and the default pen
color is red.
Click to switch the pen color from red, green and blue.
Marks are not carried in video recordings.
3
Relay-out
Shows alarm output state. Click the icon to force enable or force
disable alarm output.
Alarm output state description:
Red: Alarm output.
Grey: Alarm over.
4
Fixed
Focus
Click this icon. Then the visible image adjusts its values of zoom and
focus in accordance with values of the thermal image.