
User's Manual
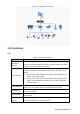
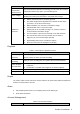

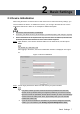


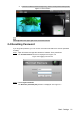
Table Of Contents
- Cybersecurity Recommendations
- Regulatory Information
- Foreword
- 1 Product Introduction
- 2 Basic Settings
- 3 Daily Operation
- 3.1 Live
- 3.2 PTZ
- 3.2.1 Bullet Camera
- 3.2.2 Dome Camera
- 3.2.2.1 Configuring Protocol
- 3.2.2.2 Configuring PTZ Functions
- 3.2.2.2.1 Configuring Preset
- 3.2.2.2.2 Configuring Tour
- 3.2.2.2.3 Configuring Scan
- 3.2.2.2.4 Configuring Pattern
- 3.2.2.2.5 Configuring Pan
- 3.2.2.2.6 Configuring PTZ Speed
- 3.2.2.2.7 Configuring Idle Motion
- 3.2.2.2.8 Configuring Power Up
- 3.2.2.2.9 Configuring Time Task
- 3.2.2.2.10 Restarting PTZ Manually
- 3.2.2.2.11 Restoring PTZ to the Default Settings
- 3.2.2.3 Operating PTZ
- 3.2.2.4 Configuring Preset Backup
- 3.3 Playback
- 3.4 Reports
- 3.5 Alarm
- 4 Setting
- 4.1 Configuring Camera
- 4.1.1 Configuring Lens
- 4.1.2 Configuring Video Parameters
- 4.1.3 Configuring Audio Parameters
- 4.2 Configuring Network
- 4.3 Peripheral
- 4.4 Smart Thermal
- 4.5 Event
- 4.6 Temperature Measuring Settings
- 4.7 Storage Management
- 4.8 System Management
- 4.1 Configuring Camera
- 5 System Maintenance
- 6 Additional Accessing Methods
Basic Settings 10
Select the check box of The Same IP and set the IP addresses of the Devices you
have picked up as the same one.
Click OK to finish configuration. Step 6
Logging in Web Interface 2.3
After you have modified the IP addresses, you can log in the WEB interface of the Device
through a browser to operate, configure and maintain the Device.
Background Information
To log in the Device in a smooth way, you need to make sure that the PC connected to the
Device satisfies the following requirements. See Table 2-1.
Table 2-1 Recommended PC configuration
PC items
Recommended configuration
Operation system
≥ Windows 7
CPU
≥ Intel core i3
Graphics card
≥ Intel HD Graphics
Storage
≥ 2GB
Display
≥ 1024×768 Resolution
Browser
Internet Explorer 9/10/11
Procedure
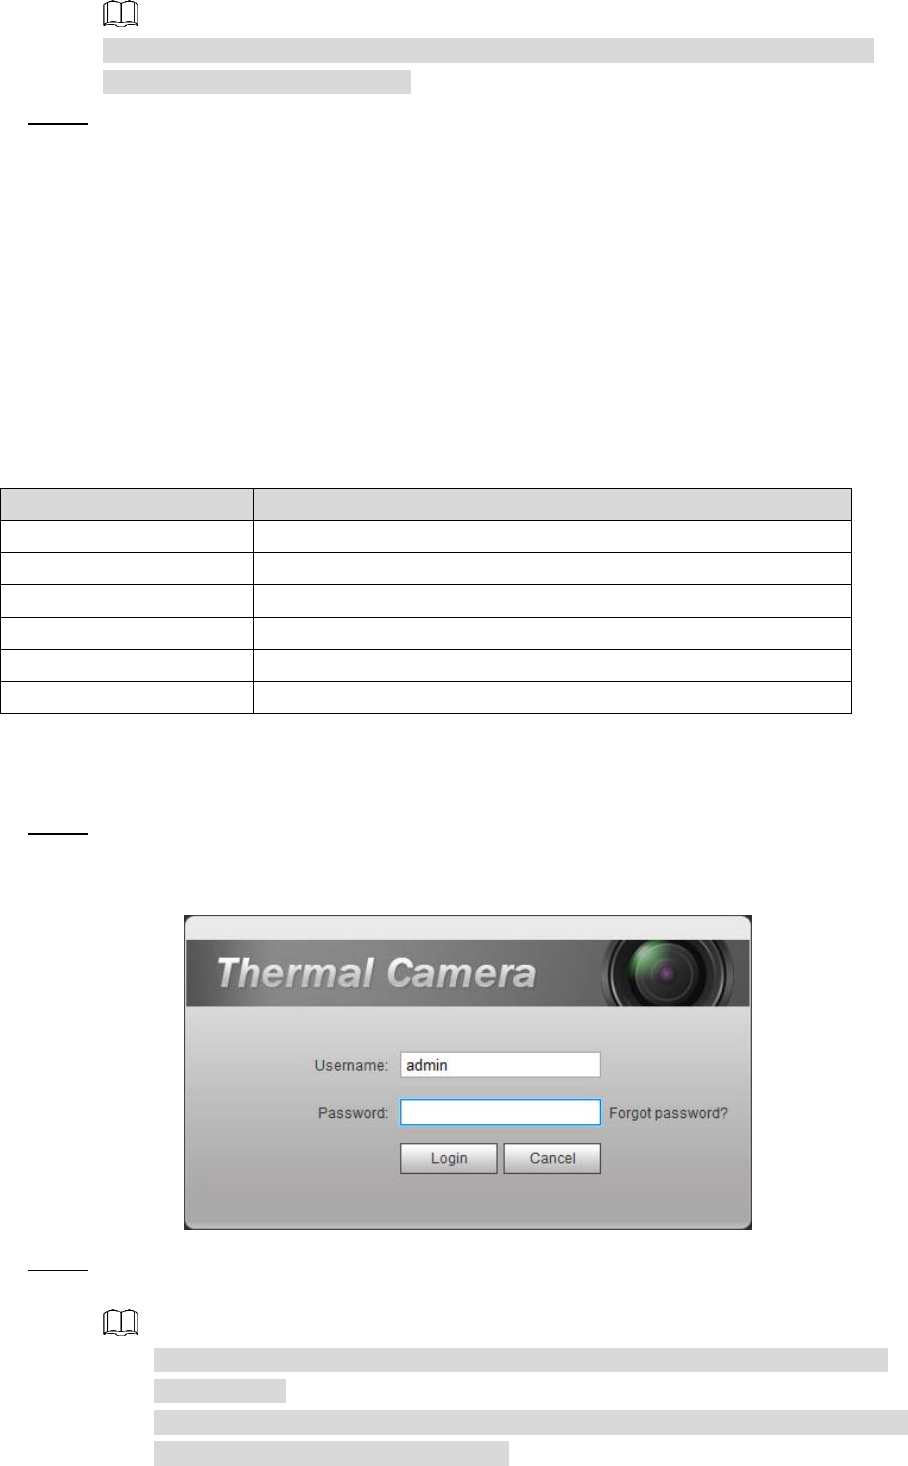
Open browser, enter IP address in the address bar, and then press Enter. Step 1
The login interface is displayed. See Figure 2-4.
Login Figure 2-4
Enter username and password, and click Login. Step 2
After the successful login, the Live interface is displayed. See Figure 2-5.
The default user is admin. The password is the one that was configured during
initial settings.
It will prompt you to install plug-in for the first system login. Please download and
install plug-in according to the prompt.