
User's Manual
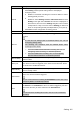


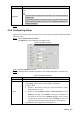

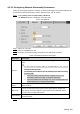
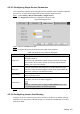


Table Of Contents
- Cybersecurity Recommendations
- Regulatory Information
- Foreword
- 1 Product Introduction
- 2 Basic Settings
- 3 Daily Operation
- 3.1 Live
- 3.2 PTZ
- 3.2.1 Bullet Camera
- 3.2.2 Dome Camera
- 3.2.2.1 Configuring Protocol
- 3.2.2.2 Configuring PTZ Functions
- 3.2.2.2.1 Configuring Preset
- 3.2.2.2.2 Configuring Tour
- 3.2.2.2.3 Configuring Scan
- 3.2.2.2.4 Configuring Pattern
- 3.2.2.2.5 Configuring Pan
- 3.2.2.2.6 Configuring PTZ Speed
- 3.2.2.2.7 Configuring Idle Motion
- 3.2.2.2.8 Configuring Power Up
- 3.2.2.2.9 Configuring Time Task
- 3.2.2.2.10 Restarting PTZ Manually
- 3.2.2.2.11 Restoring PTZ to the Default Settings
- 3.2.2.3 Operating PTZ
- 3.2.2.4 Configuring Preset Backup
- 3.3 Playback
- 3.4 Reports
- 3.5 Alarm
- 4 Setting
- 4.1 Configuring Camera
- 4.1.1 Configuring Lens
- 4.1.2 Configuring Video Parameters
- 4.1.3 Configuring Audio Parameters
- 4.2 Configuring Network
- 4.3 Peripheral
- 4.4 Smart Thermal
- 4.5 Event
- 4.6 Temperature Measuring Settings
- 4.7 Storage Management
- 4.8 System Management
- 4.1 Configuring Camera
- 5 System Maintenance
- 6 Additional Accessing Methods
Setting 118
4.5.5.2 Configuring Network Abnormality Parameters
When any abnormality happens to network, an alarm will be triggered and linked activities will
be executed. Network abnormality includes "Disconnection" and "IP conflict."
Select Setting > Event > Abnormality > Network. Step 1
The Network interface is displayed. See Figure 4-61.
Network Figure 4-61
Select an event type. Step 2
Select the Enable check box. Step 3
Configure network abnormality parameters. See Table 4-35 for details. Step 4
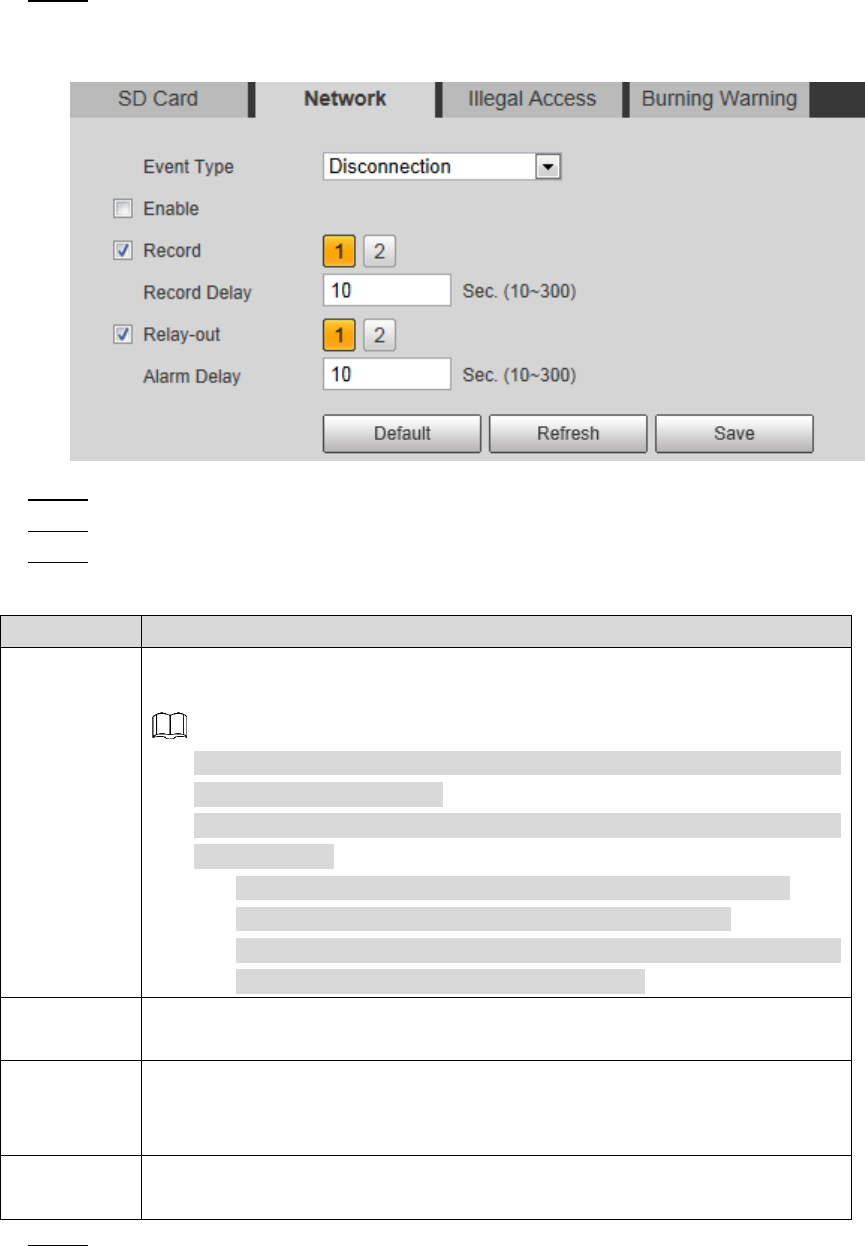
Table 4-35 Network parameter description
Parameter
Description
Record
Enable this function and alarm recording will be triggered when there is an
alarm.
To view and set storage path of recorded videos, see "4.1.2.5
Configuring Storage Path".
The following two conditions must be satisfied before alarm recording
function works:
You have enabled motion detection recording. See "4.7.1.1
Configuring Video Recording" for detailed operations.
You have enabled auto recording. See "4.7.3 Configuring Record
Control Parameters" for detailed operations.
Record
Delay
Set a length of time for the Device to delay turning off recording after an
alarm is ended.
Relay-out
You can connect this relay-out port to such alarm devices as light and
siren. When an alarm is triggered, those alarm devices will work. Select
the check box to enable this function.
Alarm Delay
Set a length of time for the Device to delay turning off alarm after an event
is actually ended.
Click Save to finish configuration. Step 5