
User's Manual


Table Of Contents
- Cybersecurity Recommendations
- Regulatory Information
- Foreword
- 1 Product Introduction
- 2 Basic Settings
- 3 Daily Operation
- 3.1 Live
- 3.2 PTZ
- 3.2.1 Bullet Camera
- 3.2.2 Dome Camera
- 3.2.2.1 Configuring Protocol
- 3.2.2.2 Configuring PTZ Functions
- 3.2.2.2.1 Configuring Preset
- 3.2.2.2.2 Configuring Tour
- 3.2.2.2.3 Configuring Scan
- 3.2.2.2.4 Configuring Pattern
- 3.2.2.2.5 Configuring Pan
- 3.2.2.2.6 Configuring PTZ Speed
- 3.2.2.2.7 Configuring Idle Motion
- 3.2.2.2.8 Configuring Power Up
- 3.2.2.2.9 Configuring Time Task
- 3.2.2.2.10 Restarting PTZ Manually
- 3.2.2.2.11 Restoring PTZ to the Default Settings
- 3.2.2.3 Operating PTZ
- 3.2.2.4 Configuring Preset Backup
- 3.3 Playback
- 3.4 Reports
- 3.5 Alarm
- 4 Setting
- 4.1 Configuring Camera
- 4.1.1 Configuring Lens
- 4.1.2 Configuring Video Parameters
- 4.1.3 Configuring Audio Parameters
- 4.2 Configuring Network
- 4.3 Peripheral
- 4.4 Smart Thermal
- 4.5 Event
- 4.6 Temperature Measuring Settings
- 4.7 Storage Management
- 4.8 System Management
- 4.1 Configuring Camera
- 5 System Maintenance
- 6 Additional Accessing Methods
Setting 54
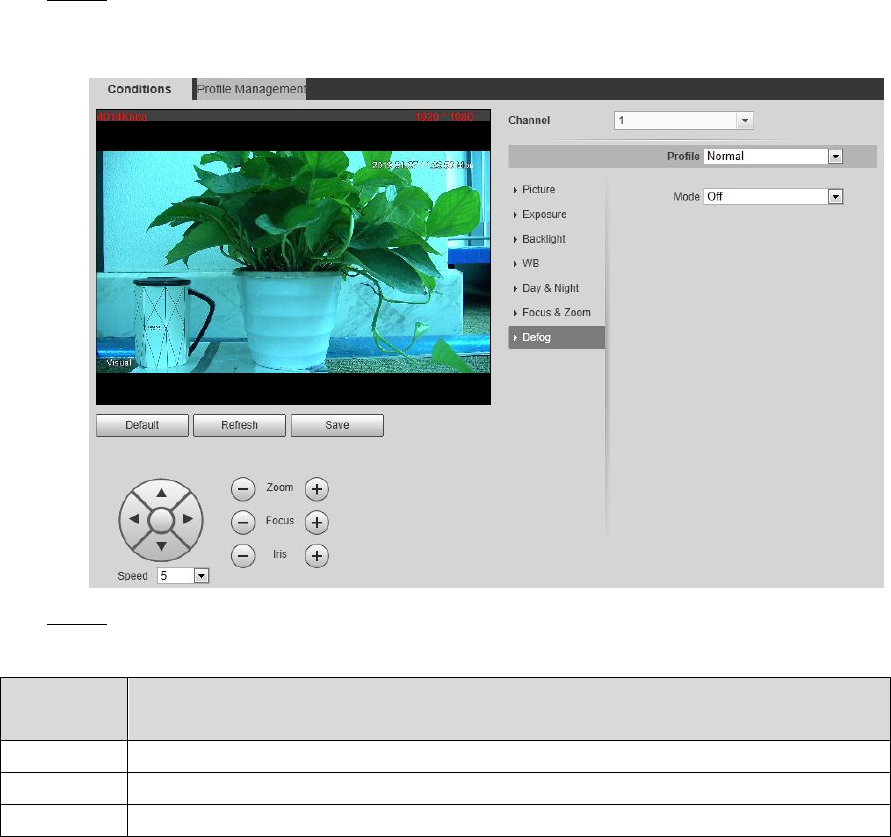
4.1.1.1.7 Configuring Defog
The image quality will be compromised in foggy or hazy environment, and defog can be used
then to improve image clarity.
Click the Defog tab. Step 1
The Defog interface is displayed. See Figure 4-7.
The defog interface Figure 4-7
Configure the defogging settings. See Table 4-7. Step 2
Table 4-7 Defogging settings description
Defogging
Settings
Description
Auto
The system adjusts image clarity according to the actual condition.
Manual
Adjust image clarity manually.
Off
Defogging function disabled.
4.1.1.1.8 Restoring Lens to the Default Settings
After you have modified lens parameters as mentioned above in 4.1.1.1, if you find situations
such as unclear images and abnormal colors, you can restore those parameters to the default
settings—you just need to click the Default button and click Save to finish configuration. See
Figure 4-8.