
User's Manual


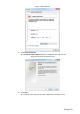

Table Of Contents
- Cybersecurity Recommendations
- Regulatory Information
- Foreword
- 1 Product Introduction
- 2 Basic Settings
- 3 Daily Operation
- 3.1 Live
- 3.2 PTZ
- 3.2.1 Bullet Camera
- 3.2.2 Dome Camera
- 3.2.2.1 Configuring Protocol
- 3.2.2.2 Configuring PTZ Functions
- 3.2.2.2.1 Configuring Preset
- 3.2.2.2.2 Configuring Tour
- 3.2.2.2.3 Configuring Scan
- 3.2.2.2.4 Configuring Pattern
- 3.2.2.2.5 Configuring Pan
- 3.2.2.2.6 Configuring PTZ Speed
- 3.2.2.2.7 Configuring Idle Motion
- 3.2.2.2.8 Configuring Power Up
- 3.2.2.2.9 Configuring Time Task
- 3.2.2.2.10 Restarting PTZ Manually
- 3.2.2.2.11 Restoring PTZ to the Default Settings
- 3.2.2.3 Operating PTZ
- 3.2.2.4 Configuring Preset Backup
- 3.3 Playback
- 3.4 Reports
- 3.5 Alarm
- 4 Setting
- 4.1 Configuring Camera
- 4.1.1 Configuring Lens
- 4.1.2 Configuring Video Parameters
- 4.1.3 Configuring Audio Parameters
- 4.2 Configuring Network
- 4.3 Peripheral
- 4.4 Smart Thermal
- 4.5 Event
- 4.6 Temperature Measuring Settings
- 4.7 Storage Management
- 4.8 System Management
- 4.1 Configuring Camera
- 5 System Maintenance
- 6 Additional Accessing Methods
Setting 149
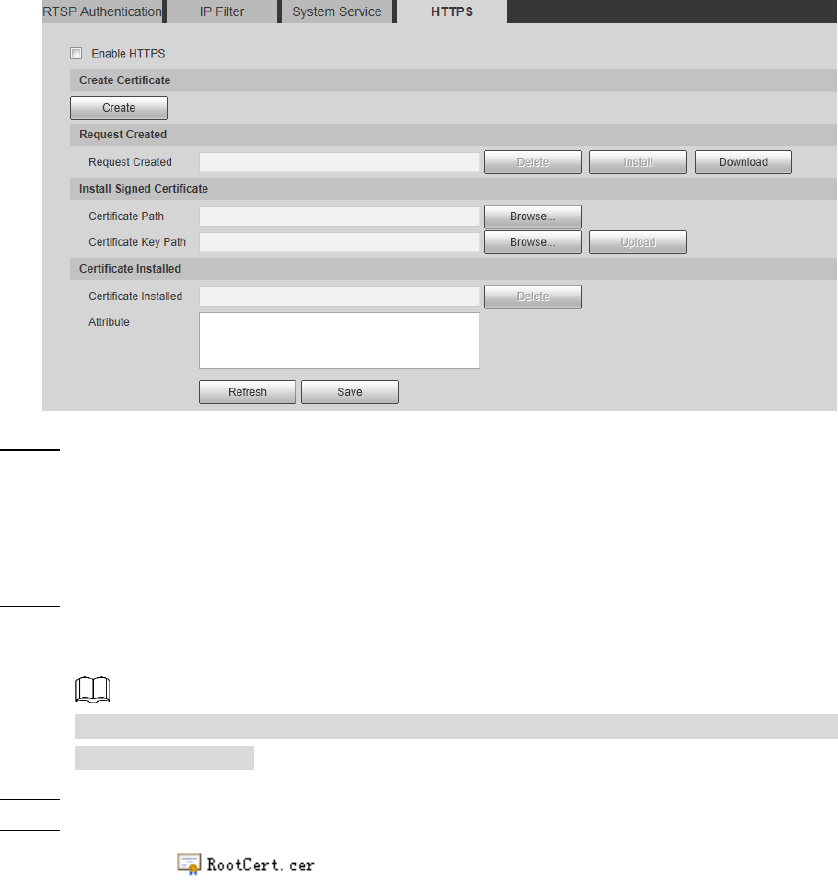
HTTPS Figure 4-107
Install a certificate that has been signed. Step 2
1) Click Browse on the right side of Certificate Path bar to select a certificate you
are to upload.
2) Click Browse on the right side of Certificate Key Path bar to select the certificate
password you are to upload.
Click Upload. Step 3
Installation begins. After that, certificate property will be displayed in the Certificate
Installed bar of the HTTPS interface.
Click Delete near the Certificate Installed bar of the HTTPS interface to delete a
certificate installed.
Click Save to store the root certificate. Step 4
Install the root certificate. Step 5
1) Click you have saved.
The dialog box of Certificate is displayed. See Figure 4-108.