
User's Manual


Table Of Contents
55D-Link DIR-645 User Manual
Section 3 - Software Configuration
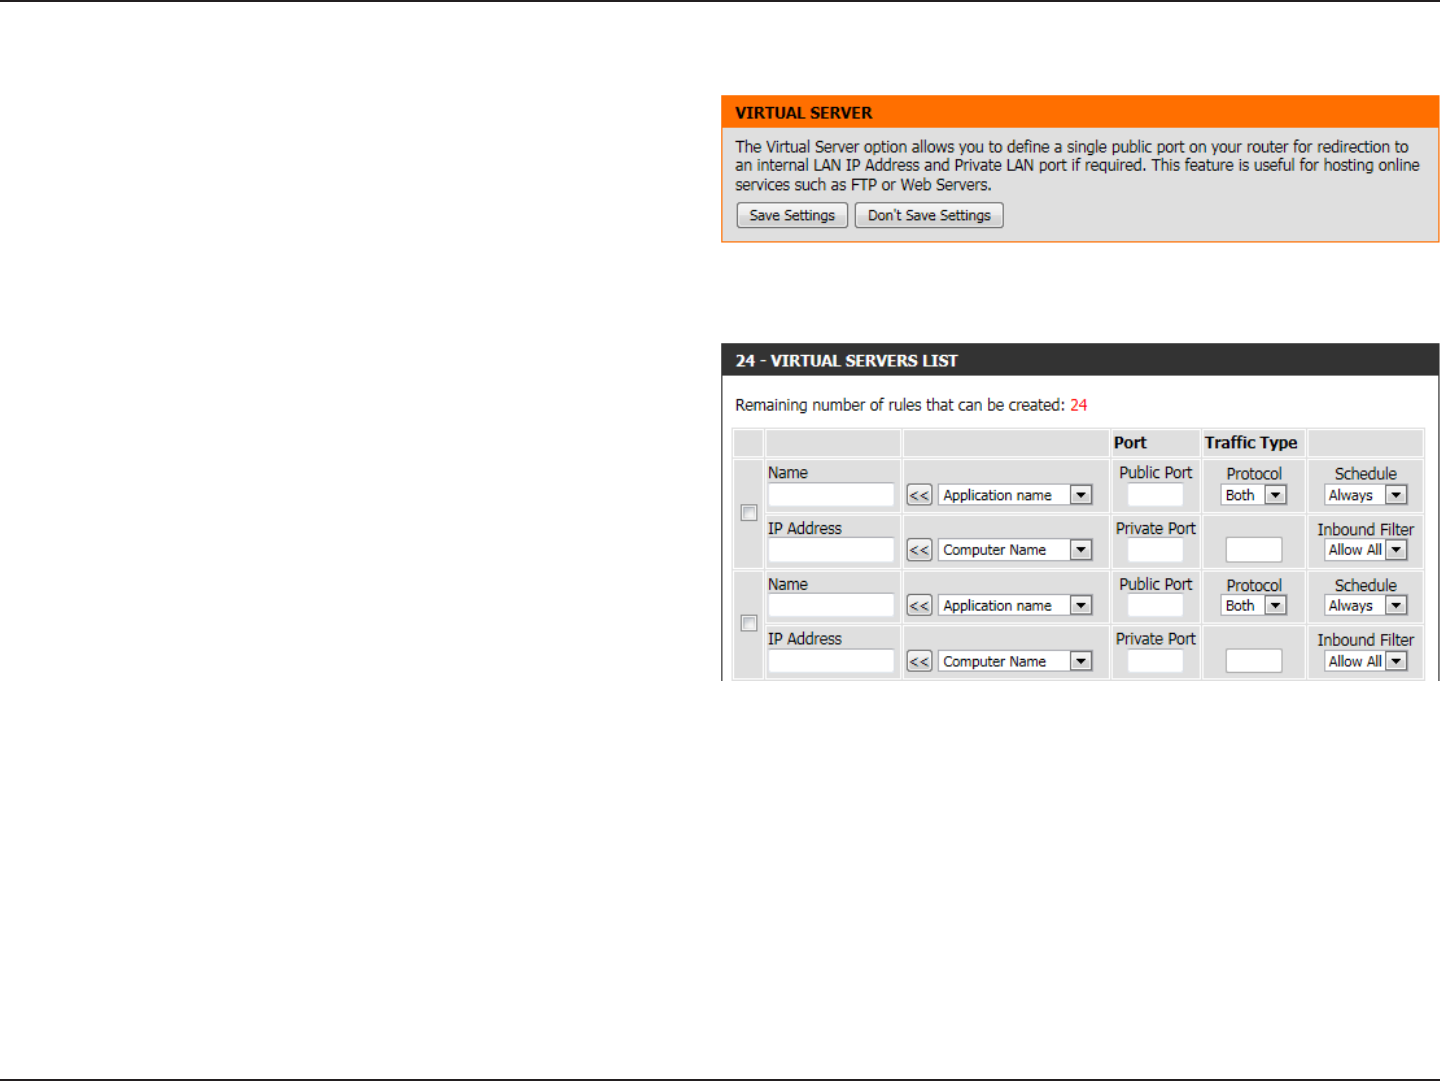
Virtual Server
This router can be configured as a virtual server so that remote users accessing
Web or FTP services via the public IP address can be automatically redirected to
local servers in the LAN (Local Area Network). The router’s firewall feature filters out
unrecognized packets to protect the LAN network so all computers networked with
the router are invisible to the outside world. The user can make some of the LAN
computers accessible from the Internet by enabling Virtual Server.
Depending on the requested service, the router redirects the external service request to the appropriate server within the LAN network. The router is also capable of port-
redirection, meaning that incoming traffic to a particular port may be redirected to a different port on the server computer.
The following parameters will be available for configuration:
Checkbox:
Check the box on the left side to enable the Virtual Server
rule.
Name:
Enter a name for the rule or select an application from the
drop-down menu. Select an application and click << to
populate the fields.
IP Address:
Enter the IP address of the computer on your local network
that you want to allow the incoming service to. If your
computer is receiving an IP address automatically from the
router (DHCP), you computer will be listed in the Computer
Name drop-down menu. Select your computer and click <<.
Port:
Enter the port that you want to open next to Public Port and Private Port. The public and private ports are usually the same. The public port is the port
seen from the Internet side, and the private port is the port being used by the application on the computer within your local network.
Traffic Type:
Select TCP, UDP, or All from the Protocol drop-down menu.
Schedule:
Use the drop-down menu to schedule the time that the Virtual Server Rule will be enabled. The schedule may be set to Always, which will allow the
particular service to always be enabled. You can create your own times in the Schedules page.
Click on the Save Settings button to accept the changes made.
Click on the Don’t Save Settings button to discard the changes made.