
Operation Manual


170
CyberLink PowerDirector
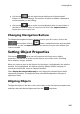
Enabling 3D Depth in Disc Menus
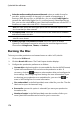
If you are creating a 3D video production and want your disc menu to be in 3D,
click the button and then select the Enable 3D depth* option.
Note: when using this feature, select the button to enable 3D mode for best
editing results. See Previewing in 3D Mode for more information on using this
mode. * Optional feature in CyberLink PowerDirector. Check the version table for
detailed versioning information.
Once enabled, use the slider to set the amount of depth you want the disc menu
objects (text, buttons, etc.) to have in 3D. Dragging the slider left will make the 3D
disc menu objects seem nearer to the audience (in the foreground), while dragging
it right will make it appear farther away (in the background).
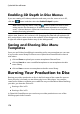
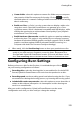
Saving and Sharing Disc Menu
Templates
Once you are finished modifying/customizing a disc menu template you can save
it in your disc menu library for future use or upload it to DirectorZone to share it
with others.
click on Share to upload your custom template to DirectorZone.
click on Save As to save a modified template as a new template to the disc
menu library.
click on Save to save a new template to the disc menu library.
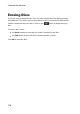
Burning Your Production to Disc
Burning your video production to disc is the final stage of the create disc process.
Once your disc is burned, you are able to play it on a disc player. You can also
create a disc folder to organize your media files on your hard drive. When finalizing
your disc, you have the choice of:
Burning a Disc in 2D
Burning a Disc in 3D
In CyberLink PowerDirector you can burn your video production to one of the
following optical disc formats: