
Owners manual
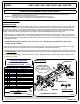
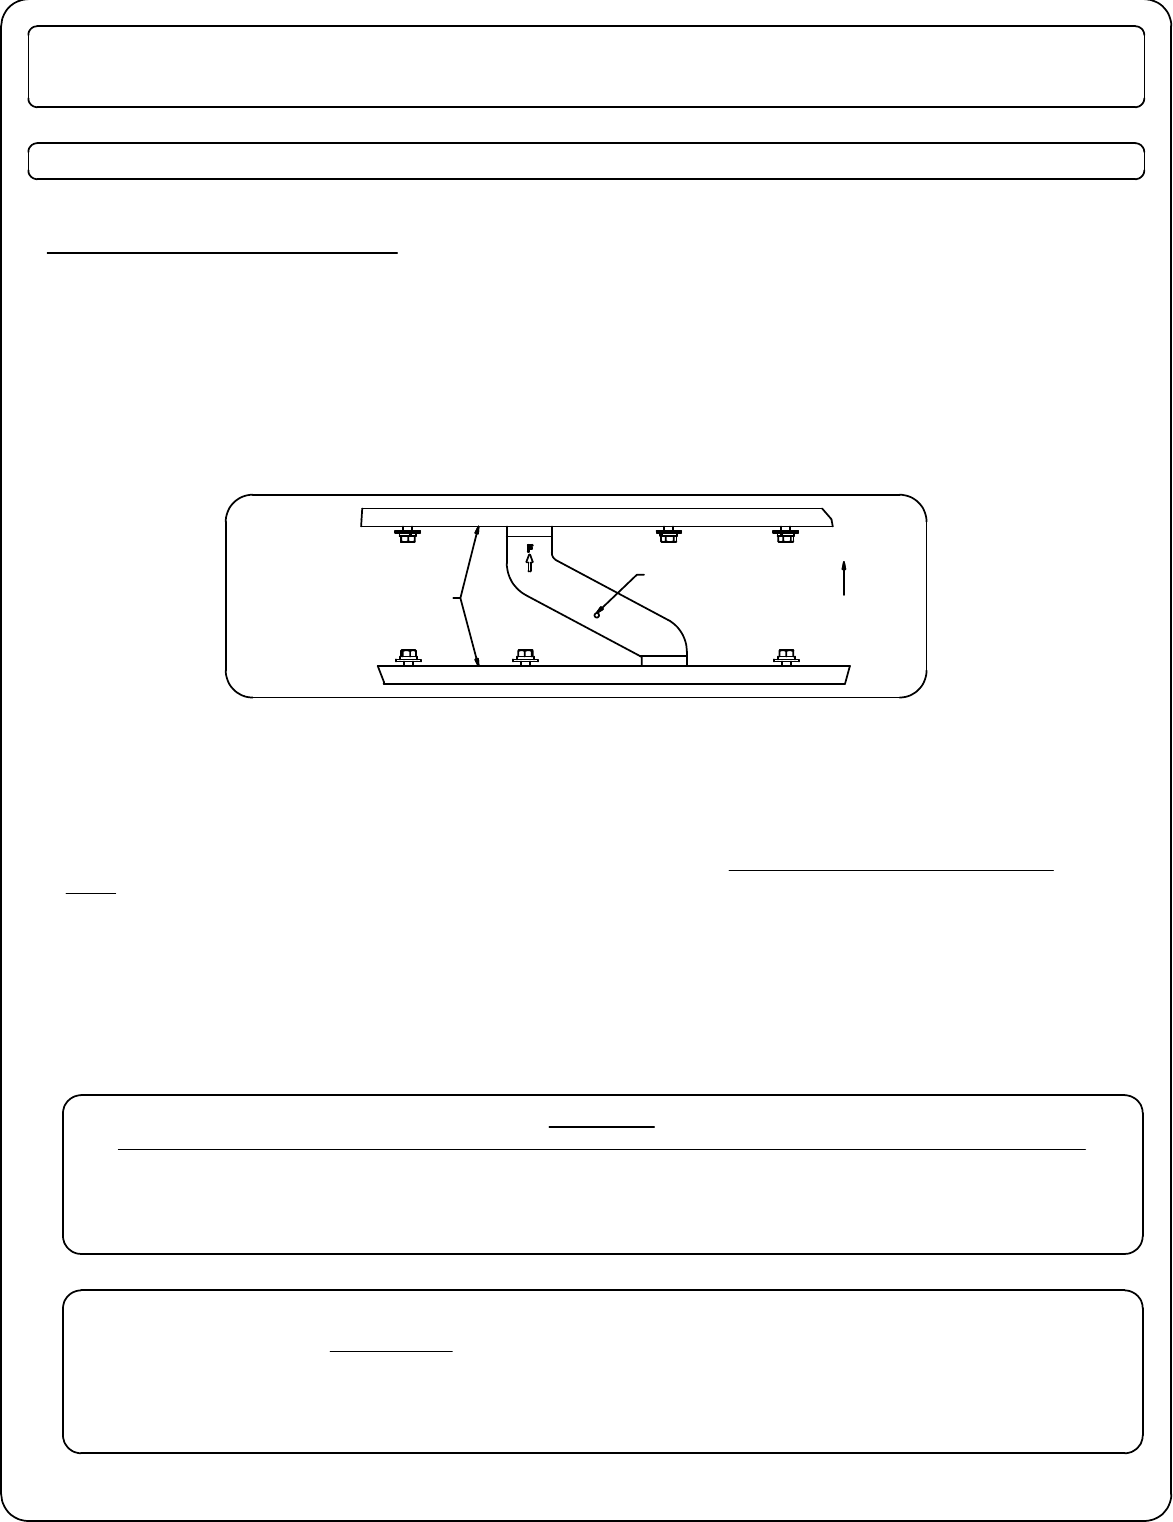
FIGURE 3
TEMPLATE LOCATION
Curt Manufacturing Inc., warrants this product to be free of defects in material and/or workmanship at the time of retail purchase by the original purchaser. If the product is found to be defective,
Curt Manufacturing Inc., may repair or replace the product, at their option, when the product is returned, prepaid, with proof of purchase. Alteration to, misuse of, or improper installation of
this product voids the warranty. Curt Manufacturing Inc.'s liability is limited to repair or replacement of products found to be defective, and specifically excludes liability for incidental or
consequential loss or damage.
**DO NOT EXCEED RECOMMENDED VEHICLE TOWING WEIGHT!**
CHEVY-GMC 2500 / 3500 SHORT AND LONG BED
60604
**REMOVE ALL REAR WINDOW ACCESSORIES BEFORE TOWING**
INSTALLATION STEPS CONTINUED
5. Attach the sideplate flanges to the cross arms using (2) 1/2" x 1 1/2" hex bolts with 1/2" washers and 1/2" lock
washers. Thread them through the inside of the sideplate flanges into the crossarms. (Finger tight only!)
6. Fishwire the 5/8" bolts and spacers into position through the access holes and attach the sideplates to the frame using
(2) 5/8" flange nuts on each side. (Finger tight only). See Figure 2.
7. Using the 1/2" hardware supplied install the (CM-60604-T) template between the cross arms with the arrow pointing to
the front of the vehicle as shown in figure 3. Using the template, drill through the center hole with a 1/4" drill bit into the
bed of the vehicle.
8. After drilling the pilot hole, remove the template. Using a 4" hole saw or saber saw (with metal cutting blade),
enlarge the hole for the center section to pass through.
9. Install the center section by carefully raising it above the fuel tank from beneath the truck. Insert (4) 1/2" x 1 1/2" hex
bolts with a washer and lock washer through each of the slots on the inside of the center section, and thread them finger
tight into the rear crossarm. Repeat that process for the front crossarm. While installing the center section, be sure
the round hitch cylinder that protrudes from the top of the center section is positioned towards the rear of the
truck and is centered in the hole in the bed of the truck.
10. Disconnect lifting device if used and square center section to frame rails.
11. Torque all 1/2" fasteners to 110 ft-lbs, and all 5/8" fasteners to 210 ft-lbs in the
following order:
First: Torque the center section to the front and rear crossarms.
Second: Torque the sideplates to the truck frame on both sides.
Third: Torque the sideplate flanges to the front and rear crossarms.
PAGE 2 OF 3
(REFER TO GOOSENECK HITCH INSTRUCTIONS FOR INSTALLATION AND OPERATION PROCEDURES)
Maintenance
(Required every 30 days or prior to use)
1. Keep hitch ball lubricated regularly. Use sillicone spray or equivalent to prevent wear and rust.
2. Keep hitch assembly free of dirt and other foreign debris.
3. Check for proper torque on all nuts and bolts before each use. Also check for excessive wear.
4. Check ball wear before each use. (Note: Do not tow trailer with worn or damaged parts.)
WARNING!
INCORRECT INSTALLATION OF 60607 SAFETY CHAIN U-BOLTS MAY RESULT IN VEHICLE DAMAGE
60607 safety chain u-bolts, be sure to use the u-bolt slots nearest the 60607 cylinder. This will prevent contact of the
safety chain u-bolts with the vehicle fuel tank. Installation of u-bolts in outside slots may result in puncturing of the
vehicle fuel tank.
Refer to the 60607 installation instructions for full installation of safety chain u-bolts.
FRONT OF VEHICLE
CENTER HOLE
CROSS
ARMS