
Installation guide

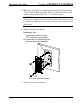
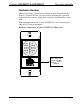

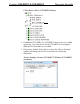
Table Of Contents
Crestron C2N-DBF12 & C2N-DBN12 Decorator Keypads
Operations & Installation Guide – DOC. 6200C Decorator Keypads: C2N-DBF/N12
•
9
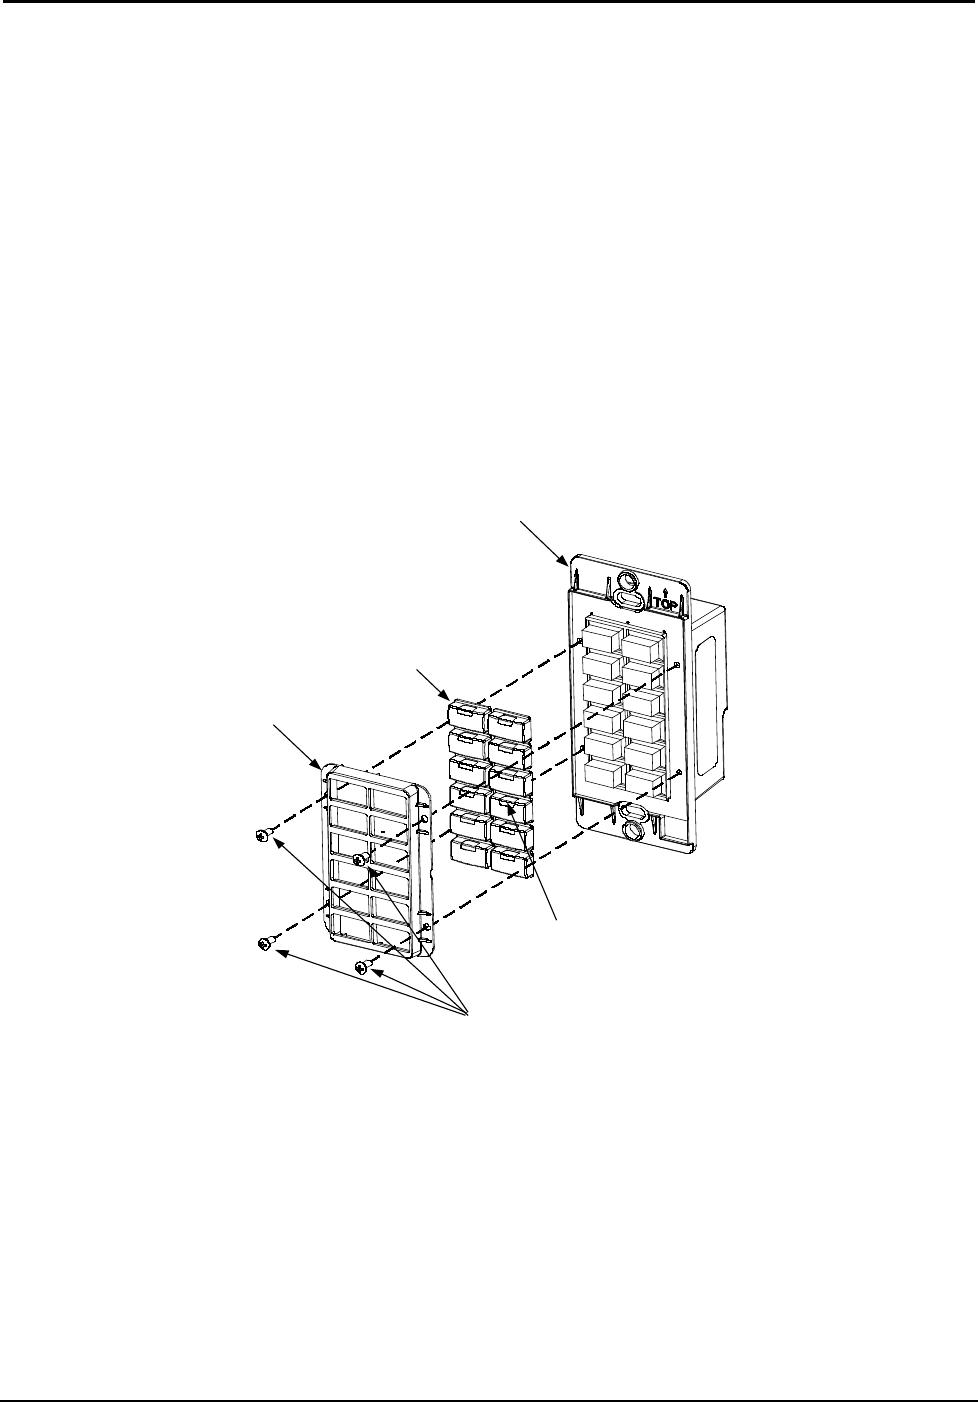
Assemble the keypad as described in the following steps. Refer to the
accompanying illustration.
1. Place the removable buttons on the keypad assembly, making sure
they are properly oriented with the LED windows facing up.
2. Carefully position the divider over the button caps on the keypad
assembly.
3. Install and tighten the four supplied 2-28 x 3/16” screws.
4. Press each button and release to ensure that the button caps move
freely.
Assembly View
2-28 x 3/16 in. pan head screws
Divider
Removable buttons
Keypad
LED window
(Refer to CAUTION
on page 12.)
After the Cresnet network wiring has been installed and verified, use the
following procedure to install the keypad in a standard, 1-gang electrical
box. Refer to the accompanying illustration.
1. Turn Cresnet system power OFF.
2. Connect the Cresnet cable to the keypad’s NET port, using the
supplied mating connector. Connect the other end to the control
system.