
Installation guide

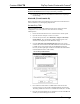
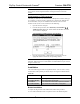
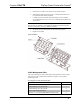
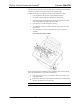

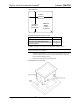
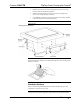
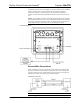
Table Of Contents
Crestron C2N-FTB FlipTop Control Center with Cresnet
®
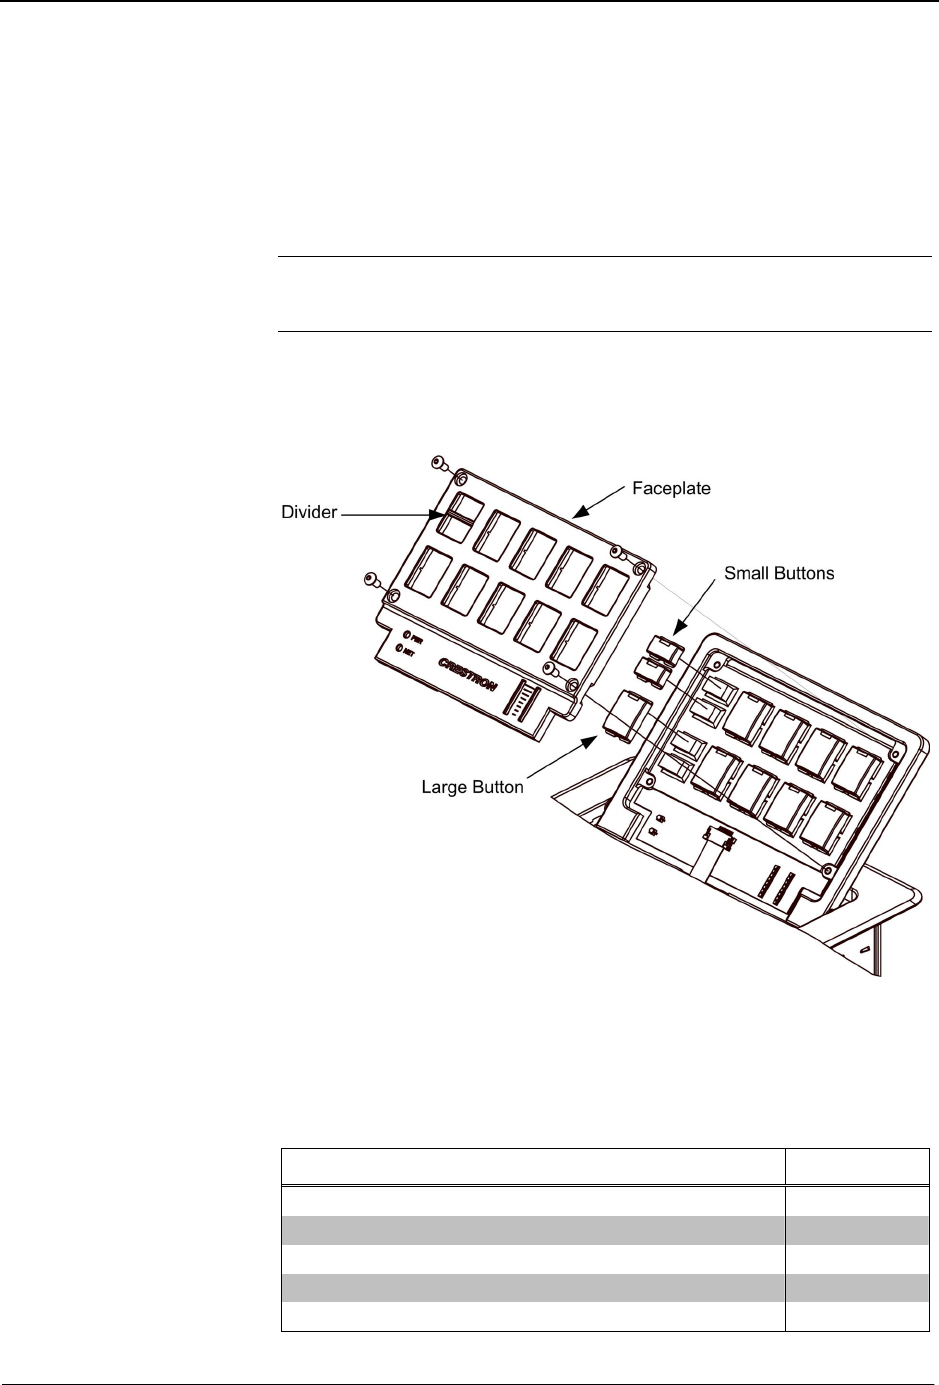
1. Remove the four Allen screws that secure the button faceplate.
2. While holding adjacent buttons in place, carefully pull the button(s) to
be replaced from the rubber membrane.
3. Carefully press the two small replacement buttons in place, making
sure LED window faces up. Use care not to dislodge the membrane and
circuit board.
CAUTION: The removable buttons fit snugly on the rubber membrane and
must be removed carefully to avoid pulling the membrane from the unit. Once
membrane is detached, you may be unable to reattach it.
4. The divider bar slips into the slots on the back of the faceplate.
5. Replace the faceplate.
Button Installation
Cable Management Plate
The C2N-FTB is shipped with a cable management plate that provides an eight-
hole plate for an easy pullout cable solution for computer, LAN and other
passthrough cables.
Parts Supplied with Cable Management Plate
PART DESCRIPTION QUANTITY
Cable Bushing, 5/16” ID, 0.5” OD 4
Cable Bushing, 0.39” ID, 0.64” OD 2
Cable Bushing, 0.54” ID, 0.79” OD 2
Cable Support Plate (2011563) 1
#4-40 x ¼” L, Pan Head Phillips Black Mounting Screws 4
Operations & Installation Guide – DOC. 6338 FlipTop Control Center with Cresnet
®
: C2N-FTB • 11