
User guide


Capture and import 43
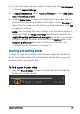
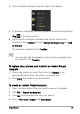
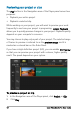
3 Choose the media clips you want to import and click Start import
to launch Import Settings.
4 In Import Destination, select Insert to Timeline or select Add video
date information as title.
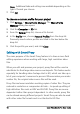
5 Choose Entire video to import the timecode of the video file as a
title spanning the entire duration of the video. Choose Duration to
import the timecode as a title within a specified duration. Click OK
to apply the settings.
Note: You can apply the same settings to all the videos that you
import and hide the Import Settings dialog box by marking the
Apply this setting and never ask me again check box. You can also
choose to enable the same check box on the Capture tab of the
Program preferences dialog box. For more information, see
“Customizing the workspace” on page 31.
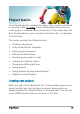
Scanning and splitting scenes
A single DV tape may contain video that was captured at different
times. Corel VideoStudio Pro automatically detects these segments
and saves them as separate files.
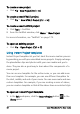
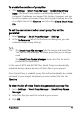
To find scenes in your video
•Drag the Shuttle Slider to move forward and back through the
footage at variable speeds.