
User guide
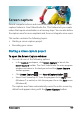

Screen capture 189
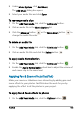
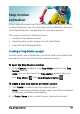
• Capture to library — Enable to automatically import your screen
capture to the Library and identify the save path in the Library.
Note: Screen captures are saved to the Samples folder in the
Library by default. Click to add a new folder and change the
location where the file is saved.
• Format — Choose an option from the available formats in the
drop-list.
• Frame rate — Lets you specify the number of frames to be used
when recording.
Note: Using a lower frame rate is ideal for uploading videos to
the Internet as it yields a smaller file size but with less accuracy on
screen dynamics. A higher frame rate produces a larger file size
and is most useful for detailed presentations to capture actual
screen dynamics.
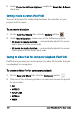
3 In Audio Settings > Voice, do one of the following:
• Click Enable voice recording to record a voice-over. Click
the Sound Check button to test your voice input.
• Click Disable voice recording to disable voice-over recording.
4 Enable or disable System audio and adjust the slider to your
preference.
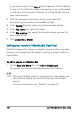
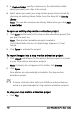
5 In Control Settings, the following options are available:
• Mouse click animation — Enable to include mouse clicks in the
screen capture.
• Enable F10/F11 shortcut key — Turns the keyboard shortcuts for
screen capture on and off.
Note: If the screen capture shortcut keys are in conflict with the
program you want to capture, it is recommended that you disable
this feature to avoid accidental stops or pauses while recording.
6 In Monitor Settings, choose a display device.
Note: The program automatically detects the number of display
devices available on your system. Primary monitor is selected by
default.