
User Manual


114 Corel VideoStudio
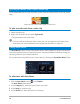
To add an audio file to the Library
• Click the Import Media Files button to browse for audio files in your computer.
After you import audio files to the Library, you can add them to your project by dragging
them from the Library to the Timeline.
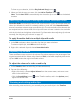
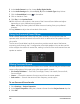
To add voice-over narration
1 Move the Scrubber to the section of the video where you want to insert your voice-over.
2 In Timeline view, click the Record/Capture Option button and select Voice-over.
The Adjust Volume dialog box appears.
Note: The program prompts you when there is an existing voice-over clip at the current
project cue position. Make sure that a clip is not selected by clicking on an empty area in
the Timeline.
3 Speak into the microphone and check if the meter responds accordingly. You can use the
Windows audio mixer to adjust the level of the microphone.
4 Click Start and begin speaking into the microphone.
5 Press [Esc] or [Space] to end recording.
6 The best way to record narrations is to do the recording in 10 to 15-second sessions. This
makes it easier to remove a badly recorded narration and redo it. To remove, just select
the clip on the Timeline and press [Delete].
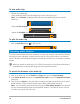
To import music from an audio CD
1 In Timeline view, click the Record/Capture Option button and click Import from
audio CD.
The Rip CD Audio dialog box appears.
2 Select the tracks to be imported in the Track List.
3 Click Browse and select the destination folder where the imported files will be saved.
4 Click Rip to start importing the audio tracks.
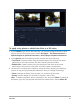
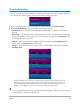
Using Audio Ducking to automatically adjust volume
Audio ducking (similar concept to side-chaining) is used to automatically lower the volume
of one track so that you can hear another track better. For example, if you have a video
project that includes music and voiceover, you can use audio ducking to automatically
decrease the music volume when the narrator is speaking. You can adjust the threshold that
triggers “ducking” and you can adjust by how much the volume of the background track will
drop.