
Quick Start Guide
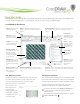
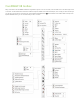
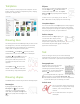
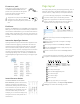
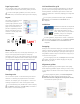
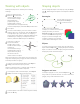
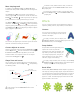

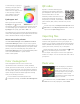
Table Of Contents
- CorelDRAW X8 Workspace
- The Welcome screen
- Workspace selection
- CorelDRAW X8 toolbox
- Templates
- Drawing lines
- Drawing shapes
- Text
- Page layout
- Working with objects
- Shaping objects
- Effects
- Fills and outlines
- Color management
- QR codes
- Importing files
- Pixels view
- Editing photos
- Tracing bitmaps
- Exporting files
- Keyboard shortcuts
- Corel Font Manager™
- Corel® CONNECT™
- Get More docker
Fit text to a path
To fit text to a path, select the text, and
click Tex t
Fit Text to Path. Move the
pointer over a path and use the dynamic
preview to position the text. Click to
attach the text to the path.
To type text on a path, click the Te xt tool ,
and point to a path. When the pointer
changes to a Fit to Path pointer, click to add
text.
Find fonts
With the new Font list box in CorelDRAW and Corel PHOTO-
PAINT, you can view, filter, and find fonts easily. In addition to
the font filters available before, you can filter fonts based on
weight, width, supported scripts, and more. Font search has
also been enhanced, allowing you to use keywords to search
for fonts.
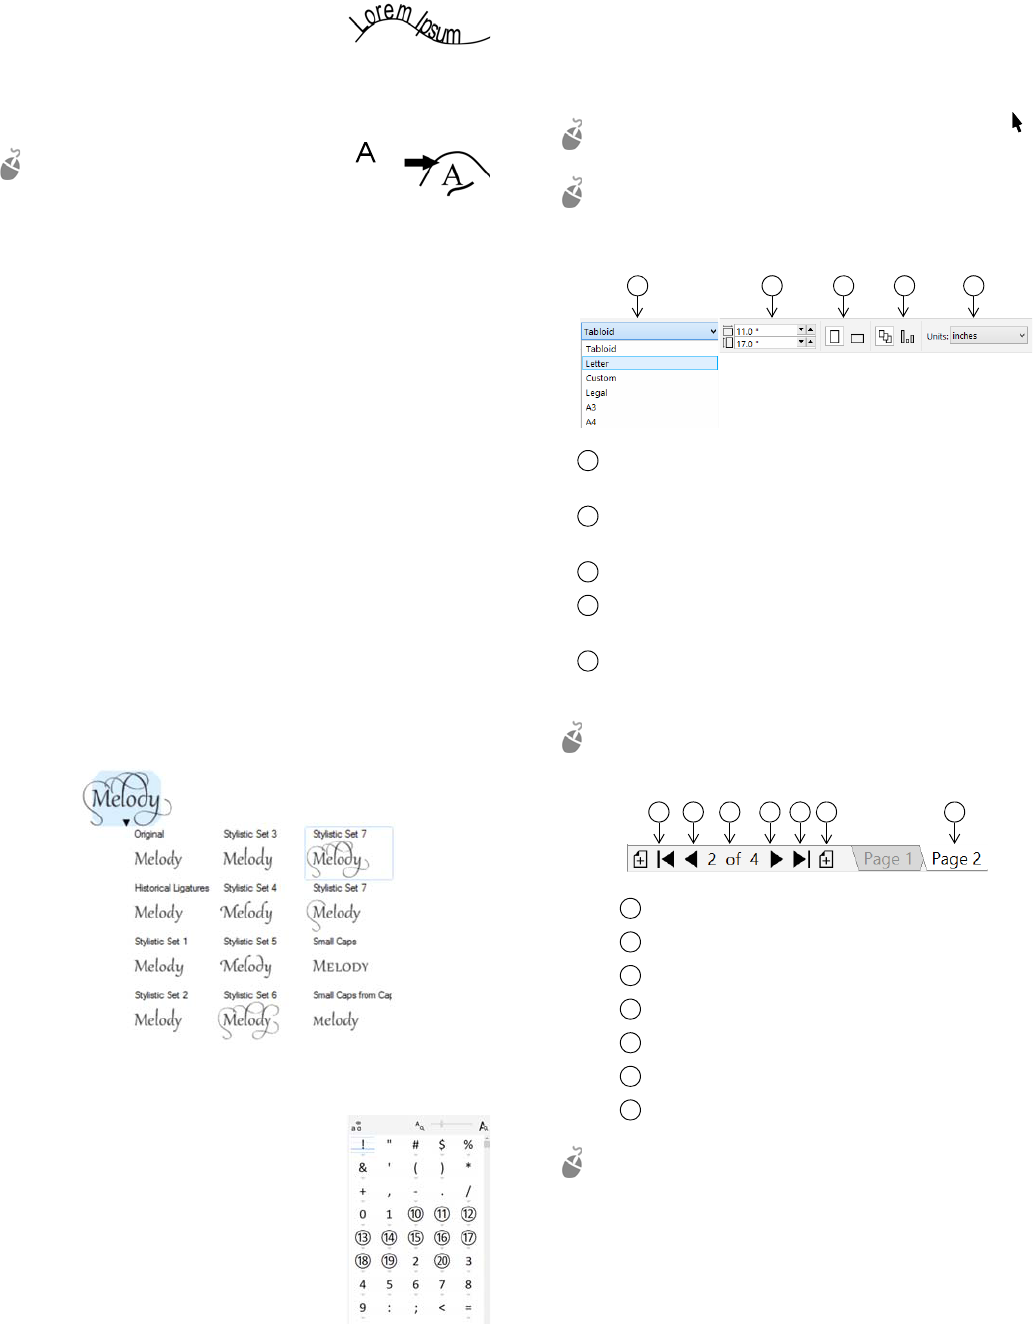
Interactive OpenType features
OpenType features let you choose alternative appearances for
individual characters (glyphs), provided that the font and
selected characters support OpenType features. OpenType
features include fractions, ligatures, ordinals, ornaments,
small caps, swashes, and more. OpenType fonts are based on
Unicode, which makes them ideal for cross-platform and
multi-language design work. In addition, CorelDRAW will
suggest eligible OpenType features that you can apply to your
text.
Insert Character docker
The Insert Character docker (Tex t
Insert Character) presents all characters,
symbols, and glyphs associated with a
selected font, making it easier to find and
insert characters into your documents. A
filtering option lets you display only the
character subsets that you want. For
example, you can choose to display only
the Cyrillic characters and symbols for a
selected font.
Page layout
The Page property bar lets you adjust page settings, such as
page size, dimensions, orientation (landscape or portrait),
units of measure, nudge distance, and duplicate distance.
To access the Page property bar, click the Pick tool ,
and click a blank space in the drawing window.
Right-click a page tab on the document navigator to
open a context menu that lets you rename, delete, or
duplicate the current page or insert new pages.
To navigate the pages in a document, use the document
navigator in the lower left of the application window.
To insert page numbers, click Layout
Page Number
Settings, and choose the settings you want.
Choose a preset page size from the Page size list box on
the property bar.
Specify custom page width and height in the Page
dimensions boxes.
Set the page orientation to Landscape or Portrait.
Click the Current page button to apply the page size
only to the current page.
Choose a unit of measure from the Drawing units list
box.
Go to the first page.
Go to the previous page.
Open the Go to page dialog box.
Go to the next page.
Go to the last page.
Add a new page.
Click any page tab to go to that page.
1 2 3 4 5
1
2
3
4
5
1
2
3 4 5
6
7
1
2
3
4
5
6
7