
Operation Manual


Table Of Contents
- Contents
- Getting started
- Installing CorelDRAW Technical Suite X7
- Corel memberships and services
- What’s new in Corel DESIGNER X7?
- Learning resources
- Corel DESIGNER workspace tour
- Starting and setting up
- Corel DESIGNER basics
- Understanding vector graphics and bitmaps
- Starting and opening drawings
- Scanning images
- Working with multiple drawings
- Undoing, redoing, and repeating actions
- Zooming, panning, and scrolling
- Previewing drawings
- Choosing viewing modes
- Working with views
- Saving drawings
- Working with locked files
- Backing up and recovering files
- Adding and accessing drawing information
- Closing drawings
- Finding and managing content
- Working with precision
- Collaborating
- Lines, shapes, and outlines
- Working with lines, outlines, and brushstrokes
- Setting the default property values
- Drawing lines
- Parallel drawing
- Closing multiple line segments
- Drawing callouts
- Drawing connector lines
- Drawing dimension lines
- Formatting lines and outlines
- Adding arrowheads to lines and curves
- Drawing calligraphic, pressure-sensitive, and preset lines
- Applying linear-pattern brushstrokes
- Spraying linear patterns along a line
- Using pressure-sensitive pens and devices
- Support for Real-Time Stylus (RTS) pen tablets and devices
- Drawing shapes
- Shaping objects
- Working with curve objects
- Shaping curve objects by using Reflect Nodes mode
- Cropping, splitting, and erasing objects
- Splitting objects
- Trimming objects
- Filleting, scalloping, and chamfering corners of curve objects
- Welding and intersecting objects
- Creating new objects from boundaries
- Creating PowerClip objects
- Smudging and smearing objects
- Adding twirl effects
- Roughening objects
- Shaping objects by attracting or pushing away nodes
- Applying distortion effects
- Shaping objects by using envelopes
- Reference: Shaping objects
- Projecting objects
- Working with lines, outlines, and brushstrokes
- Objects, symbols, and layers
- Working with objects
- Selecting objects
- Changing object properties
- Copying, duplicating, and deleting objects
- Copying object properties, transformations, and effects
- Cloning objects
- Moving objects
- Sizing and scaling objects
- Rotating objects
- Mirroring objects
- Skewing objects
- Aligning and distributing objects
- Applying object hinting
- Changing the order of objects
- Grouping objects
- Combining objects
- Locking objects
- Finding and replacing objects
- Hiding and displaying objects
- Accessing and displaying geometric information about objects
- Inserting bar codes
- Inserting and editing QR codes
- Working with symbols
- Creating objects for the web
- Working with layers
- Object linking and embedding
- Working with object data
- Working with objects
- Color and fills
- Working with color
- Filling objects
- Managing and sharing fills and transparencies
- Using color management
- Understanding color management
- Getting started with color management in Corel DESIGNER
- Installing, loading, and embedding color profiles
- Assigning color profiles
- Converting colors to other color profiles
- Choosing color-conversion settings
- Soft proofing
- Working with color management presets
- Working with color management policies
- Managing colors when opening documents
- Managing colors when importing and pasting files
- Managing colors for print
- Using a safe CMYK workflow
- Managing colors for online viewing
- Special effects
- Text
- Adding and manipulating text
- Importing and pasting text
- Adding artistic text
- Adding paragraph text
- Adding columns to text frames
- Combining and linking paragraph text frames
- Aligning text by using the baseline grid
- Selecting text
- Finding, editing, and converting text
- Shifting, rotating, mirroring, and flipping text
- Moving text
- Wrapping text
- Fitting text to a path
- Inserting special characters, symbols, and glyphs
- Embedding graphics
- Working with legacy text
- Formatting text
- Choosing typefaces and fonts
- Formatting characters
- Changing text color
- Kerning a range of characters
- Changing text case
- Working with OpenType features
- Adjusting character and word spacing
- Adjusting line and paragraph spacing
- Adding bullets to text
- Inserting drop caps
- Changing character position and angle
- Aligning text
- Adding tabs and indents
- Working with text styles
- Hyphenating text
- Inserting formatting codes
- Displaying nonprinting characters
- Adding equations
- Working with text in different languages
- Managing fonts
- Using writing tools
- Adding and manipulating text
- Templates and styles
- Working with templates
- Working with styles and style sets
- Creating styles and style sets
- Applying styles and style sets
- Editing styles and style sets
- Managing default object properties
- Exporting and importing style sheets
- Assigning keyboard shortcuts to styles or style sets
- Finding objects that use a specific style or style set
- Breaking the link between objects and styles or style sets
- Working with color styles
- Pages and layout
- Working with pages and layout tools
- Working with tables
- Adding tables to drawings
- Selecting, moving, and navigating table components
- Inserting and deleting table rows and columns
- Resizing table cells, rows, and columns
- Formatting tables and cells
- Working with text in tables
- Converting tables to text
- Merging and splitting tables and cells
- Manipulating tables as objects
- Adding images, graphics, and backgrounds to tables
- Importing tables in a drawing
- Bitmaps
- Working with bitmaps
- Converting vector graphics to bitmaps
- Importing bitmaps
- Cropping bitmaps
- Changing the dimensions and resolution of bitmaps
- Straightening bitmaps
- Correcting perspective distortions
- Using Digimarc watermarks to identify bitmaps
- Removing dust and scratch marks from bitmaps
- Applying special effects in bitmaps
- Working with colors in bitmaps
- Using the Image Adjustment Lab
- Adjusting color and tone
- Using the Tone Curve filter
- Transforming color and tone
- Editing bitmaps with Corel PHOTO-PAINT
- Working with bitmap color modes
- Tracing bitmaps and editing traced results
- Working with RAW camera files
- Using AfterShot, CorelDRAW Edition to work with RAW files
- Working with bitmaps
- Printing
- File formats
- Importing and exporting files
- Working with 3D models
- Exporting to PDF
- Exporting documents as PDF files
- Including hyperlinks, bookmarks, and thumbnails in PDF files
- Reducing the size of PDF files
- Working with text and fonts in PDF files
- Specifying an encoding format for PDF files
- Specifying a viewing option for EPS files
- Specifying color management options for exporting PDF files
- Setting security options for PDF files
- Optimizing PDF files
- Viewing preflight summaries for PDF files
- Preparing PDF files for a print provider
- Working with office productivity applications
- Exporting to HTML
- Supported file formats
- 3D file formats
- Adobe Illustrator (AI)
- Adobe Type 1 Font (PFB)
- Windows Bitmap (BMP)
- OS/2 Bitmap (BMP)
- Computer Graphics Metafile (CGM)
- CorelDRAW (CDR)
- Corel Presentation Exchange (CMX)
- Corel PHOTO-PAINT (CPT)
- Corel Symbol Library (CSL)
- Cursor Resource (CUR)
- Microsoft Word (DOC, DOCX, or RTF)
- Microsoft Publisher (PUB)
- Corel DESIGNER (DES, DSF, DS4, or DRW)
- AutoCAD Drawing Database (DWG) and AutoCAD Drawing Interchange Format (DXF)
- Encapsulated PostScript (EPS)
- PostScript (PS or PRN)
- GIF
- HTML
- JPEG (JPG)
- JPEG 2000 (JP2)
- Kodak Photo CD Image (PCD)
- PICT (PCT)
- PaintBrush (PCX)
- Adobe Portable Document Format (PDF)
- HPGL Plotter File (PLT)
- Portable Network Graphics (PNG)
- Adobe Photoshop (PSD)
- Corel Painter (RIF)
- Scalable Vector Graphics (SVG)
- Adobe Flash (SWF)
- TARGA (TGA)
- TIFF
- TrueType Font (TTF)
- Visio (VSD)
- WordPerfect Document (WPD)
- WordPerfect Graphic (WPG)
- RAW camera file formats
- Wavelet Compressed Bitmap (WI)
- Windows Metafile Format (WMF)
- XML Localization Interchange (XLIFF)
- Additional file formats
- Recommended formats for importing graphics
- Recommended formats for exporting graphics
- General notes on importing text files
- Customizing and automating
- Setting basic preferences
- Customizing Corel DESIGNER
- Saving defaults
- Creating workspaces
- Customizing keyboard shortcuts
- Customizing menus
- Customizing toolbars
- Customizing the toolbox
- Changing the color of window borders
- Customizing the property bar
- Changing the desktop color
- Adjusting the contrast of the application workspace
- Customizing the status bar
- Customizing filters
- Customizing file associations
- Using macros to automate tasks
- Reference
194 | Corel DESIGNER X7 User Guide
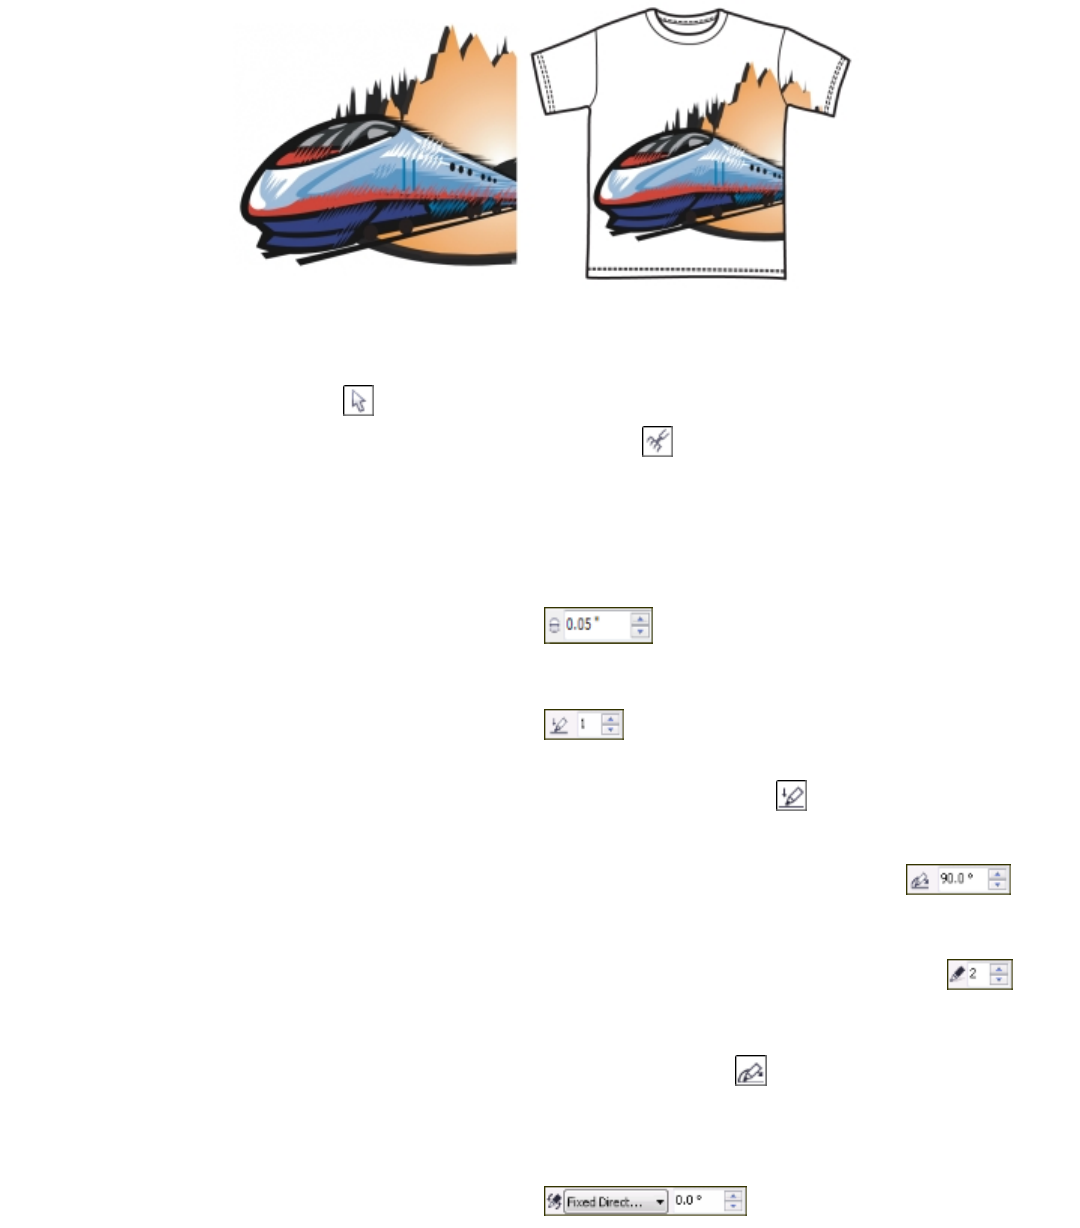
Roughening allows you to apply jags or spikes to part of an outline or path.
To roughen an object
1
Select a curve object using the Pick tool .
2
Click the Shapetools button in the toolbox, and click the Roughen brush tool .
3 Point to the area on the outline that you want to roughen, and drag the outline to distort it.
You can also
Specify the size of the roughening spikes Type a value between 0.01 and 2.0 in the Nib size box
on the property bar.
Change the number of spikes in a roughened area Type a value between 1 and 10 in the Frequency of spikes box
on the property bar.
Change the number of spikes in a roughened area when using a
pen tablet
Click the Pen pressurebutton on the property bar.
Specify the height of the roughening spikes
Type a value between 0 and 90 in the Tilt box on
the property bar.
Increase the number of roughening spikes as you drag
Type a value between -10 and 10 in the Dryout box on
the property bar.
Change the height of the roughening spikes when using a pen
tablet
Click the Pen tilt button on the property bar.
Specify the direction of the roughening spikes Choose Fixed direction from the Spike direction list box.
Type a value between 0 and 359 in the Pen bearing box
on the property bar.