
user manual


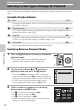
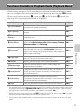
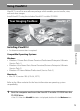
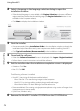
Table Of Contents
- Introduction
- Parts of the Camera and Basic Operation
- Basic Steps for Shooting and Playback
- Shooting Features
- Auto Mode
- Scene Mode (Shooting Suited to Scenes)
- Special Effects Mode (Applying Effects When Shooting)
- Smart Portrait Mode (Capturing Images of Smiling Faces)
- Features That Can Be Set Using the Multi Selector
- Changing the Image Size (Image Mode)
- Functions That Cannot Be Applied Simultaneously
- Face Detection
- Skin Softening
- Focus Lock
- Playback Features
- Recording and Playing Back Movies
- General Camera Setup
- Reference Section
- Using Panorama Assist
- Favorite Pictures Mode
- Auto Sort Mode
- List by Date Mode
- Editing Images (Still Images)
- Editing Functions
- Quick Retouch: Enhancing Contrast and Saturation
- D-Lighting: Enhancing Brightness and Contrast
- Glamour Retouch: Softening Skin and Making Faces Looking Smaller with Larger Eyes
- Filter Effects: Applying Digital Filter Effects
- Small Picture: Reducing Image Size
- Crop: Creating a Cropped Copy
- Connecting the Camera to a TV (Playback on a TV)
- Connecting the Camera to a Printer (Direct Print)
- The Shooting Menu (for Auto Mode)
- Smart Portrait Menu
- The Playback Menu
- The Movie Menu
- The Setup Menu
- Image/Sound File and Folder Names
- Optional Accessories
- Error Messages
- Technical Notes and Index
74
Using ViewNX 2
Playback Features
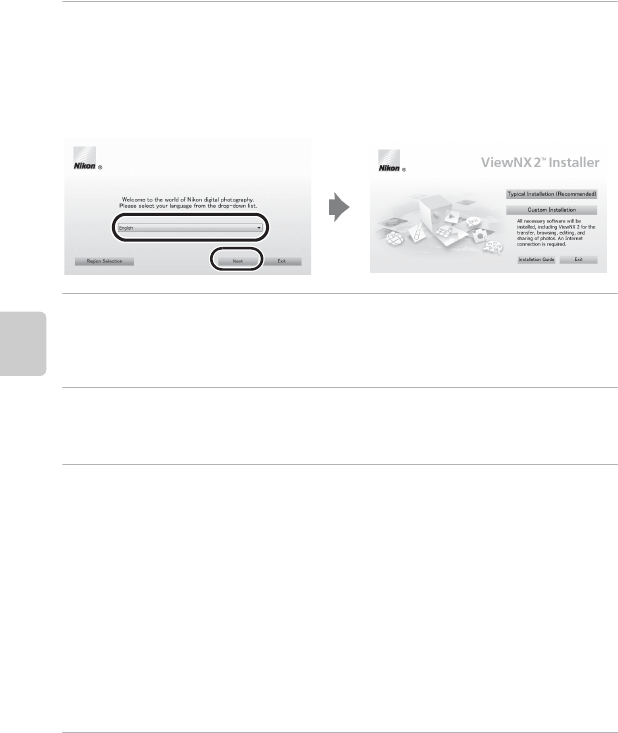
2 Select a language in the language selection dialog to open the
installation window.
• If the desired language is not available, click Region Selection to choose a different
region and then choose the desired language (the Region Selection button is not
available in the European release).
• Click Next to display the installation window.
3 Start the installer.
• We recommend clicking Installation Guide in the installation window to check the
installation help information and system requirements before installing ViewNX 2.
• Click Typical Installation (Recommended) in the installation window.
4 Download the software.
• When the Software Download screen is displayed, click I agree - Begin download.
• Follow the on-screen instructions to install the software.
5 Exit the installer when the installation completion screen is displayed.
• Windows: Click Yes.
• Mac OS: Click OK.
The following software is installed:
• ViewNX 2 (consisting of the three modules below)
- Nikon Transfer 2: For transferring images to the computer
- ViewNX 2: For viewing, editing, and printing transferred images
- Nikon Movie Editor: For basic editing of transferred movies
• Panorama Maker 6 (for creating a single panorama photo using a series of images shot
in panorama assist scene mode)
• QuickTime (Windows only)
6 Remove the ViewNX 2 Installer CD-ROM from the CD-ROM drive.