
user manual
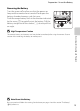
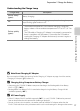
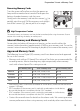
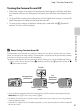
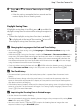
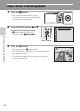
Table Of Contents
- Introduction
- Parts of the Camera and Basic Operation
- Basic Steps for Shooting and Playback
- Shooting Features
- Auto Mode
- Scene Mode (Shooting Suited to Scenes)
- Special Effects Mode (Applying Effects When Shooting)
- Smart Portrait Mode (Capturing Images of Smiling Faces)
- Features That Can Be Set Using the Multi Selector
- Changing the Image Size (Image Mode)
- Functions That Cannot Be Applied Simultaneously
- Face Detection
- Skin Softening
- Focus Lock
- Playback Features
- Recording and Playing Back Movies
- General Camera Setup
- Reference Section
- Using Panorama Assist
- Favorite Pictures Mode
- Auto Sort Mode
- List by Date Mode
- Editing Images (Still Images)
- Editing Functions
- Quick Retouch: Enhancing Contrast and Saturation
- D-Lighting: Enhancing Brightness and Contrast
- Glamour Retouch: Softening Skin and Making Faces Looking Smaller with Larger Eyes
- Filter Effects: Applying Digital Filter Effects
- Small Picture: Reducing Image Size
- Crop: Creating a Cropped Copy
- Connecting the Camera to a TV (Playback on a TV)
- Connecting the Camera to a Printer (Direct Print)
- The Shooting Menu (for Auto Mode)
- Smart Portrait Menu
- The Playback Menu
- The Movie Menu
- The Setup Menu
- Image/Sound File and Folder Names
- Optional Accessories
- Error Messages
- Technical Notes and Index
21
Step 1 Turn the Camera On
Basic Steps for Shooting and Playback
Turning the Camera On and Off
• When the camera is turned on, the power-on lamp (green) will light, and then
the monitor will turn on (the power-on lamp turns off when the monitor turns
on).
• To turn off the camera, press the power switch. When the camera is turned off,
both the power-on lamp and the monitor turn off.
• To turn on the camera in playback mode, press and hold the c (playback)
button. The lens will not extend.
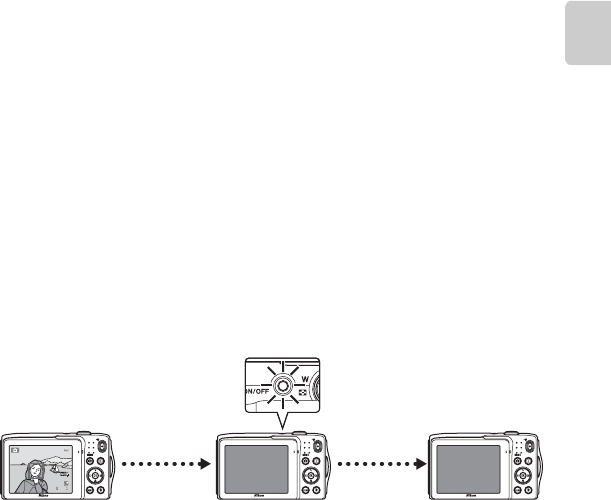
C Power Saving Function (Auto Off)
If no operations are performed for a while, the monitor will turn off, the camera will enter standby
mode, and the power-on lamp will flash. If no operations are performed for approximately another
three minutes, the camera will turn off automatically.
To reactivate the monitor while the power-on lamp is flashing, press any of the following buttons:
- Power switch, shutter-release button, A (shooting mode) button, c (playback) button, or b
(e movie-record) button.
• The time allowed to elapse before the camera enters standby mode can be changed from the
Auto off option (A87) in the setup menu (A86).
• By default, the camera enters standby mode in about one minute when you are using shooting
mode or playback mode.
• When the AC Adapter EH-62G (available separately) is used, the camera enters standby mode after
30 minutes (fixed).
9 50950
8 m 0 s8 m 0s
Flashes
No operations
performed
No
operations
performed
3 min
Camera enters standby
mode
Camera turns off