
Specifications


Table Of Contents
44
Important! Dowels and screws are
not included as there are too many
different types on the market to suit
different wall surfaces.
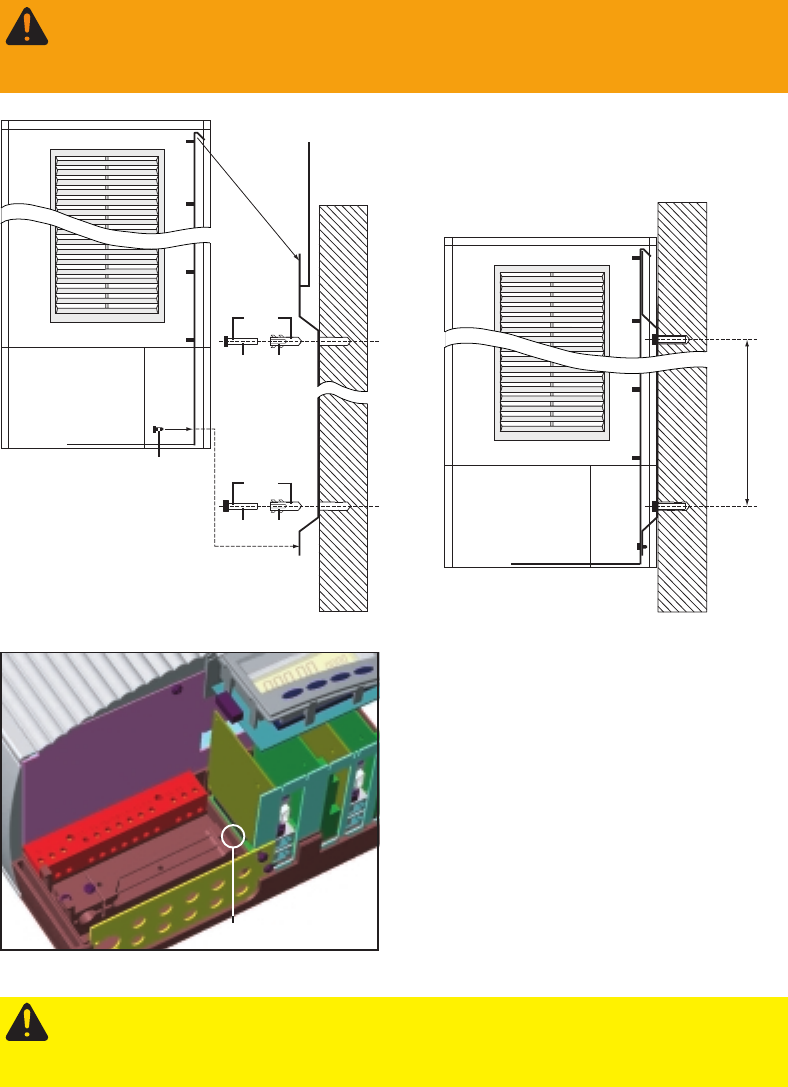
- fix wall mounting frame (1) with
suitable screws (2) and dowels
(3) on to a solid base.
- Open the connection area of the
Conergy WR unit (chapter „Ope-
ning the Housing“)
(4)
Caution! There is a danger of the machine toppling over. Hang the
Conergy WR unit into the wall mounting frame and secure it with
screw (4) in the connection area.
- install AC and DC cable as described in chapter „Connection“.
- close connection area and mount cover by means of tightening screw.
Fixing the wall
mounting
frame
Hazard due to supply voltage and DC-voltage from the solar modu-
les. Only licensed electricity installers are authorized to open the
connection area.
- the Conergy WR unit is to be installed at a height which keeps the
display slightly below the position of your eyes in order to secure best
possible readability of the display.
- The distance between the top edge of the Conergy WR and the ceiling
should be approx. 30 cm.
Choosing the
location
(continued)
(2x)
(1x)
(1)
(2) (3)
(2) (3)
(4)
130 mm
373 mm
-> Conergy WR 3300
-> Conergy WR 5900