User guide
Table Of Contents
- Changes to This Guide
- Contents
- Getting Started with Your SoundPoint® IP 650 Desktop Phone
- Customizing Your SoundPoint® IP 650 Desktop Phone
- Configuring Basic Settings
- Changing the Appearance of Time and Date
- Changing the Display Contrast
- Changing the Backlight Intensity
- Enabling the Headset Memory Mode
- Selecting the Correct Headset for Electronic Hookswitch
- Selecting the Ring Type
- Changing the Language
- Changing the Graphic Display Background
- Muting the Microphone
- Adjusting the Volume
- Managing Call Lists
- Managing Contacts
- Managing Incoming Calls
- System Customizations
- Configuring Basic Settings
- Using the Basic Features of Your SoundPoint® IP 650 Desktop Phone
- Using the Advanced Features of Your SoundPoint® IP 650 Desktop Phone
- Using the SoundPoint® IP Backlit Expansion Module
- Troubleshooting Your SoundPoint® IP 650 Desktop Phone
- Regulatory Notices
- Index

User Guide SoundPoint IP 650 Desktop Phone
3 - 18
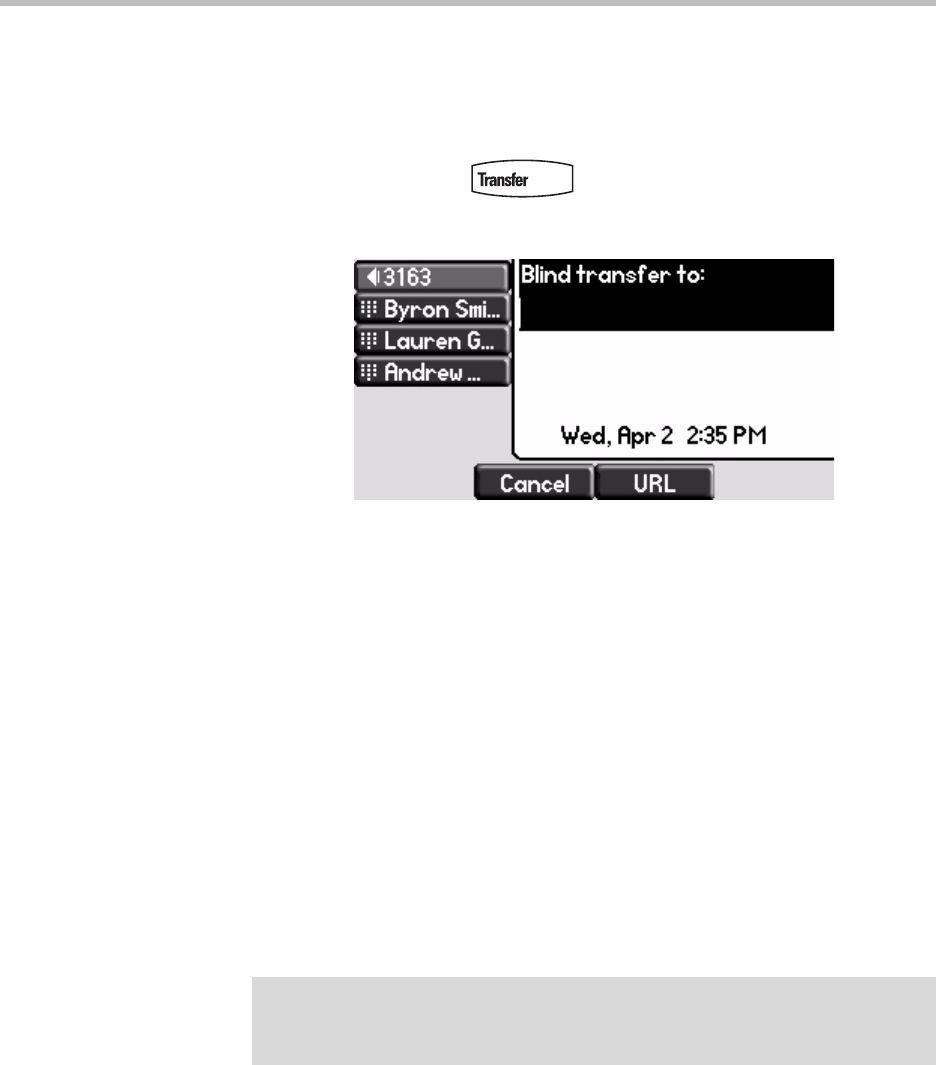
Performing a Blind Transfer
To perform a blind transfer:
1. During a call, press or the Trnsfer soft key.
2. Press the Blind soft key.
3. Do one of the following steps:
— Enter the number to which you want to transfer the call.
— Refer to Placing Calls on page 3-2.
At this point, the call is connected to the number to which you are
transferring them.
Forwarding Calls
You can configure your phone so that all incoming calls are forwarded to
another party (refer to Static Forwarding). You can also forward calls while
your phone rings (refer to Dynamic Forwarding).
You can forward all incoming calls to another party while Do Not Disturb is
enabled on your phone. For more information, contact your system
administrator.
Note
Call Forwarding is not available on shared lines.
This feature is local to the phone, and may be overridden by call server settings.
For more information, contact your system administrator.


