
User guide
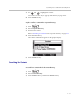
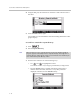
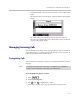
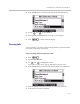
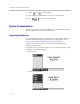
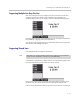

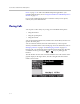
Table Of Contents
- Changes to This Guide
- Contents
- Getting Started with Your SoundPoint® IP 650 Desktop Phone
- Customizing Your SoundPoint® IP 650 Desktop Phone
- Configuring Basic Settings
- Changing the Appearance of Time and Date
- Changing the Display Contrast
- Changing the Backlight Intensity
- Enabling the Headset Memory Mode
- Selecting the Correct Headset for Electronic Hookswitch
- Selecting the Ring Type
- Changing the Language
- Changing the Graphic Display Background
- Muting the Microphone
- Adjusting the Volume
- Managing Call Lists
- Managing Contacts
- Managing Incoming Calls
- System Customizations
- Configuring Basic Settings
- Using the Basic Features of Your SoundPoint® IP 650 Desktop Phone
- Using the Advanced Features of Your SoundPoint® IP 650 Desktop Phone
- Using the SoundPoint® IP Backlit Expansion Module
- Troubleshooting Your SoundPoint® IP 650 Desktop Phone
- Regulatory Notices
- Index
Customizing Your SoundPoint
®
IP 650 Desktop Phone
2 - 21
4. Press the Edit soft key, and then scroll down to the Auto Reject field.
5. Use the and to select Enabled.
6. Press the Save or Cancel soft keys to accept or cancel changes.
7. Press to return to the idle display.
Diverting Calls
You can customize your phone so that incoming calls from a particular contact
are transferred directly to a third party.
To divert incoming calls from a particular contact:
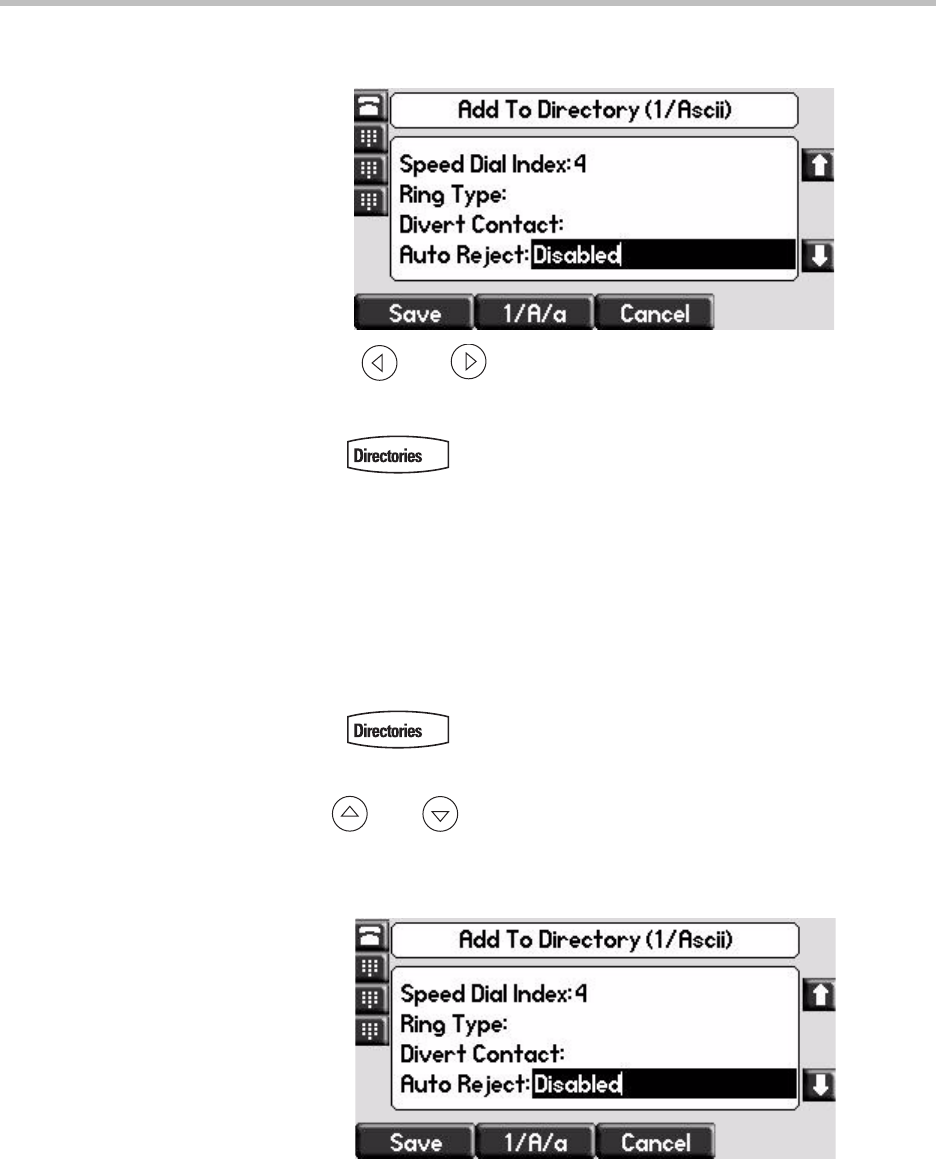
1. Press .
2. Select Contact Directory.
3. Use and to highlight the contact.
You can also use the * key to page up and the # key to page down.
4. Press the Edit soft key, and then scroll down to the Divert Contact field.
5. Enter the number of the party to whom you want to divert the call.
6. Scroll down to the Auto Divert field.