
User guide
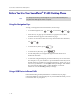


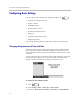

Table Of Contents
- Changes to This Guide
- Contents
- Getting Started with Your SoundPoint® IP 650 Desktop Phone
- Customizing Your SoundPoint® IP 650 Desktop Phone
- Configuring Basic Settings
- Changing the Appearance of Time and Date
- Changing the Display Contrast
- Changing the Backlight Intensity
- Enabling the Headset Memory Mode
- Selecting the Correct Headset for Electronic Hookswitch
- Selecting the Ring Type
- Changing the Language
- Changing the Graphic Display Background
- Muting the Microphone
- Adjusting the Volume
- Managing Call Lists
- Managing Contacts
- Managing Incoming Calls
- System Customizations
- Configuring Basic Settings
- Using the Basic Features of Your SoundPoint® IP 650 Desktop Phone
- Using the Advanced Features of Your SoundPoint® IP 650 Desktop Phone
- Using the SoundPoint® IP Backlit Expansion Module
- Troubleshooting Your SoundPoint® IP 650 Desktop Phone
- Regulatory Notices
- Index
Getting Started with Your SoundPoint
®
IP 650 Desktop Phone
1 - 15
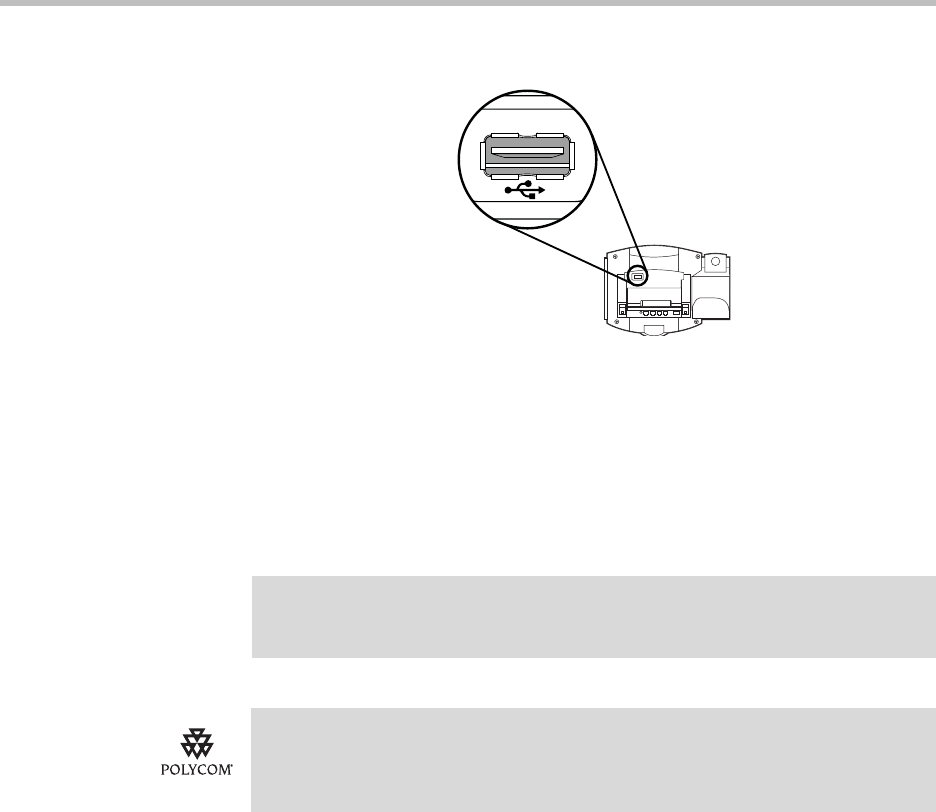
The USB port is on the back of your SoundPoint IP 650 as shown below:
When you plug in the USB device, the USB device is supported and the
message “USB device attached.” appears or the USB device is tested to
determine if it is acceptable. If it is accepted, the message “USB device
attached.” appears. If it is not accepted, the message “Unsupported USB
device attached: <product string>, <vendor ID, <product ID>” appears.
Contact your system administrator about receiving another USB device.
When you remove the USB device, the message “USB device removed.”
appears.
Note
Wait until the “USB device removed.” message disappears before plugging in
another USB device. If you plug in a new USB device before the message
disappears, it will not be recognized.
Polycom recommends that you do not remove the USB device while recording. The
file being recorded at that time will be incomplete and cannot be played back later.
There is a small probability that the USB device itself may be damaged by this
action.