
User guide
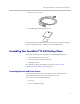
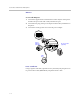
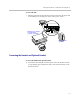
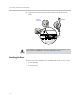
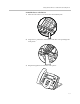

Table Of Contents
- Changes to This Guide
- Contents
- Getting Started with Your SoundPoint® IP 650 Desktop Phone
- Customizing Your SoundPoint® IP 650 Desktop Phone
- Configuring Basic Settings
- Changing the Appearance of Time and Date
- Changing the Display Contrast
- Changing the Backlight Intensity
- Enabling the Headset Memory Mode
- Selecting the Correct Headset for Electronic Hookswitch
- Selecting the Ring Type
- Changing the Language
- Changing the Graphic Display Background
- Muting the Microphone
- Adjusting the Volume
- Managing Call Lists
- Managing Contacts
- Managing Incoming Calls
- System Customizations
- Configuring Basic Settings
- Using the Basic Features of Your SoundPoint® IP 650 Desktop Phone
- Using the Advanced Features of Your SoundPoint® IP 650 Desktop Phone
- Using the SoundPoint® IP Backlit Expansion Module
- Troubleshooting Your SoundPoint® IP 650 Desktop Phone
- Regulatory Notices
- Index
User Guide SoundPoint IP 650 Desktop Phone
1 - 8
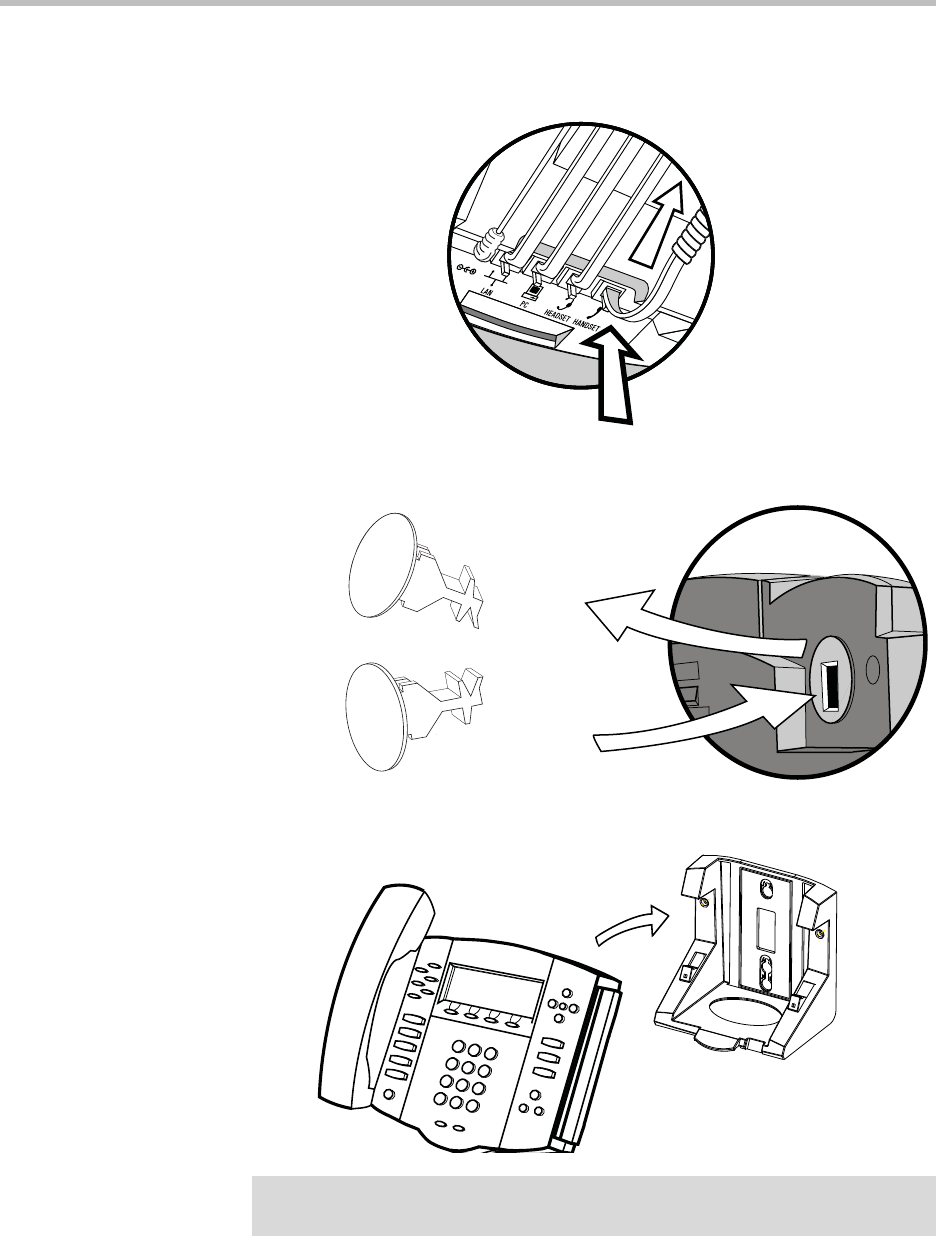
To attach the base as a wall mount:
1. Place all cords in the recessed area above the modular jacks.
2. On the back of the phone, remove the key located behind the hookswitch
and reposition it so that the end tab (at a 45
0
angle) is facing up.
3. With mounting tab of the base unit facing up, fasten the base unit to the
wall mount using wall anchors (not included).
Note
The wall mount is not included in SoundPoint IP 650 package. Contact your system
administrator if you require one.