
User guide
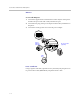
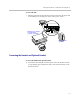
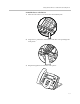

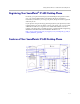
Table Of Contents
- Changes to This Guide
- Contents
- Getting Started with Your SoundPoint® IP 650 Desktop Phone
- Customizing Your SoundPoint® IP 650 Desktop Phone
- Configuring Basic Settings
- Changing the Appearance of Time and Date
- Changing the Display Contrast
- Changing the Backlight Intensity
- Enabling the Headset Memory Mode
- Selecting the Correct Headset for Electronic Hookswitch
- Selecting the Ring Type
- Changing the Language
- Changing the Graphic Display Background
- Muting the Microphone
- Adjusting the Volume
- Managing Call Lists
- Managing Contacts
- Managing Incoming Calls
- System Customizations
- Configuring Basic Settings
- Using the Basic Features of Your SoundPoint® IP 650 Desktop Phone
- Using the Advanced Features of Your SoundPoint® IP 650 Desktop Phone
- Using the SoundPoint® IP Backlit Expansion Module
- Troubleshooting Your SoundPoint® IP 650 Desktop Phone
- Regulatory Notices
- Index
User Guide SoundPoint IP 650 Desktop Phone
1 - 4
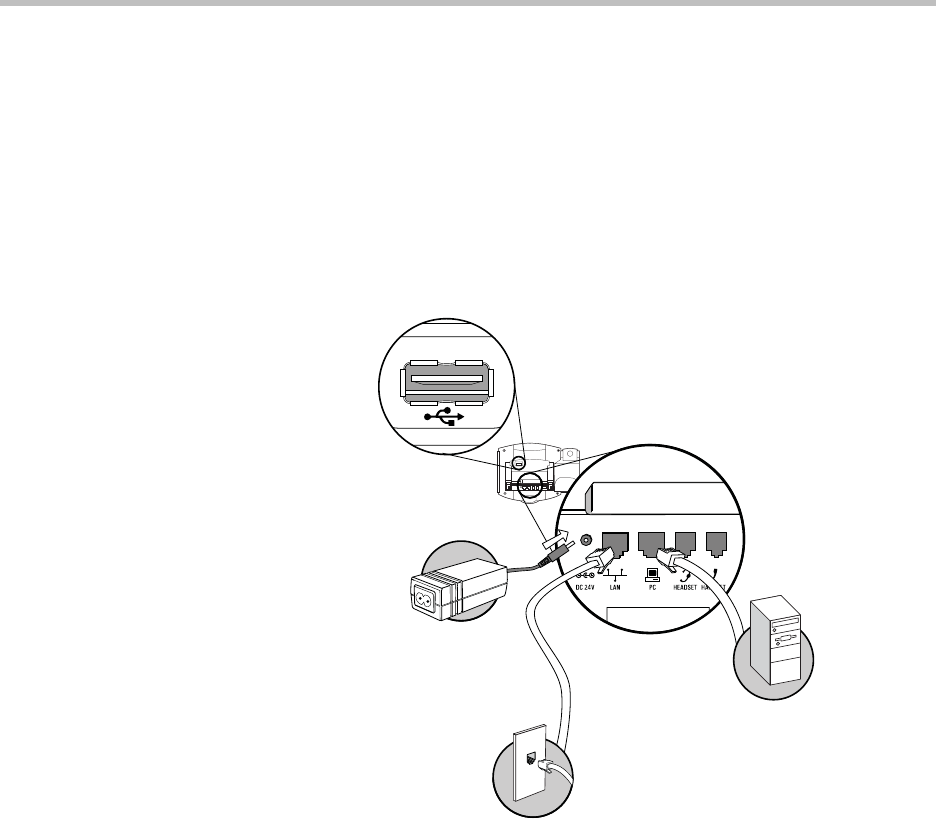
AC Power
To connect the AC power:
1. Connect the supplied network cable between the LAN jack on the phone
and the LAN port on the wall or hub/switch device port.
2. Connect the DC plug on the power adapter to the DC 24V jack marked on
the phone.
3. Connect the country-specific AC cord to the power adapter.
Power over Ethernet
Using a regular CAT5 cable (optional accessory from Polycom), the phone can
be powered from a PoE (IEEE 802.3af) compliant switch or hub.
PC Connection
(optional)
LAN
Port
Power
Adapter
(24V DC)