
Maintenance Instructions
10044S
Colt Canada Proprietary 3-2-26 2005-09-20
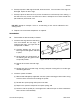
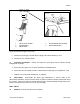
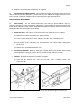
c. To install the extractor, hold the extractor and spring in position, see Figure 3-2-36 and
insert the extractor pin.
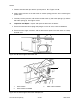
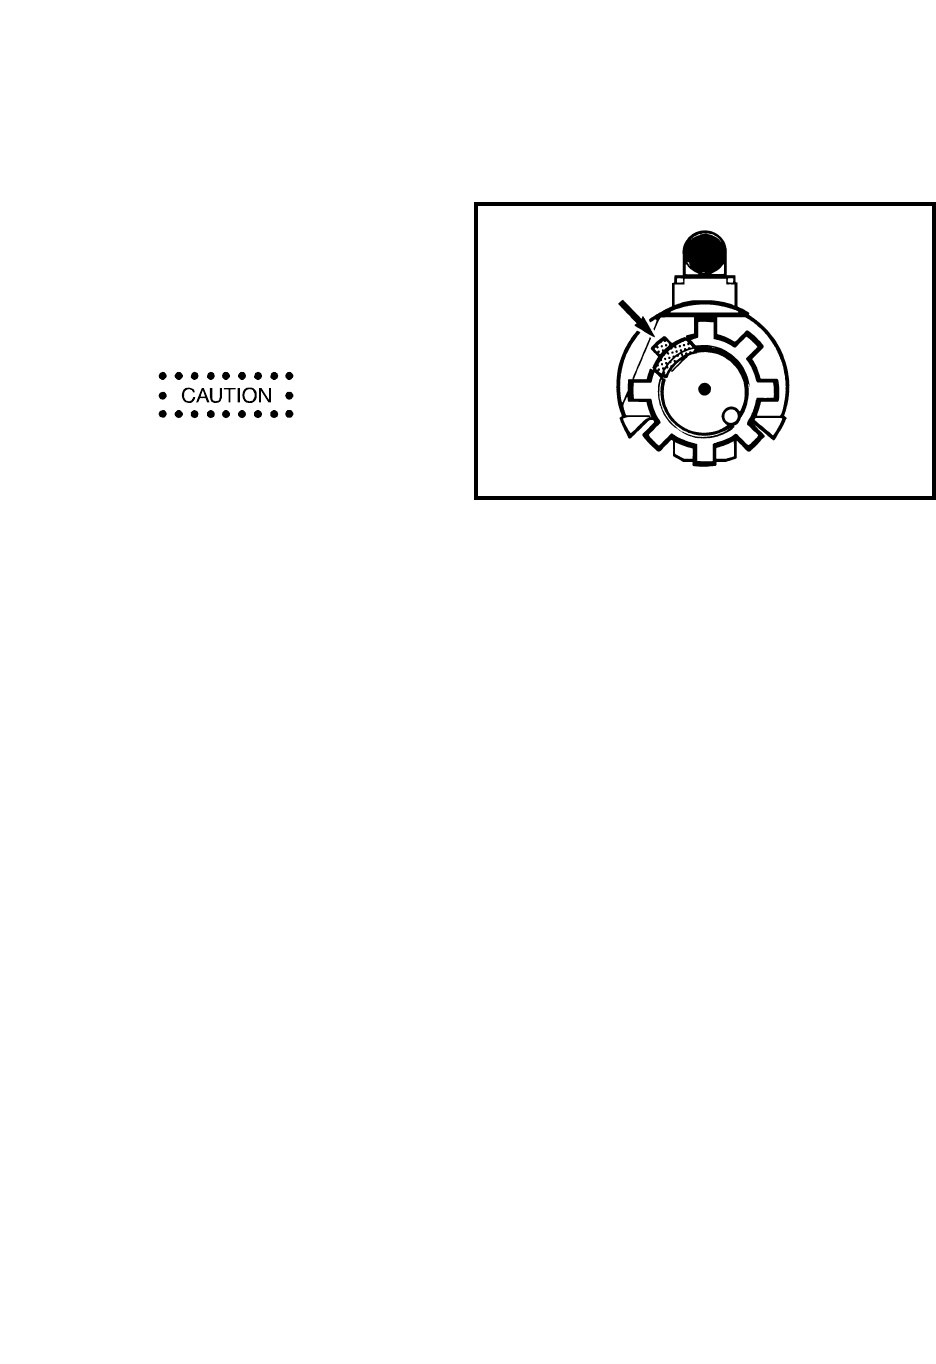
34. Reassemble the key to the bolt carrier as follows:
a. Clean the mating surfaces of the bolt
carrier key, and bolt carrier, thoroughly;
b. Apply a light layer of sealing compound,
to the under surface of the bolt carrier
key around the gas port, to form a seal;
Apply the sealing compound sparingly and
only to the area immediately surrounding
the gas porthole. DO NOT allow it to enter
the gas port or screw holes. Ensure that
the gas port is not plugged.
c. Position the key on the bolt carrier;
NOTE
DO NOT re-use the old bolt carrier key securing screws.
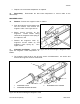
d. Tighten the two carrier key screws to a torque of 5.54 to 5.88 N
.
m (49 to 52 in-lb);
e. Secure both screws by staking the top of the key against each screw head at three
positions; and
f. Check the key after installation to ensure that it is parallel to the rails machined on the top
of the bolt carrier, and that the key slides freely onto the end of the gas tube at assembly.
NOTE
Allow the sealing compound to cure for at least 24 hours before exposing it to any solvents
or firing the weapon.
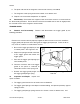
35. Reassemble the bolt and bolt carrier into one group as follows:
NOTE
Before assembling the bolt to the bolt carrier ensure that the bolt ring gaps are staggered
to reduce gas loss.
a. Insert the bolt into the carrier with a rotating motion, to prevent damage to the bolt rings
and push it fully to the rear;
Figure 3-2-36 Assembling the Extractor