
Maintenance Instructions

10044S
Colt Canada Proprietary 3-2-15 2005-09-20
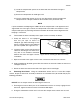
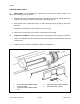
(1) Install the compensator spacer on the barrel with the laminations facing the
compensator;
(2) Screw the compensator on hand tight; and
(3) Use the combination wrench and a 1/2 inch drive torque wrench to tighten the
compensator to a torque of between 62.4 and 69.1 N·m (46 and 51 ft-lb).
NOTE
If upon installation and torquing the middle slot of the compensator is not uppermost and
aligned with the front sight, remove the compensator and reduce the thickness of the
compensator spacer by removing sufficient laminations to facilitate correct alignment after
torquing is carried out.
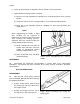
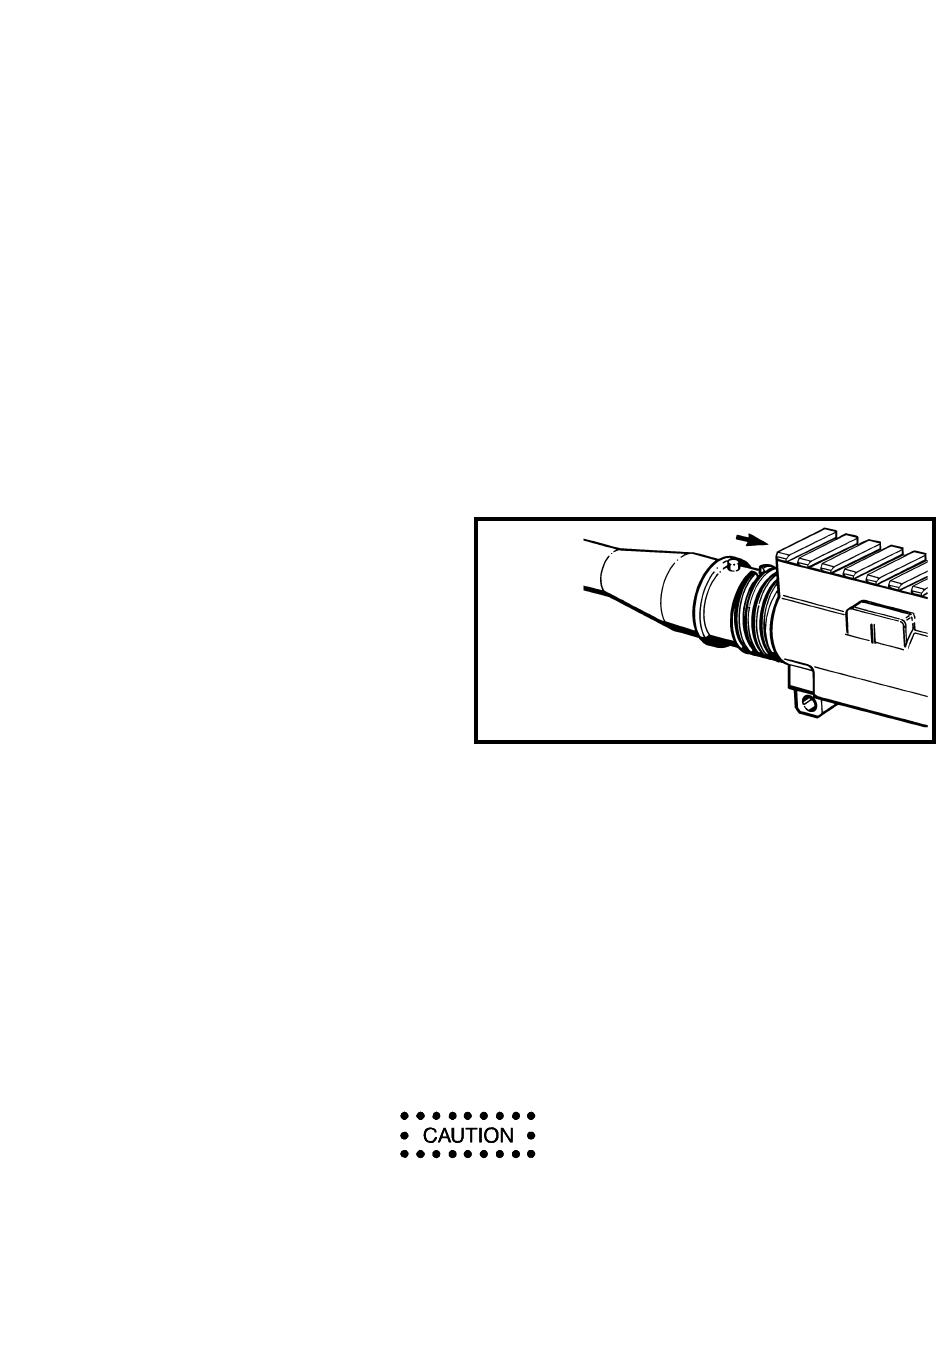
12. Reassemble the barrel assembly to the upper receiver assembly as follows:
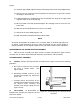
a. Clamp the barrel in a vise equipped
with vise jaw caps to ensure an
adequate grip without damage to the
barrel, ensuring that the barrel indexing
pin faces upward. See Figure 3-2-22;
b. Install the upper receiver over the barrel
extension, checking to see that there is
very little or no rotational movement
between the barrel and upper receiver
assemblies;
c. Wipe the threads of the upper receiver clean and ensure that there are no burrs;
d. Apply molybdenum disulfide grease MIL-G-21164 to the threads of both the barrel nut
and upper receiver;
e. Screw the barrel nut onto the threads of the upper receiver hand tight;
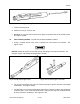
13. Breeching New Barrel. Using the combination wrench and a 1/2 inch drive torque
wrench, torque the barrel nut assembly to between 41 and 108.5 N
.
m (30 and 80 ft-lb) by the
following procedure:
DO NOT use the torque wrench for loosening the barrel nut.
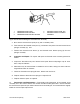
a. Ensuring that all three drive pins of the combination wrench are evenly engaged in the
barrel nut, tighten the barrel nut to the recommended torque.
b. Using the combination wrench and a 1/2 inch drive torque rachet, loosen the nut; and
Figure 3-2-22 Installing the Barrel Assembly