
User manual


Advanced network
Cobalt Qube 3 User Manual 201
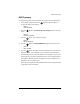
DHCP secondary
To configure the secondary network interface on the Qube 3 using a DHCP
server:
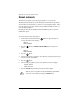
1. On the LCD console, hold down the button for approximately two
seconds. The LCD screen displays:
SELECT:
SETUP NETWORK
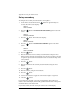
2. Press the button until
ADVANCED NETWORK
appears in the LCD
screen:
SELECT:
ADVANCED NETWORK
3. Press the button. The LCD screen displays:
SELECT:
REVIEW SETTINGS
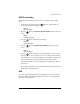
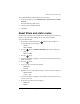
4. Press the button until
DHCP SECONDARY
appears in the LCD
screen:
SELECT:
DHCP SECONDARY
5. Press the button. The Qube 3 looks for a DHCP server on the network.
If it finds a DHCP server, the Qube 3 resets its secondary network interface
with information received from the DHCP server. The Qube 3 also resets its
default gateway if it receives this information. If the Qube 3 obtains
IP addresses for DNS servers, those IP addresses are appended to the list of
DNS servers.
The LCD screen displays the fully qualified domain name on the top line and
the IP address on the bottom line.
Exit
To exit the Advanced Network option, choose EXIT. The LCD screen returns to
the normal display with the fully qualified domain name on the top line and the
IP address on the bottom line.