
Installation Instructions
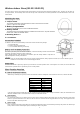
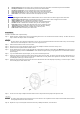
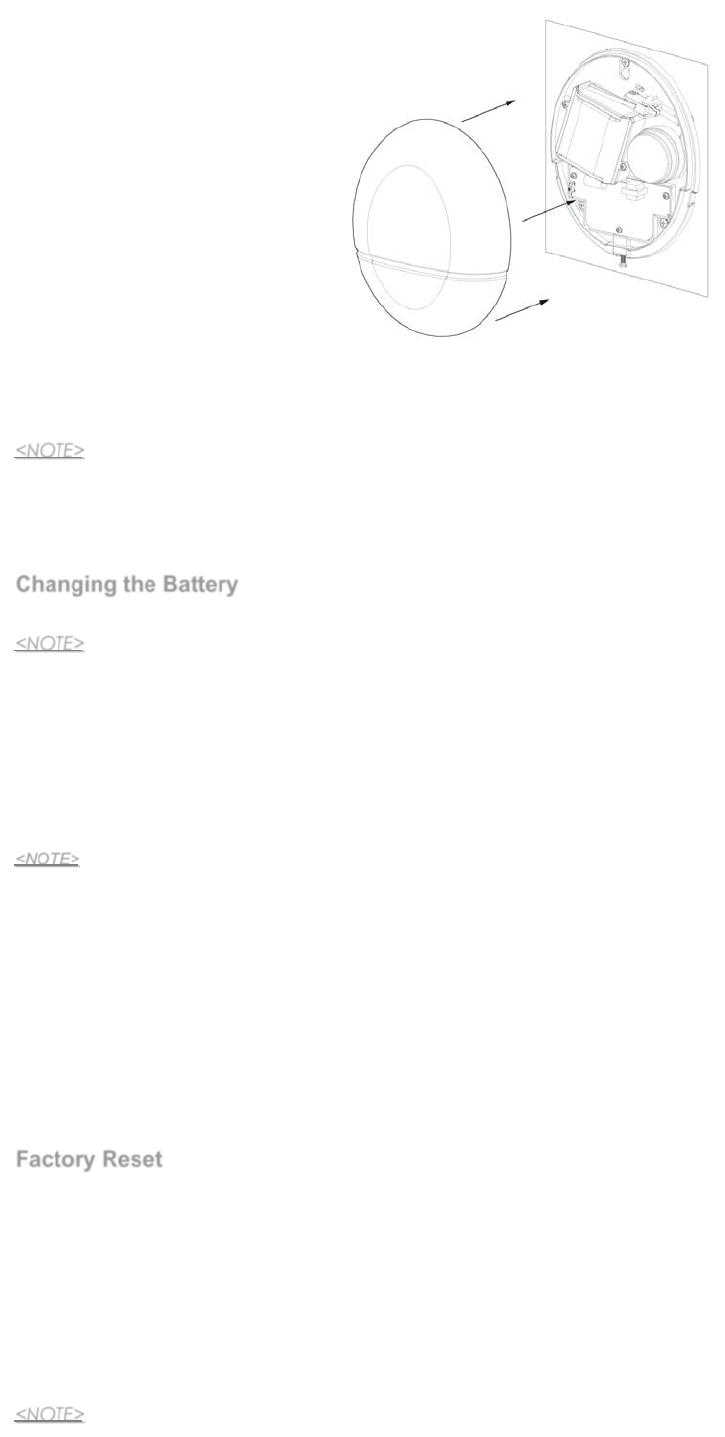
Figure 2
Step 11. Enable Siren Tamper function on the Control Panel (Please refer to the Control Panel instruction manual)
Step 12. Check if the installation is successful by testing from the Control Panel by arming and disarming function.
Successful arming/disarming is indicated by the table provided in Audio & Visual Status Indication.
<NOTE>
If 5 short-beeps are noticed while arming/disarming, it means the tamper is not fully depressed. Check to ensure that tamper is
properly set and then test from Control Panel again.
Step 13. The installation is now completed.
Changing the Battery
Step 1: Disable the Siren Tamper function on the Control Panel. The Siren will sound a beep to indicate the tamper switch is now disabled.
<NOTE>
The siren tamper can be turned off temporarily for the need of changing batteries, refer to Control Panel instruction manual for further
setup. The siren tamper will be turned on automatically after 1 hour in case users forget to turn it on after battery replacement is
completed.
Step 2: Release the cover-fixing screw at the bottom of Siren using a Phillips screwdriver and pull the outer case out carefully.
Step 3: Slide the battery switch to OFF position.
Step 4: The battery compartment is a large box in the Siren with a lid secured by 2 screws. Release the screws using a Phillips screwdriver and
take off the compartment lid. Please save the screws for later use.
Step 5: Remove the old batteries and press the Tamper Switch a couple times to discharge.
<NOTE>
When changing batteries, after removing the old batteries, press the Learn Button twice to fully discharge before inserting new
batteries.
Only use specified batteries with the device. When replacing batteries, always replace the whole set, do not mix different types of
batteries or new and used ones to avoid damaging the device.
Step 6: Insert new batteries into the battery compartment.
Step 7: After inserting batteries, slide the battery switch to ON position. The buzzer will emit 1 beep as the Siren powers on.
Step 8: Replace and secure the battery compartment lid with 2 screws using a Phillips screwdriver.
Step 9: Replace and secure the Top cover by tightening the bottom screw using a Phillips screwdriver.
Step 10: Enter the Control Panel Program Siren webpage again to enable the Siren Tamper function again. The Siren will sound a beep to
indicate the tamper switch is now activated.
Factory Reset
The Siren can be reset and memory contents cleared. Whenever the Siren is removed from the Control Panel, it should be put to factory reset to
clear its Control Panel memory, otherwise the Siren will still raise alarm if it receives alarm signal from panel.
Step 1: Disable the Siren Tamper function on the Control Panel (please refer to the Control Panel instruction manual). The Siren will sound a
beep to indicate the tamper switch is now disabled.
Step 2: Remove the Siren from Control Panel device list (please refer to the Control Panel instruction manual).
Step 3: Release the bottom screw of the Top cover using a Phillips screwdriver, remove the top cover..
Step 4: Slide the battery switch to the OFF position.
Step 5: Press and hold the Learn Button and slide the battery switch to ON position. Continue to hold the Learn Button for 7 seconds. Release
the Learn Button when you hear 2 short beeps and a long beep. The previous parameters in the Siren will be cleared and it will return to
normal mode.
<NOTE>
4