
User Manual
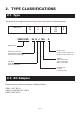
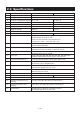

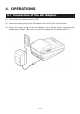

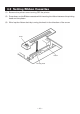
Table Of Contents
- AD-1192 Instruction cover.pdf
- AD-1192 Instruction Manual.pdf
- AD-1192 Instruction cover.pdf
- AD-1192 Instruction Manual.pdf
- WEEE MARK
- CE Marking Declaration of Conformity
- FCC Declaration of Conformity
- Compliance Statements
- SAFETY PRECAUTIONS
- THE TABLE OF CONTENTS
- 1. INTRODUCTION
- 2. TYPE CLASSIFICATIONS
- 3. EXTERNAL APPEARANCE AND PART DESCRIPTIONS
- 4. OPERATIONS
- 5. PARALLEL INTERFACE
- 6. SERIAL INTERFACE
- 7. DIP SWITCH SETTING
- 8. PRINT CONTROL FUNCTION
- 9. CHARACTER CODE TABLE
- 9.1 ASCII + 910 Emulation (International)
- 9.2 910 Emulation (Japan)
- 9.3 Codepage PC437 (USA, Standard Europe)
- 9.4 Katakana
- 9.5 Codepage PC858 (Multilingual)
- 9.6 Codepage PC860 (Portuguese)
- 9.7 Codepage PC863 (Canadian-French)
- 9.8 Codepage PC865 (Nordic)
- 9.9 Codepage PC852 (Eastern Europe)
- 9.10 Codepage PC866 (Russian)
- 9.11 Codepage PC857 (Turkish)
- 9.12 Codepage WPC1252 (Windows Latin1)
- 9.13 Codepage PC864 (Arabic)
- 9.14 Codepage PC869 (Greek)
- 9.15 International Character Code Table
- 10. EXTERNAL DIMENSIONS
— 13 —
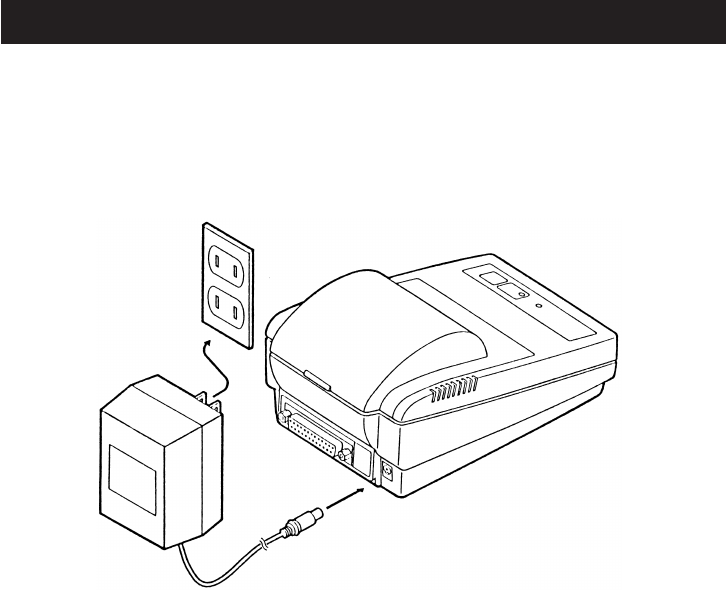
4. OPERATIONS
4.1 Connection of the AC Adapter
(1) Ensure that the power switch is OFF.
(2) Insert the output plug of the AC adapter into the DC jack of the printer.
(3) Insert the power plug of the AC adapter into a power outlet supplying the
designated voltage. (Be sure to use an AC adapter for the power source.)