
Installation guide


The VX Clinical Assistant is delivered with:
• VX Clinical Assistant unit
• Precision HD Camera
• Remote Control with
batteries (4x AAA)
• Documentation
Cables:
• VGA to DVI-I cable with
3.5 mm stereo audio cable
• Ethernet cable
• AC accessory cable (2x)
User documentation
The user documentation for this
product, including compliance and
safety information, is found on the
Cisco web site.
Go to: http://www.cisco.com/go/
telepresence/docs.
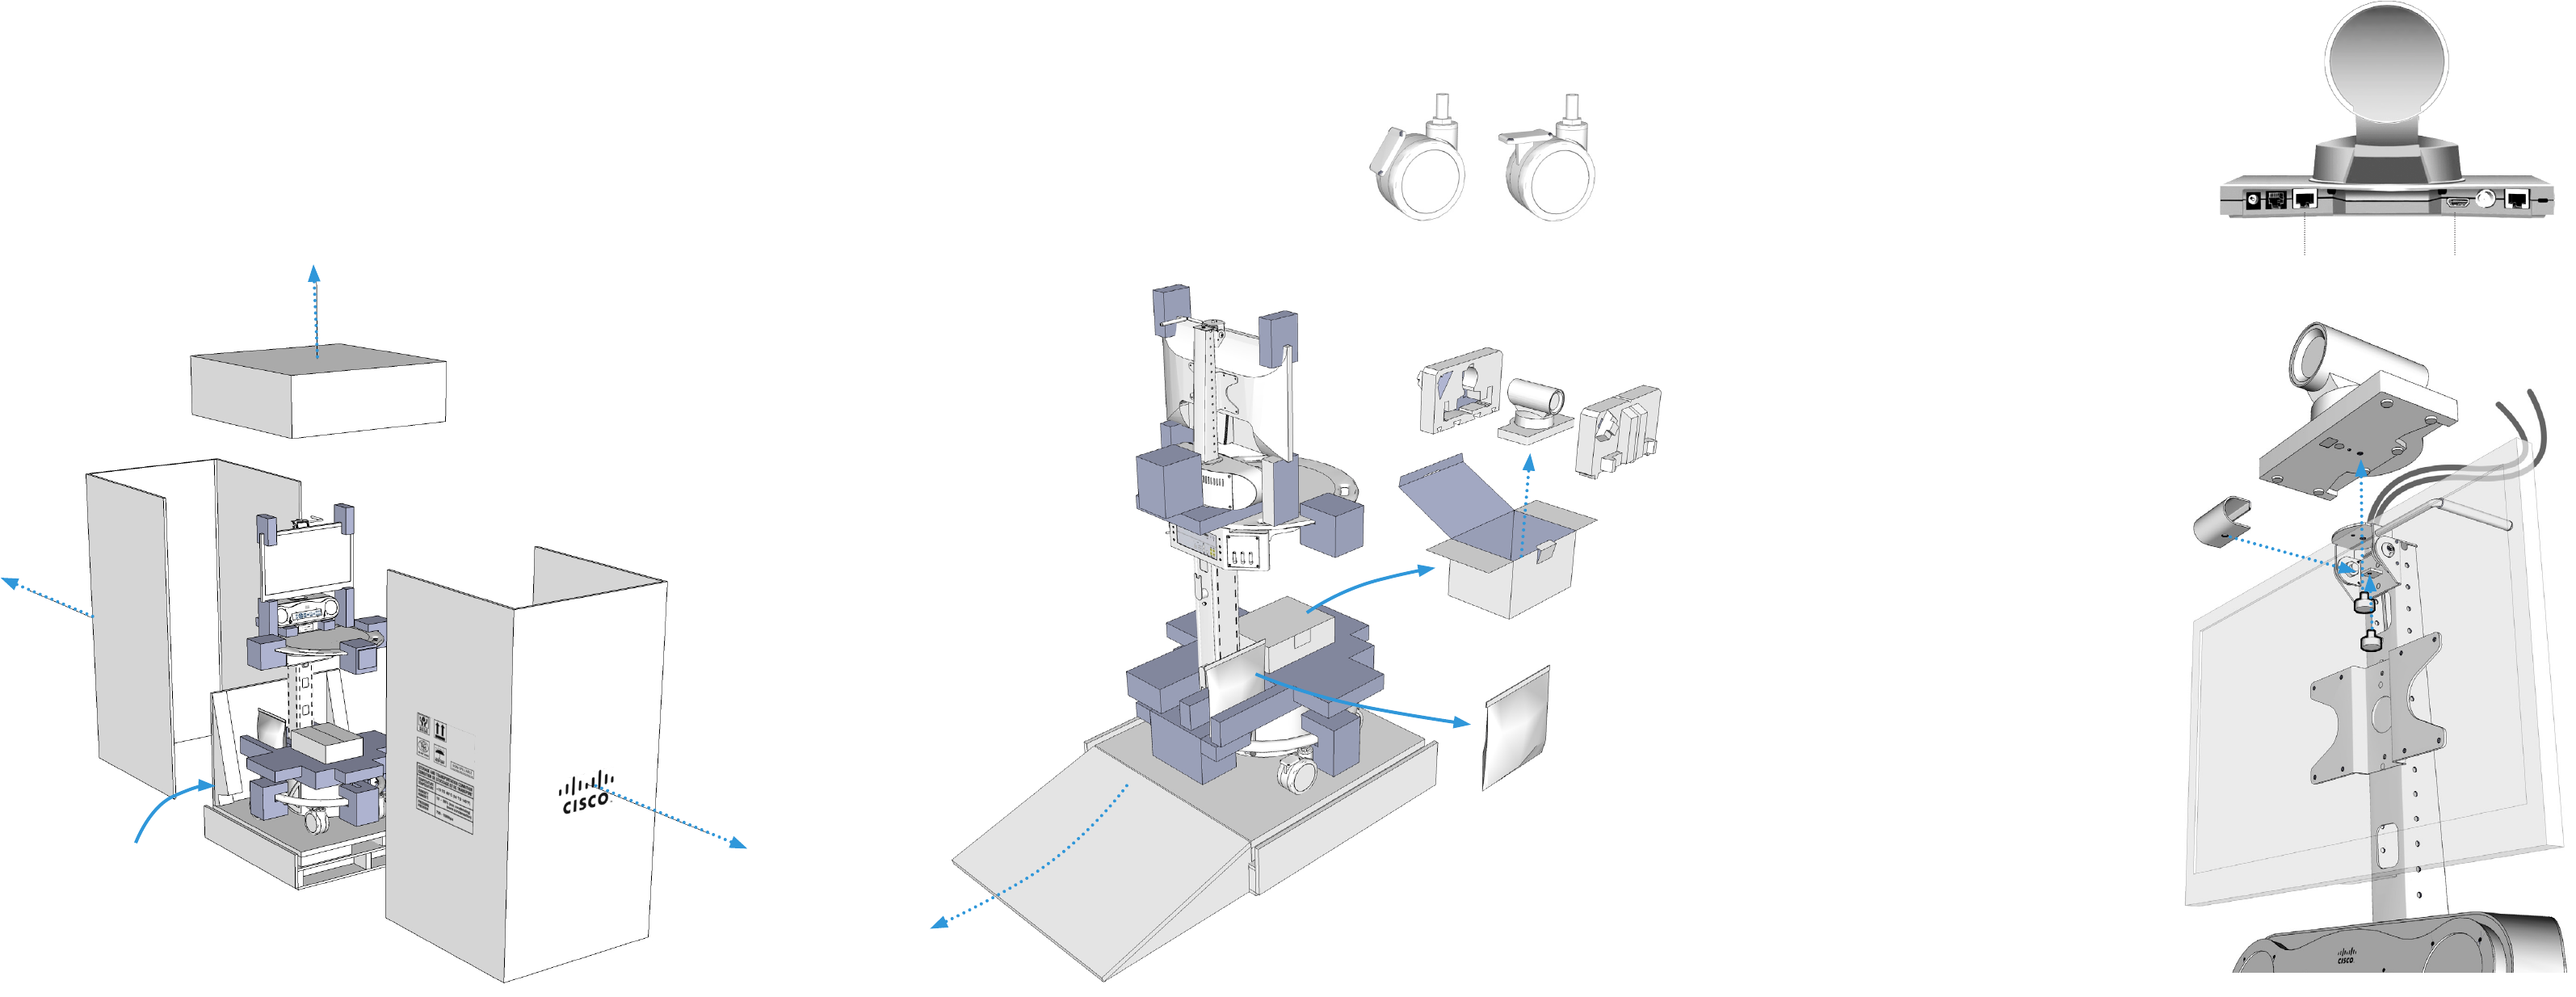
1
Unpacking the system
2
Unpacking the unit, camera, and cables
3
Mounting and connecting the camera
Cables
Camera
Locked Unlocked
Ramp
A
Reach behind the mounted display to remove
the thumbscrew and coverplate just under the
camera mounting surface.
B
Use the provided thumbscrew to securely mount
the camera through the bottom of the mounting
surface.
C
Replace the coverplate with the thumbscrew.
D
Connect the camera cables to the camera.
CAMERA
CONTROL
HDMI
VIDEO OUT
NOTE: 12x Camera
shown. The locations
of HDMI and Camera
Control on the 4x
Camera are reversed.
Coverplate
Display
Camera
Camera Cables
Thumbscrews
A
Carefully cut any banding and remove
the top of the box.
B
Remove the sides of the box to access
the unit and its accessories.
A
Place the included ramp up against the pallet,
unlock the system’s wheels (5x), and carefully
roll the unit down the ramp.
B
Remove the camera box and accessories bag.
Carefully unpack the camera from its box and
the accessory content from the plastic bag.
C
Carefully loosen and remove the foam
protection around the unit.