
Installation guide


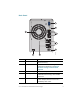
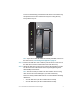
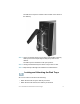
Table Of Contents
- Before You Begin
- Getting to Know the NSS322
- Installing the NSS322
- Installing the Disk Drives
- Locking and Unlocking the Disk Trays
- Connecting the Equipment
- Verifying the Hardware Installation
- Starting NAS Configuration
- Mapping a Network Drive
- Installing the Client Utility for Windows
- Installing the Client Utility for Mac
- Accessing the Management GUI Using a Web Browser
- Suggested Next Steps
- Reset Network Settings and Password
- Inline Power Switch Module
- Where to Go From Here
Cisco Small Business NSS322 Smart Storage 9
The disk drive sequence number is also located on the inside of
the disk tray.
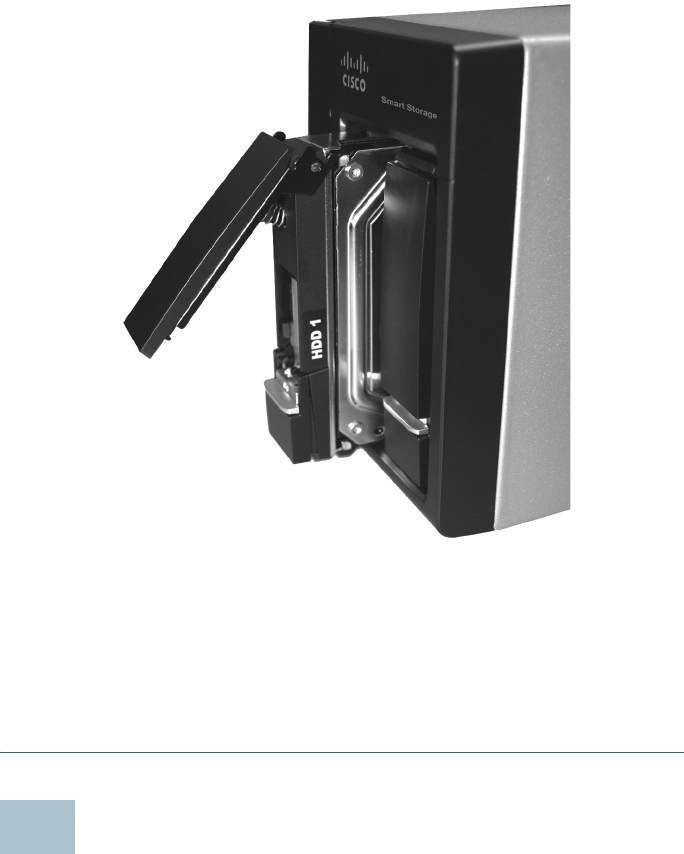
STEP 7 Using your thumb, apply even pressure to the middle of the tray
while you insert the tray slowly and fully into position in the
chassis.
The disk tray lever should be in the open position.
STEP 8 Gently push the disk tray lever down until you hear a click.
STEP 9 Repeat steps 3 through 8 to install the second disk drive.
Locking and Unlocking the Disk Trays
An icon is located on the silver tab indicating:
• When the silver tab is up, the disk tray is locked.
• When the silver tab is down, the disk tray is unlocked.
5