
Installation guide


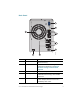
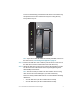
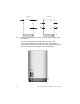
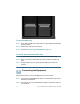
Table Of Contents
- Before You Begin
- Getting to Know the NSS322
- Installing the NSS322
- Installing the Disk Drives
- Locking and Unlocking the Disk Trays
- Connecting the Equipment
- Verifying the Hardware Installation
- Starting NAS Configuration
- Mapping a Network Drive
- Installing the Client Utility for Windows
- Installing the Client Utility for Mac
- Accessing the Management GUI Using a Web Browser
- Suggested Next Steps
- Reset Network Settings and Password
- Inline Power Switch Module
- Where to Go From Here
8 Cisco Small Business NSS322 Smart Storage
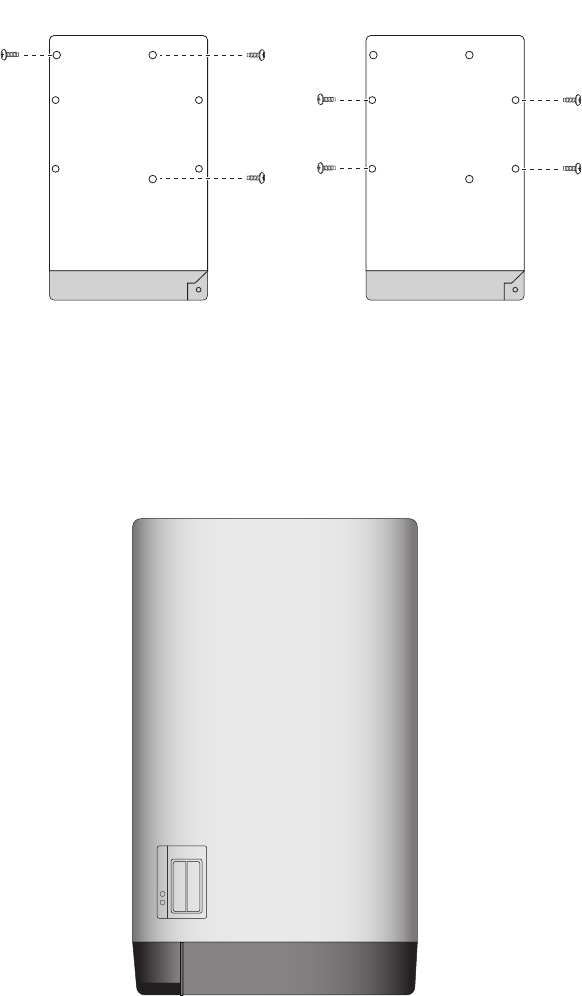
STEP 6 Insert the tray back in the correct sequence into the empty bay of
the chassis.
NOTE Drive trays should not be swapped from slot to slot.
There is also a HDD sequence label included in the package
contents that can be placed on the top of the chassis, showing the
disk drive sequence. For example, 1-2 for the NSS322.
277517
2.5 inch 3.5 inch
277585
HDD
Sequence
1
2