
Installation guide


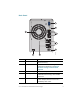
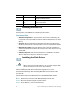
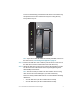
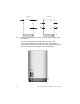
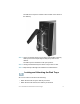
Table Of Contents
- Before You Begin
- Getting to Know the NSS322
- Installing the NSS322
- Installing the Disk Drives
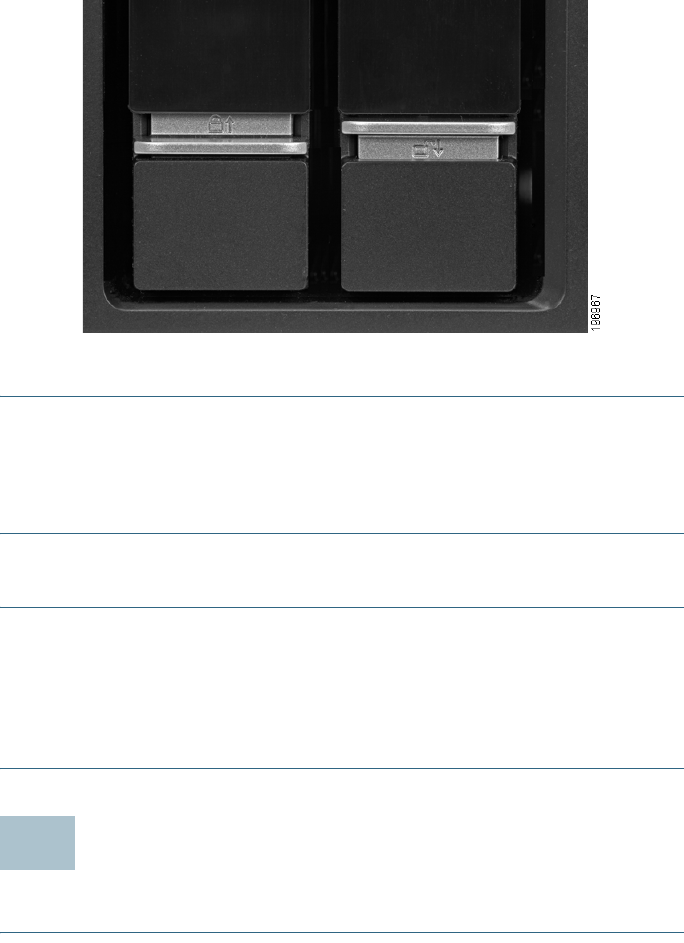
- Locking and Unlocking the Disk Trays
- Connecting the Equipment
- Verifying the Hardware Installation
- Starting NAS Configuration
- Mapping a Network Drive
- Installing the Client Utility for Windows
- Installing the Client Utility for Mac
- Accessing the Management GUI Using a Web Browser
- Suggested Next Steps
- Reset Network Settings and Password
- Inline Power Switch Module
- Where to Go From Here
10 Cisco Small Business NSS322 Smart Storage
To lock the disk tray:
STEP 1 Verify that the disk tray is fully inserted in the chassis with the disk
tray lever down.
STEP 2 Lift the silver tab up to lock the tray.
STEP 3 Continue to Connecting the Equipment, page 10.
To unlock and remove the disk tray:
STEP 1 On the disk tray, press the silver tab down to unlock the tray.
STEP 2 Press on the button below the silver tab to release the disk tray
lever.
STEP 3 Using the disk tray lever, gently pull the disk tray out from the
chassis.
Connecting the Equipment
Follow these steps to connect the NAS device to the network.
STEP 1 Connect the supplied Ethernet cable to one of the Ethernet ports on
the back of the chassis.
STEP 2 Connect the other end of the Ethernet cable to a switch or router on
your network.
6